In this article, I’m elaborating on that with how to set up camp and what food to bring.
For about a decade I didn’t camp but I grew up camping and backpacked in the back country on weekend trips when I was in my 20s. I used to have camping gear just for backpacking and camping gear just for ‘car camping’ as I like to call it.
I like to camp in provincial campgrounds (that would be similar to a state campground in the US). You know what to expect in terms of location, what’s at the campsite and it’s easy to reserve online.
In my experience, I don’t care for the private campgrounds as there’s usually not enough trees and too many modern conveniences (usually they have electrical hookups and convenience stores and such).
I like the great outdoors with conveniences of washrooms and showers etc. but when there are arcade games and convenience stores at the campground, it just doesn’t seem like camping to me! If you’ve never camped before and you have very small children, you might like private campgrounds for those exact reasons but it will be hard for you to leave them behind if you ever want to go to a provincial or state campground. Just something to think about.
Today I’ll share with you how to set up and organize your camp and what food to prepare and bring.
This post contains affiliate links for your shopping convenience. Click to read my full disclosure policy.
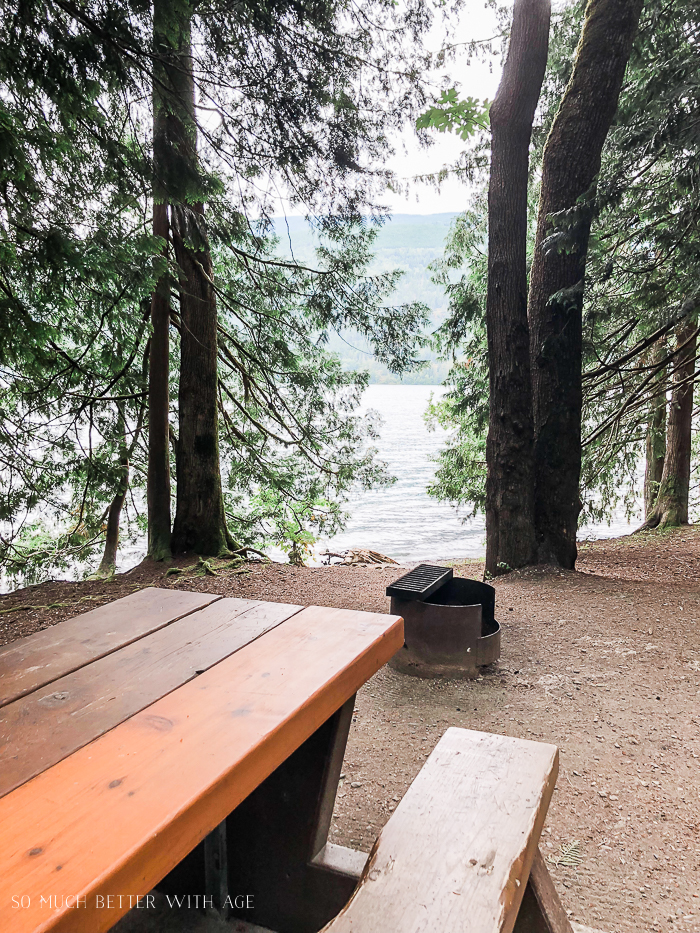
At a provincial campsite, you can always expect these things:
a picnic table on a concrete slab
a fire pit
an open area to set up your tent(s).
The picnic table will have an extended area to place your camp stove on so you can be sure to have plenty of space on your picnic table.
You used to be able to reserve online 3 months ahead of time but this year it has been changed to 4 months ahead of time.
That means if you want to reserve a camp site on May long weekend, you have to reserve it online in January.
Once you reserve your campsite, you’re set but you never know what the weather will be like. That’s always the gamble.
I always choose to go camping in July or August but even that’s no guarantee for a rain-free camp trip in BC.
I’ve been camping many times in the rain and it can still be fun you just need lots of tarps. And wine. One year we brought martini glasses and a shaker when it rained.
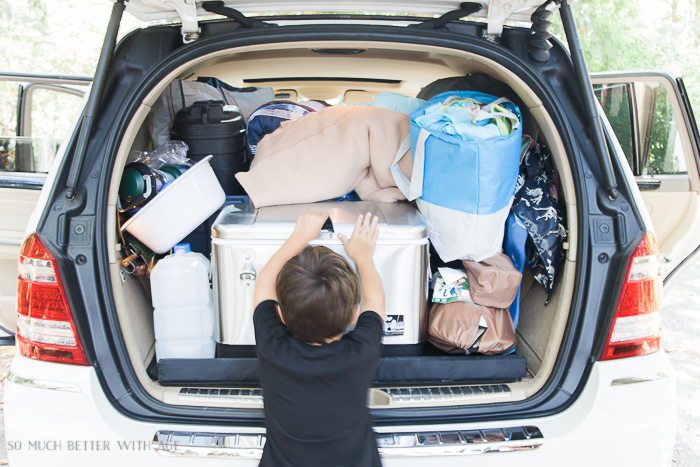
Tips for Packing the Car
When you’re packing your car, you always want to make sure that your tent will be easy to grab as it’s the first thing you’ll want to set up and the cooler should be the last thing to go in.
I usually grab ice on the way to the campground so this makes it convenient to load it into the cooler.
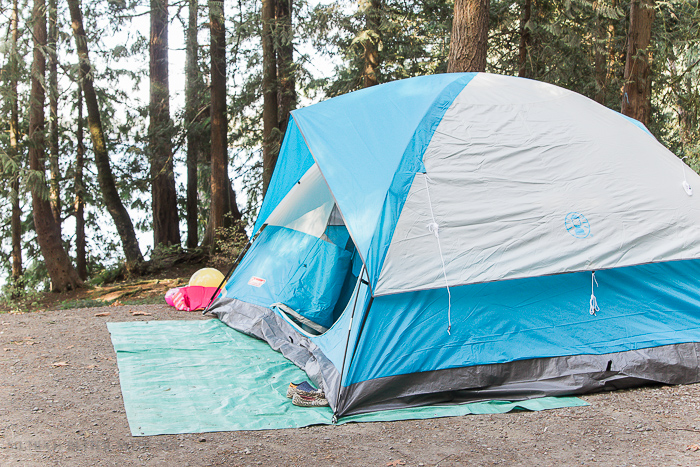
1.Set Up Your Tent
The first thing you want to tackle is setting up your tent first. Like I mentioned in the first post, I chose a dome tent as they are the easiest to set up. I can set up this tent all on my own which is essential as a single mom.
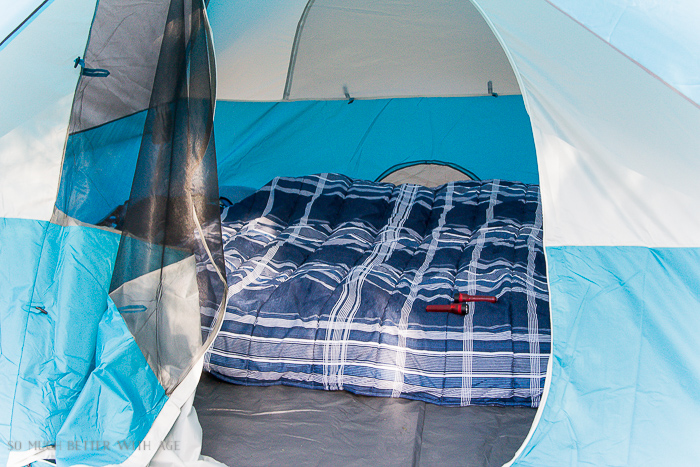
I have a no shoes policy in the tent so I keep an extra tarp under the tent that acts like a front door mat.
The shoes stay here before you go in the tent and at night I make sure to bring them just inside the tent so no dew and creepy bugs crawl in them at night.
Normally I have a tarp big enough to have a mat area in the front and covers the length of the entire tent.
2. Make Your Bed
Once you set up your tent, all the bulky items can be put in the tent so now you have more room to unload your car.
I admit I like to ‘rough it’ a bit camping but not when it comes to my sleep.
I need an air mattress and a comforter. I hate sleeping in sleeping bags so this is how I make the beds:
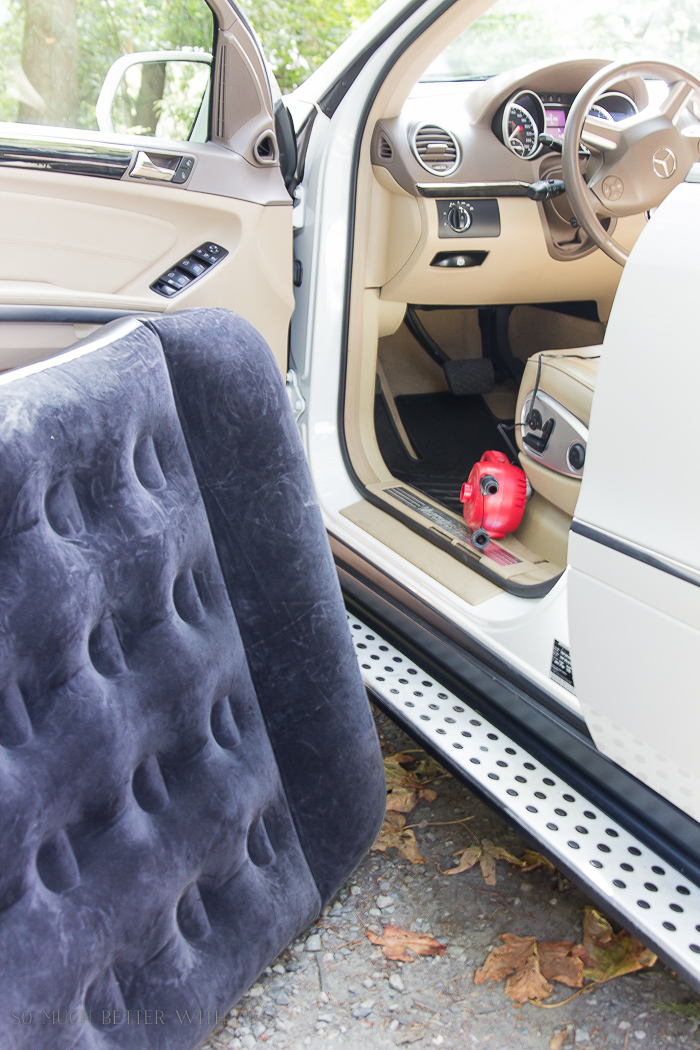
First, I blow up the air mattresses with the pump that plugs into the lighter adapter in my car.
This is essential. Some air mattress come self-inflating. I find these are quite bulky though. You can also use a hand or foot pump.
I have one queen size air mattress and 2 twin air mattresses for my two kids.
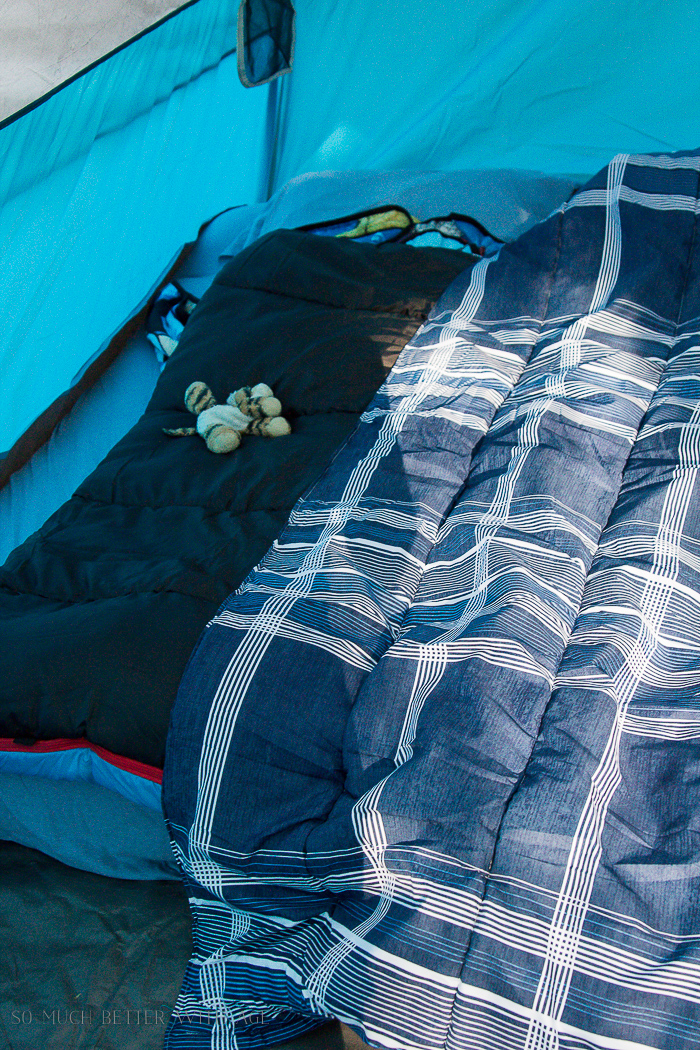
A family of four can fit nicely in one 8 person tent. I have it set up with the queen mattress in the middle and one twin on either side.
If you kids are older, they can have their own tent. You are usually allowed two tents on one campsite, just be sure to make a note of that when you are booking your site.
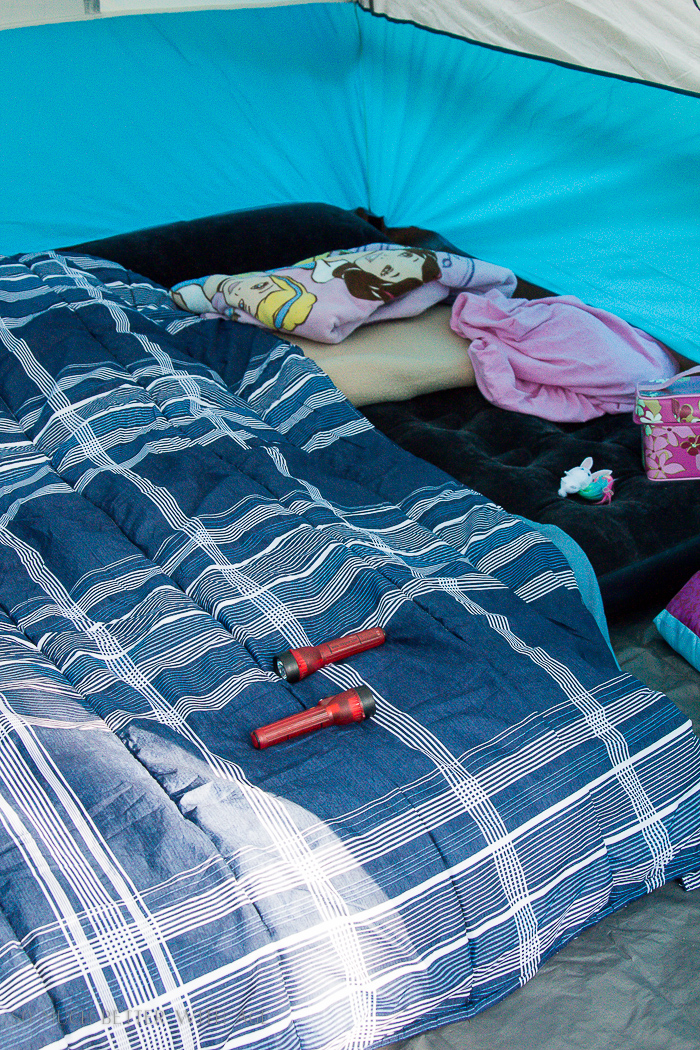
This is how I make my bed:
blanket under the air mattress to prevent slipping in the middle of the night
air mattress
open and lay flat 1 or 2 sleeping bags over the air mattress
next a fitted sheet
then a top sheet
comforter
pillows
It’s luxurious. Now that I’m in my 40s, this is necessary for a good night’s sleep.
My kids like sleeping in sleeping bags so I put a fitted sheet over their mattress then the sleeping bag and their pillow from home.
You can bring in the clothing bags and keep them in the tent.
Make sure to zip up your tent and always keep it closed or bugs will get in.
Now you can set up the rest of your camp.
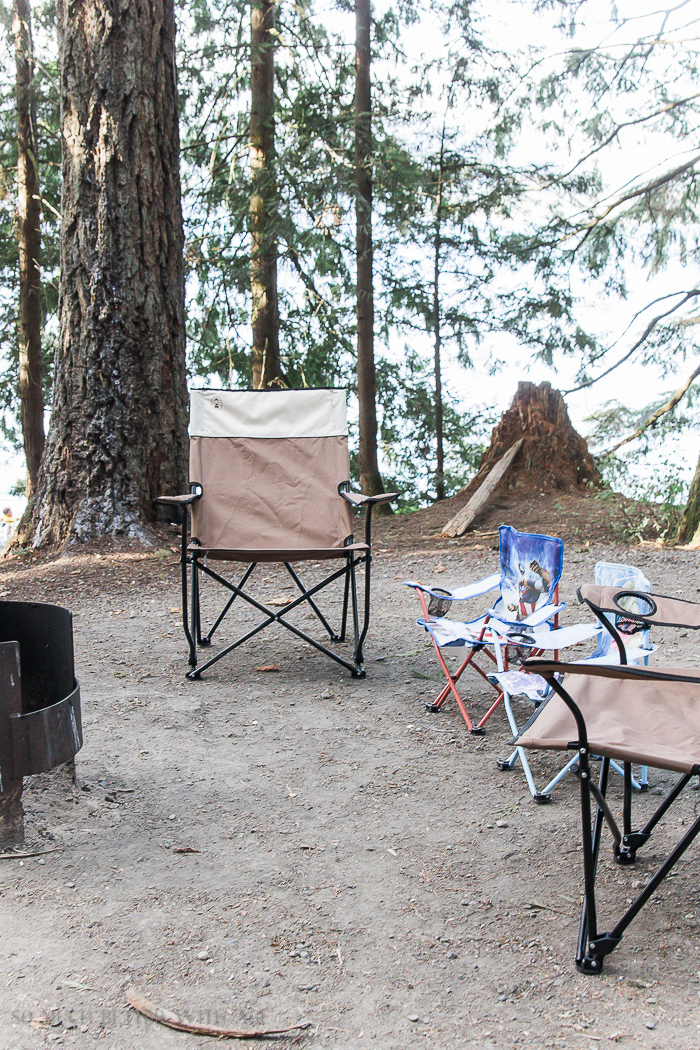
3. Set Up chairs and camp area
Unfold your camping chairs near the fire pit. Make sure you have one chair for each person, a little chair for your kids.
Sometimes the big chairs close on a small kids so it’s a good idea for them to have their smaller chairs. Especially near the camp fire, you want to avoid any falls!
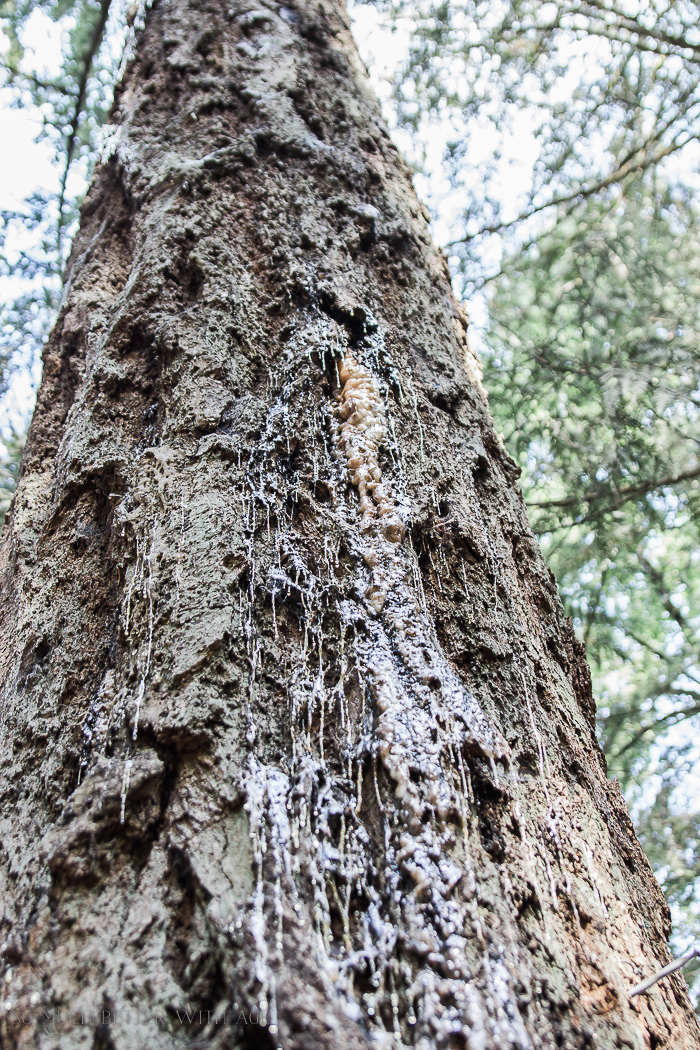
At night I usually lean the chairs over and place near a tree.
Although maybe not this tree!
This reminds me, make sure to bring baby wipes for sticky, sappy hands.
Or you can fold the chairs and place under the picnic table. If you don’t, they will be covered in dew in the morning and they can be difficult to dry out under the shade of the trees.
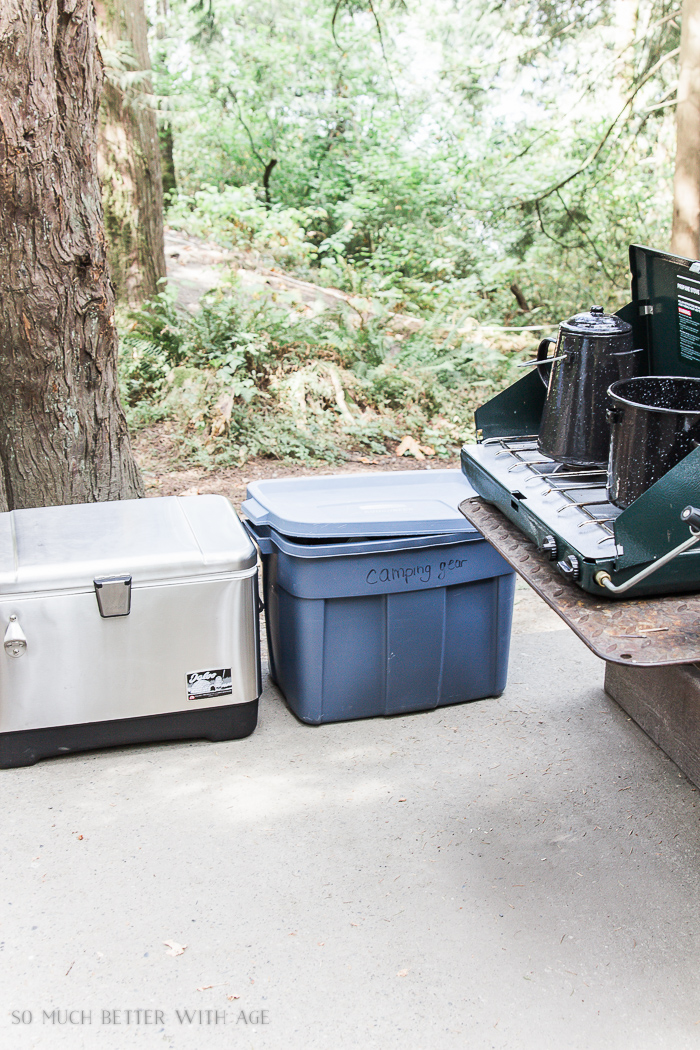
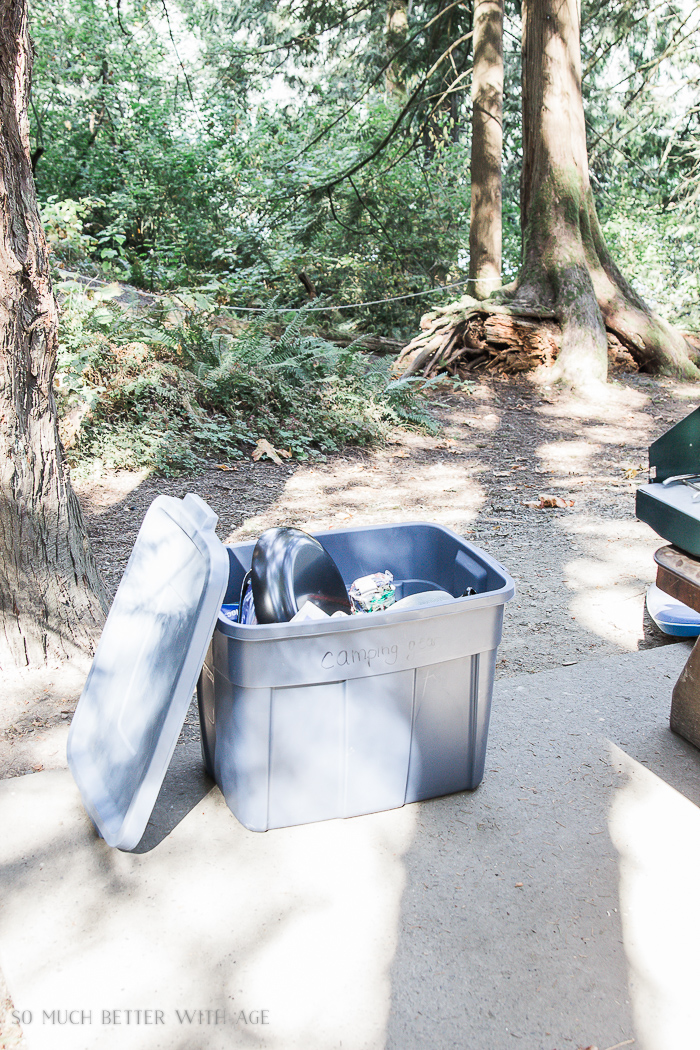
Place your cooler and one camping gear bin near your camp stove to set up your makeshift kitchen.
In my last post I mentioned to bring two camping bins with you. This bin by your camp stove will have all your cookware, flatware and utensils. Everything you need for the table.
The other bin will be stuff you’ll use infrequently so you can leave it in the back of your car.
Next you’ll want to put your picnic cover over the table.
I try to keep most of the rest of the camping stuff in the back of the SUV along with the food.
It makes it easy to pack stuff up at night.
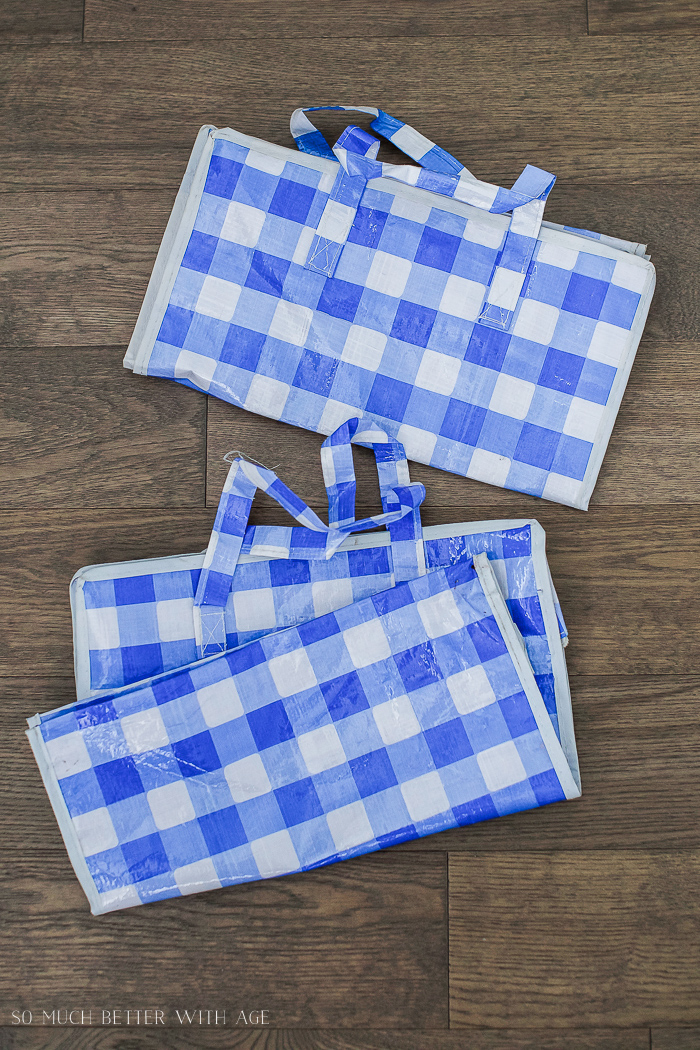
I like to use shopping bags like this to keep my dry food in for easy moving back and forth to the car.
Once the food is gone by the end of the weekend, it makes for easy transport back home!
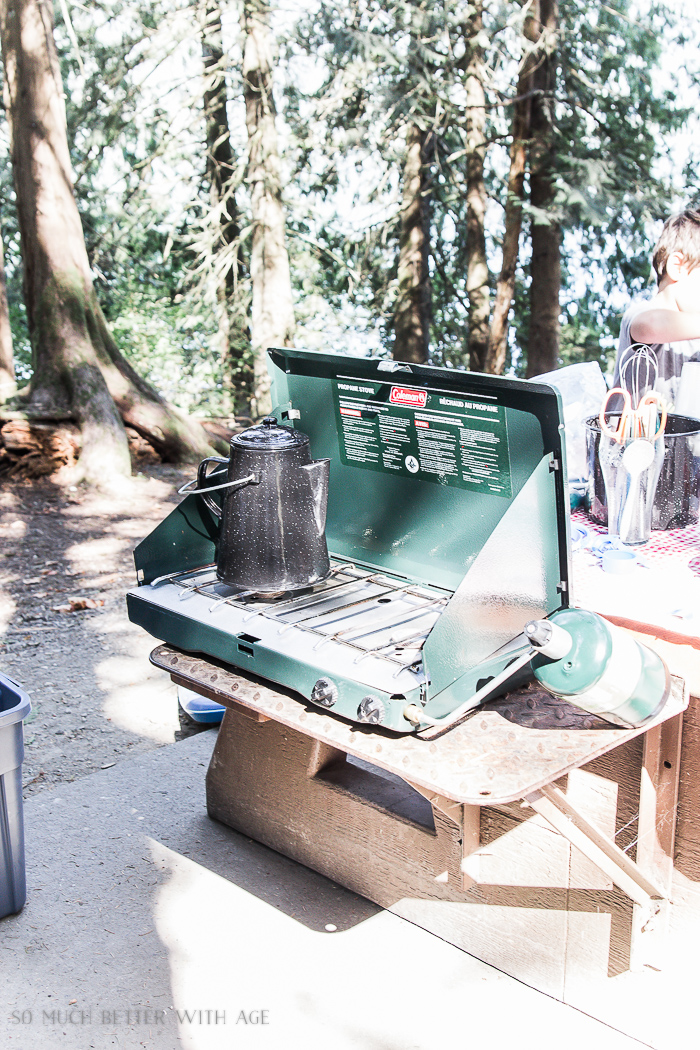
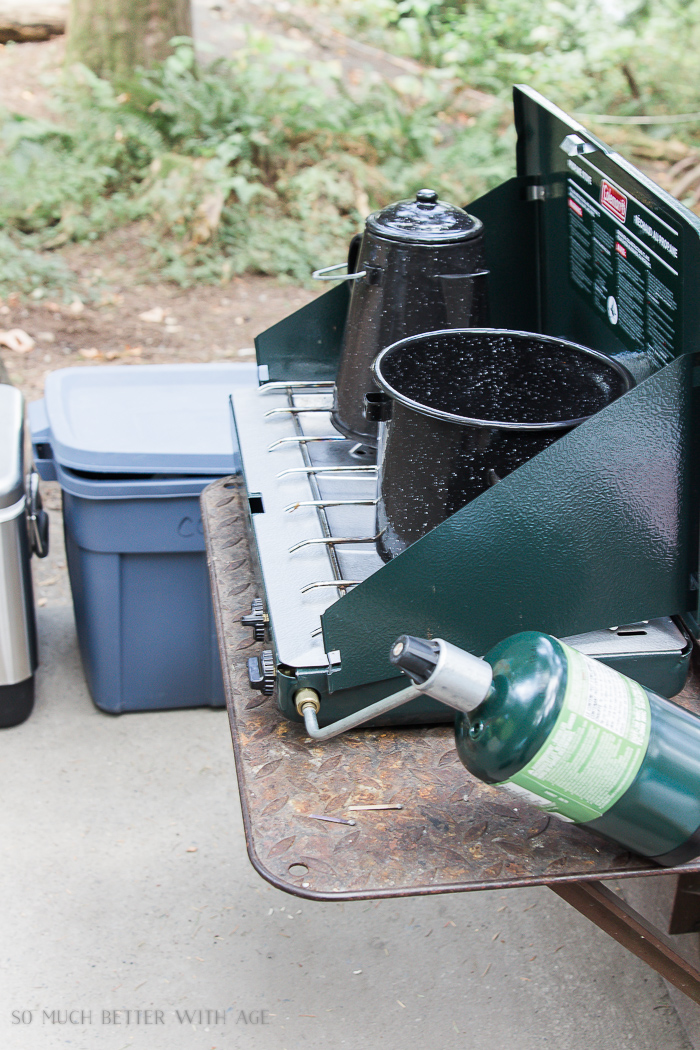
4. Camp Stove
If you’ve never used a propane camp stove, I promise you it’s very easy.
I bring a pack of small propane tanks. For one long weekend, I usually go through one maybe two. I usually bring a pack of three.
Make sure to properly follow the directions which are printed right on the camp stove itself, but essentially there are just two components to a camp stove.
You screw in the plug/valve into the camp stove and screw on the propane tank to the top of it.
Once it’s all screwed in firmly, turn one burner on about to low or medium and light a match right by the burner.
That’s it!
Now you can easily handle your propane lantern at night too!
5. FOOD
To make your camping trip go smoothly, food preparation is essential. I food plan what we’re going to eat each day with flexibility so I know there will be enough.
Camping outside is fun. There’s nothing better than scrambled eggs and toast in the morning.
A camp griddle is also an awesome thing to purchase for your camp stove. I think I’ll be getting one this year.
If I’m having steak or chicken, I marinate them fresh at home a day before we leave camping and place them in freezer bags with the BBQ sauce and/or seasoning and place them in the freezer. Just before you leave, pop them in your cooler and by the second day they will be unthawed and ready for you to BBQ!
Here are a few suggestions for camp food:
smores! (marshmallows, graham crackers and milk or dark chocolate bars with squares like Hershey’s)
eggs, toast, bacon
mini cereal boxes for kids (the only time my kids can pick whatever cereal they want)
hot dogs roasted over the fire
Jiffy Pop popcorn
spaghetti & meatballs (make meatballs ahead of time, wrap in aluminum foil with marinara sauce over fire pit)
marinated steak or chicken (marinate ahead of time in Ziploc freezer bags, freeze in your freezer at home and add to your cooler before you leave. The meat will be defrosted by the second evening)
corn on the cob
roasted potatoes & carrots (cut potatoes and carrots in small chunks, wrap in aluminum foil with lots of butter and an onion soup mix package and set on grill on firepit)
fruit salad
potato or macaroni salad (be sure to eat first day)
hamburgers
stirfry with noodles or minute rice (marinate your meat ahead of time and freeze like above, pre cut veggies and add to ziploc bag)
guacamole and tortilla chips (bring fresh ingredients to make)
tacos
steak or chicken fajitas (grilled over the fire)
mac & cheese
sandwiches
The possibilities are endless! I usually bring a few bags of chips for snacking and lots of fruit and cut veggies as camping seems to make everyone hungry.
By cutting and preparing most of the food at home, you’ll save on space in your car (imagine big stalks of broccoli you don’t need) and so much easier to wash at home.
Also, I tend to have one meal work for two meals to save on space in the cooler. For example, we will have hot dogs one night for a meal with potato salad and maybe one day for a lunch with chips and veggies. Sometimes there are leftovers and with different sides (veggies, fruit, chips) can make for a different meal.
If you are camping with other family or friends, take turns on making dinner. That way there is on less dinner for you to worry about.
6. Cooler and Ice
Be sure to fill up on ice before you leave. Remember, I always pack my car with easy access to the cooler. I swing by a gas station or grocery store and grab two bags of ice and pour into the cooler.
I don’t bring unnecessary condiments, only ones I know I’m going to use.
You will need to refill your cooler with ice every second day depending on how hot it is.
Empty cooler from plug on the side so food is not floating in water and keep your cooler directly out of the sun.
There are always places within a few minutes drive to grab ice when you are camping.
I usually leave a couple of drinks/beers in the cooler to keep cold but you will have to keep replacing your stock to refresh.
What to do if there are Fire Bans
I know I’ve mentioned cooking over a fire pit so I should mention fire bans.
It seems like every year there is a fire ban which means no camp fires! At all! If you are even attempting to build a fire, you will be fined and/or kicked out. It’s serious business.
For me and my kids, roasting marshmallows is the BEST part of camping! It sucks when there is a fire ban. Luckily for us, the fire ban has just lifted or at least towards the the end of our trip so we were able to enjoy camp fires.
What are some options? You can bring a charcoal grill if you want a BBQ. You’re also allowed to add charcoal to the fire pit to grill on as well.
Another option is using a propane fire bowl and sometimes camp grounds will rent these out during a fire ban.
Be sure to check the regulations of your campground.
What if there is Rain?
If rain is in the forecast, I usually just throw a large tarp right over the tent, not even stringing it up. If you plan on stringing up a tarp over the tent, you have to be very careful on the angle as you could easily just get a pool of water collecting in that tarp that will eventually dump over your tent.
As long as you make sure not to touch the insides of the tent, it will stay waterproof but rain will come in where you’ve touched on the inside.
You can string up a tarp over your picnic table area or use a canopy. One year we had a tarp city with 10 tarps all strung up and a little hole in the middle for the campfire. It was pretty cool but I wouldn’t attempt to do this on my own as a single mom!
Be sure to waterproof your tent with waterproof spray at the end of each season
When Leaving Your Campsite / Bedtime
When you go to bed at night or when we leave somewhere for the day, I usually lock the cooler and camp stove in the SUV. I usually leave the rest of the stuff but of course any valuables come with me.
I’ve never had any problems with theft among other campers. We all are here together camping and everyone is friendly and the kids ride their bikes up and down the paths, it’s such a friendly, family oriented community.
But one time my sister went camping and someone stole their cooler with all their food. Could you imagine? All their food!
So ever since then I always lock mine up. I will say that she did camp in an area that had more young people, more partiers, so that’s something to look into when camping. I tend to stick to the family provincial campgrounds.
I don’t lock stuff up if I’m going for a short walk but if I’m going to be gone for a few hours and it’s obvious no one is around…
Make sure to lock all food away in your car at night including toiletries as animals like toothpaste!
When I went backpacking, we’d have to tie our food up high in a tree but small animals would still like to get in to our toothpaste hung up in a tree…in a waterproof bag. Crazy.
Also, I tip the chairs over or fold them up and store them under the picnic table as there is usually dew that rests on the chairs in the early morning and it can take awhile for them to dry if you’re in a shady campsite.
Make sure your shoes come in to the tent as well when you go to sleep.
Extras
Here are some things you might want to bring as well.
extra battery charger for phone (although you can take a trip in your car to charge it a bit if necessary)
radio if you want to listen to tunes
Sometimes I use my car radio to listen to music but remember this could wear out your car battery if left too long. Also leaving doors open too long will wear the battery out because of the interior lights.
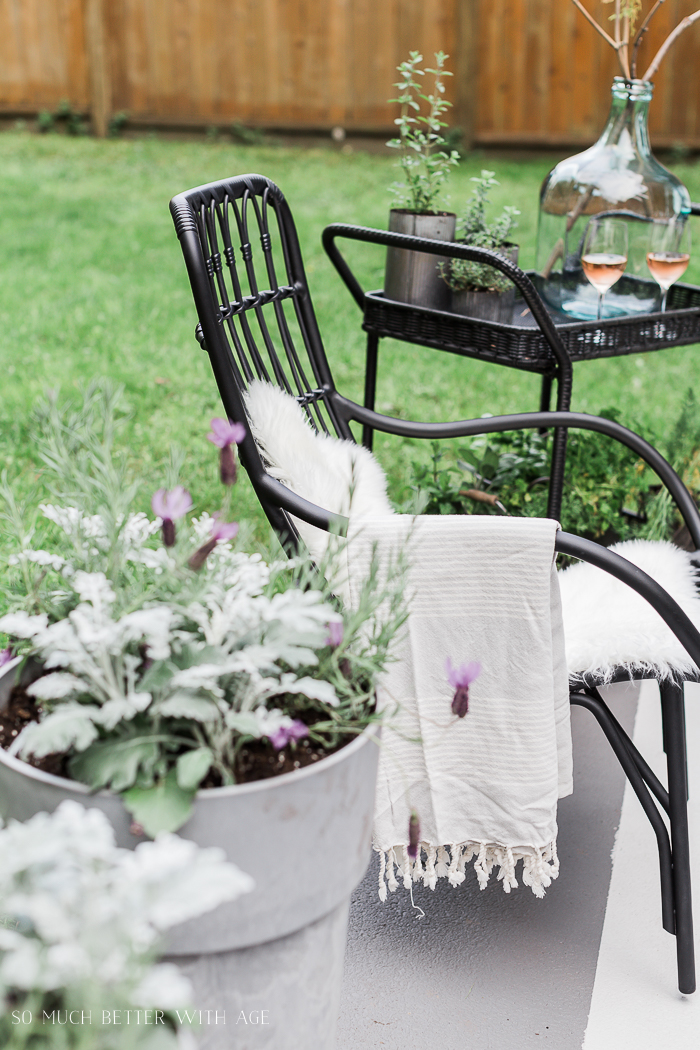
I’ll show you how to create two outdoor seatings areas in a small space today. I love having an eating area and a cozy spot to enjoy a glass of wine. I’ve always liked the idea of having two outdoor seating areas. A table and chairs to eat and another area where you can sit…
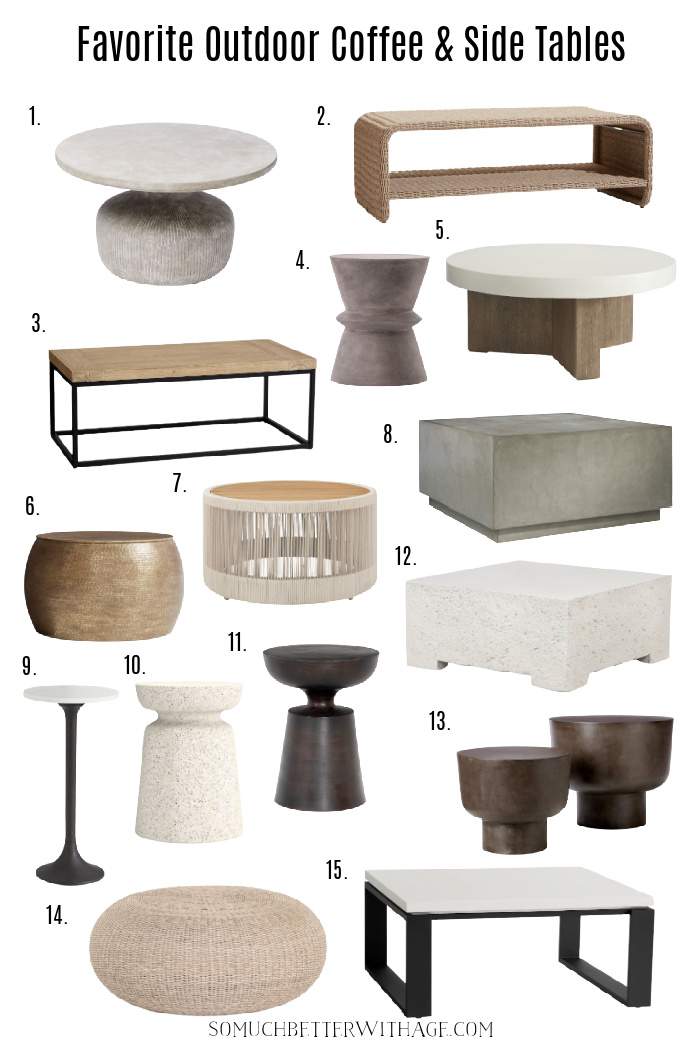
Check out all the best outdoor furniture for 2023! It’s that time of the year again, outdoor season! I’m late getting this post out to you but I thought it was still relevant and the best part is, there are a lot of sales on right now! If you are in need of some new…
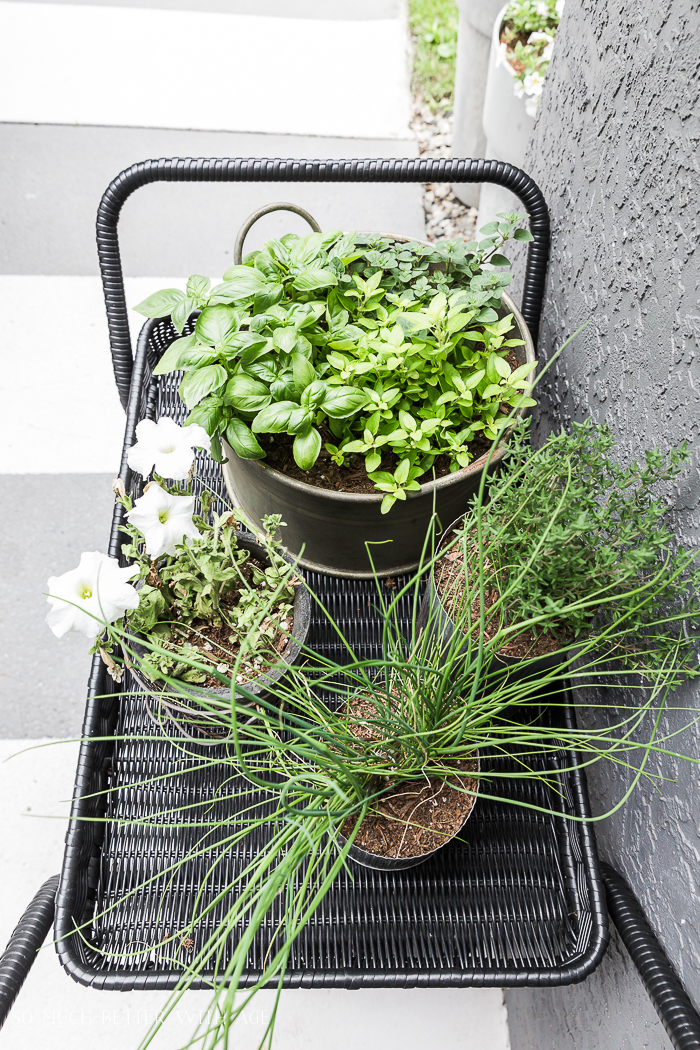
I’ve taken everyday metal containers and turned them into a potted herb garden. We love having fresh herbs in the summer and last year I planted a herb garden in some metal containers that I had around the house. I love using unique vessels for my floral arrangements and herb garden. The herbs did okay…
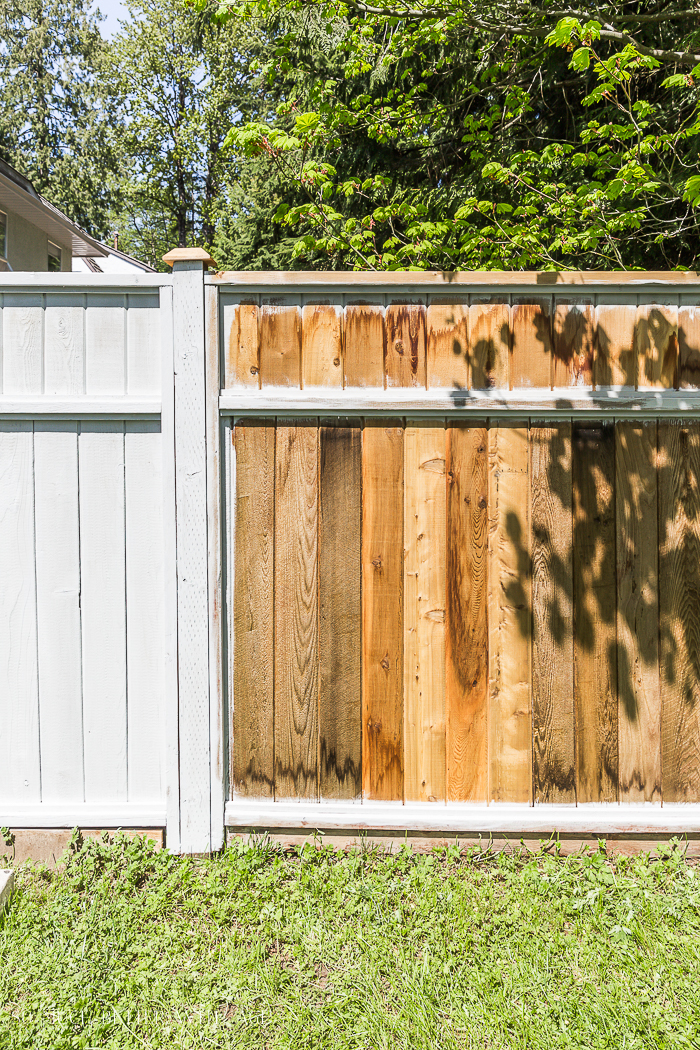
This post shows you how to easily remove old stain from an old fence and apply a new solid stain. Our backyard fence is original to our house that was built in the late 1980s and had seen better days. The stain was orange and worn and we recently replaced the lattice that was on…
I have a free printable included in this guide on what to bring to a beach picnic! There are a few key elements you need for the perfect beach picnic that I’ll share with you today and I have a printable you can download that includes the complete list. First and foremost, you need a…
I gave this kid’s picnic table a makeover by painting over the rotten wood. Let me show you the steps on how I did it. Do you have an outdoor piece of furniture or maybe parts of your house where the wood is rotten? I bought this little kids’ picnic table at a garage sale…
16 Comments
What a comprehensive article hun! Well done. You really are an expert camper.
Hi, Jamie. This is really a great series, so thank you. Like you, we have that Coleman propane stove and love it. You’ve covered the other supplies and advice extremely well, too. There is one item we added at one point, a portable shower/toilet room. It really came in handy. I also love having a good supply of microfiber facecloths on hand. They clean up and dry easily.
P.S. I love the foldable dishwashing containers. Anything that is practical, lightweight, and easy to pack is indispensible when it comes to camping.
Thanks a lot for the detailed instructions. Passing them to my friends who are just getting ready for camping near some water of the Black Sea. Special gratitude for the list of dishes.
This is great!! Thank you SOO much for all of these tips! My husband and I are going to a state park in the US next month and I always needs ideas as far as food to pack! I am def going to do that chicken tip you shared! Enjoy camping season!!! 🙂
XO, Katie | http://www.meshkomoments.com
Thank you for this post! First time camper as an adult, camping with my 9 month old and my 2.5 year old. Im from BC too, live in Penticton, going camping in Nakusp, and I just must know: where is that picture taken at the top? I really want to camp there!
I like the idea that an outdoor camping stove has two components, which means that I can buy a cover for it whenever it’s windy. This way, I’ll be able to cook even if it’s about to rain as well. In my opinion, I think there are some stores that have this, so I’ll look around and see what I can buy.
You are inviting water to run under your tent by having it extend out front. Use a foot print smaller than the size of your tent and a separate mat for in front.


What a comprehensive article hun! Well done. You really are an expert camper.
xoxo thanks babe
Hi, Jamie. This is really a great series, so thank you. Like you, we have that Coleman propane stove and love it. You’ve covered the other supplies and advice extremely well, too. There is one item we added at one point, a portable shower/toilet room. It really came in handy. I also love having a good supply of microfiber facecloths on hand. They clean up and dry easily.
P.S. I love the foldable dishwashing containers. Anything that is practical, lightweight, and easy to pack is indispensible when it comes to camping.
Cheers, Ardith
Those are great tips, Ardith! Thank you for sharing!
Hugs, Jamie
Thanks a lot for the detailed instructions. Passing them to my friends who are just getting ready for camping near some water of the Black Sea. Special gratitude for the list of dishes.
Wonderful! Thanks for sharing.
Hugs, Jamie
I used to go camping and your info refreshed those memories. Thanks for the great information
Thanks Roxann!
Hugs, Jamie
This is great!! Thank you SOO much for all of these tips! My husband and I are going to a state park in the US next month and I always needs ideas as far as food to pack! I am def going to do that chicken tip you shared! Enjoy camping season!!! 🙂
XO, Katie | http://www.meshkomoments.com
So glad you found it helpful, Katie!
Hugs, Jamie
Thank you for this post! First time camper as an adult, camping with my 9 month old and my 2.5 year old. Im from BC too, live in Penticton, going camping in Nakusp, and I just must know: where is that picture taken at the top? I really want to camp there!
I like the idea that an outdoor camping stove has two components, which means that I can buy a cover for it whenever it’s windy. This way, I’ll be able to cook even if it’s about to rain as well. In my opinion, I think there are some stores that have this, so I’ll look around and see what I can buy.
You are inviting water to run under your tent by having it extend out front. Use a foot print smaller than the size of your tent and a separate mat for in front.
Correct!
What do you use the wagon for?
Hi Shannon,
I use the wagon for walking to the beach!
Hugs, Jamie