
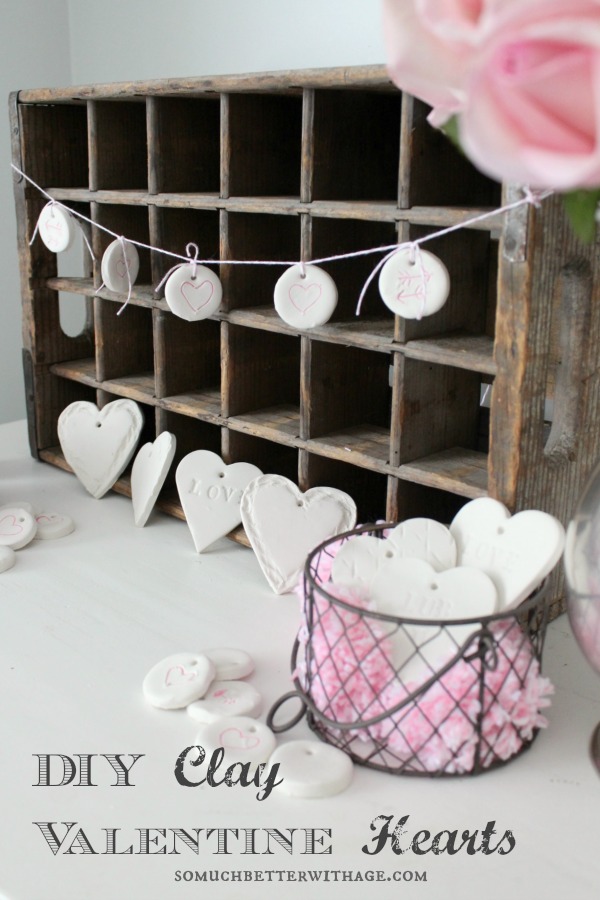
DIY Clay Valentine Hearts and Garland
Wow the one you love with DIY clay Valentine hearts and garland!
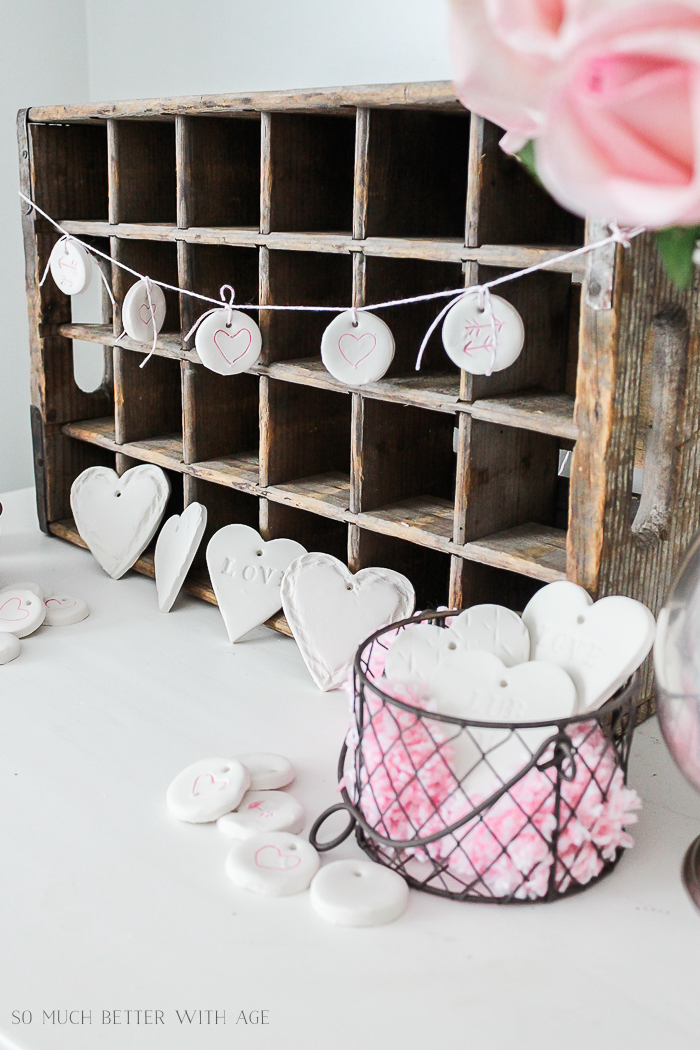
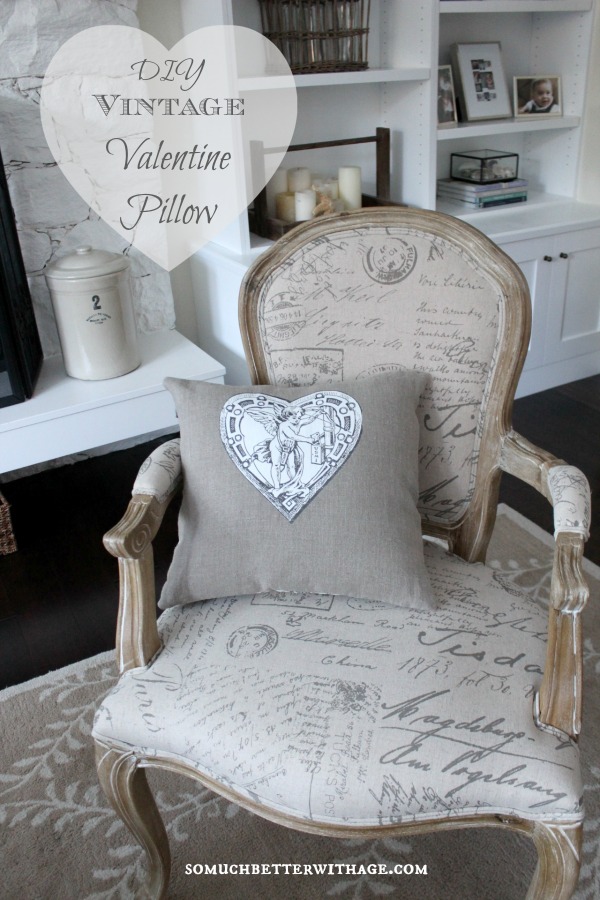
You probably know by now that I’m not a big crazy fan of red and love neutrals so this clay heart garland is perfect for decorating for Valentine’s Day in a neutral way.
And I love pink too so I added a few pink touches to these clay tags. These clay hearts and tags are easy and fun to make for Valentine’s Day and have less calories than chocolate, ha!
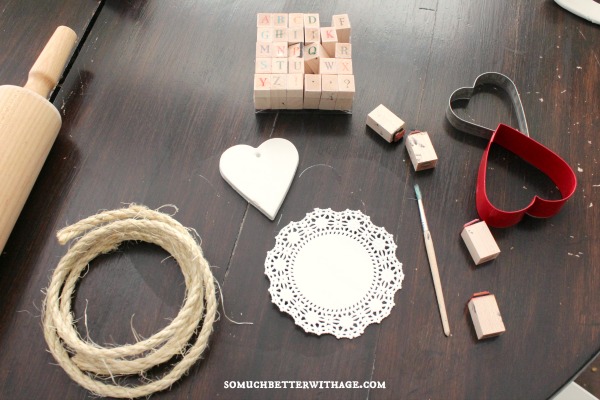
Here’s what you’ll need.
This post contains affiliate links for your shopping convenience. Click to read my full disclosure policy.
SUPPLIES:
- oven bake clay (I used this brand)
- rolling pin
- cookie cutters
- alphabet stamps
- different tools around the house to make any design you want
- cookie sheet
TUTORIAL:
1. Play with your clay until it becomes soft. Roll it out on a flat surface with a rolling pin (roll it out onto parchment paper then you can put the parchment paper on a baking sheet with the clay).
2. Cut into desired shapes. Use different tools or textures to create unique pieces.
3. If you running string through them, poke a hole at the top.
4. Smooth edges with your fingers before baking.
5. Follow the directions on the package. I baked mine at 275 deg F for 30 minutes.
6. Let cool. Color, paint, draw on your clay!


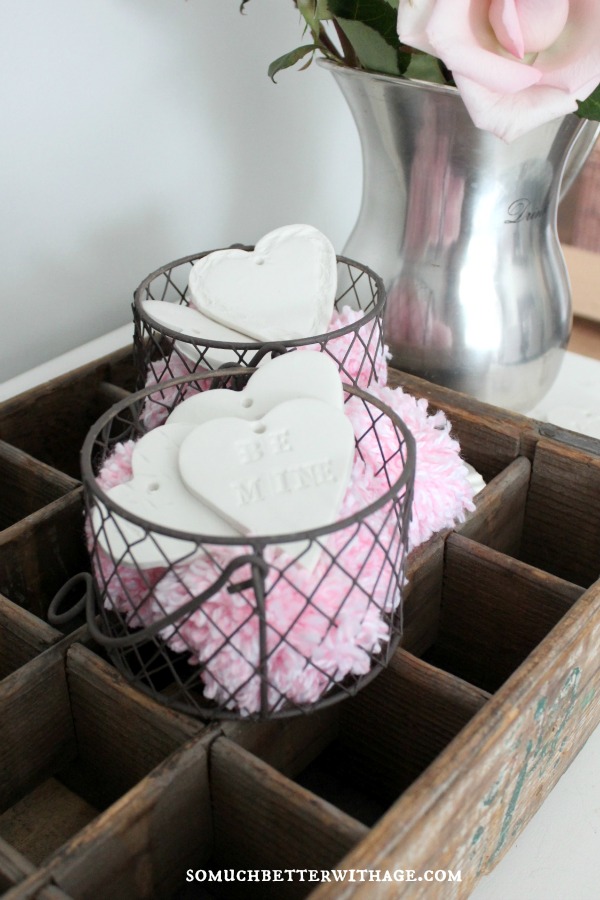
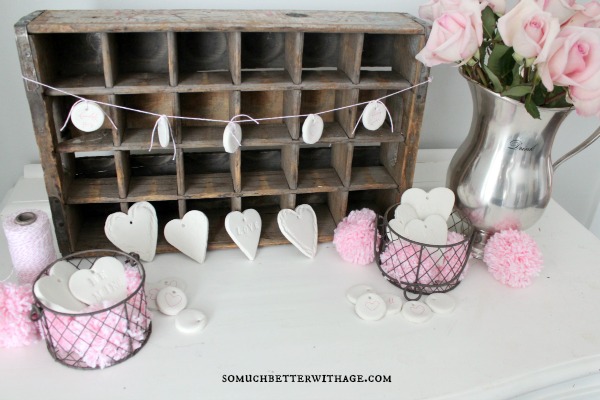
I love how it turned out! I left my large hearts white because, well, I love white.


For the clay banner, I used a fine pink felt to fill in the hearts and arrows I made.

For this heart, I pressed twine around the edges.

And for this heart, I pressed it into a metal basket.


Are you inspired to make your own Valentine’s?
Make sure to pin it for later!

Click in Case You Missed:
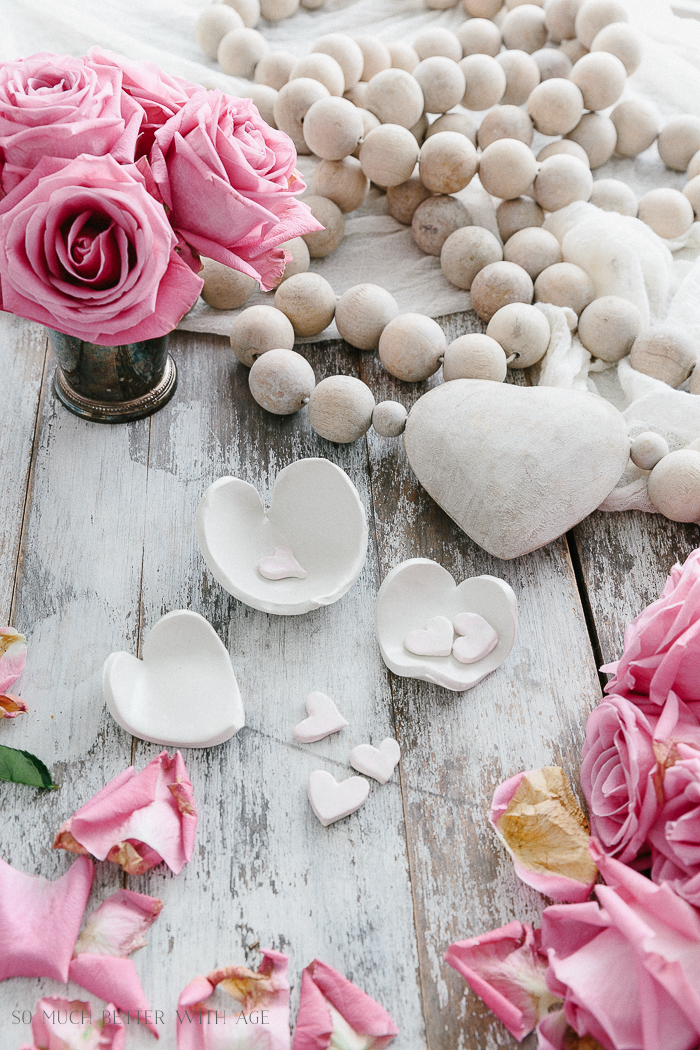
Valentine’s Day Clay Heart Dish


Gorgeous, gorgeous! I posted about some salt dough hearts I made the other day, but I am loving the versatility an pure white color of yours.
Have a great week!
Angela @ Number Fifty-Three
I love your salt dough hearts, Angela!! Thanks so much for your sweet comment 😉
Hugs,
Jamie
Very darling, love the pink string of hearts!
Thank you! I love them too 😉
Hugs,
Jamie
Those turned out so cute! I’ll have to make some with my boys…they love clay! Thanks for the inspiration!! ~Lisa
My son played with the leftover clay and loved it! It’s the perfect project for your boys 😉
Hugs,
Jamie
I chuckled at LUB U. My hubby and I’s is IDY- i dig you. These clay hearts are adorable.
haha, I’m glad another couple has a fun love saying. I’m sure we all do, right?
Hugs,
Jamie
Oh these are so pretty. I’ve never worked with clay…I may have to try after seeing these! Pinned
Thanks Jeanie! It was my first time and I loved it! I felt like a kid playing with playdough LOL
Hugs,
Jamie
Those are absolutely beautiful!
Thanks so much, Anne 😉
Hugs,
Jamie
These are so cute, Jamie! Love ’em!
Thanks Jennifer 😉
Love these, Jamie! Simple and beautiful. My kids would love doing this too. Where is my Sculpey….
Yes, it’s just like playdough, so much fun! Your kids will love it 😉
Hugs,
Jamie
This is such a cute idea! Love it!
Thanks so much 😉
What a cute idea, I love your whole vignette! Pinned 🙂
Thanks Katie! I found a new light-filled spot in my house to photograph 😉
Hugs,
Jamie
This is so cute. I’ve often wanted to do something with that clay but wasn’t sure just what. You make it look very easy.
Wonderful to be co-hosting with you.
– Alma, The Tablescaper
Thanks so much, Alma 😉
Hugs,
Jamie
Very, very cute, Jamie! I love the way you have them draped across the front of your vintage box.
Thanks Suzy! I’m so happy & grateful to be a part of your tour 😉
Hugs,
Jamie
This is so fun Jamie! I love playing with clay too – especially because it’s a great medium for my almost three-year-old and I to both play with! Thanks for sharing this sweet project!!
This was my first time and I felt like a kid playing with playdough. So much fun. And my kids loved it too 😉
Hugs,
Jamie
I’m like you..no a big fan of red. I use it at Christmas, but no other time. I’m not even a big fan of red clothing! LOL! I love your simple pink touches and those clay hearts are a great project! Happy weekend! ~Christy
Oh Christy, we are definitely kindred spirits. I don’t like red to wear either and only decorate with it at Christmas, haha. Thanks so much!
Hugs,
Jamie
Good morning Jamie! I love these so much that I’d like to feature them on my ‘weekly wonders’ post tomorrow morning. Hope you’ll stop by to check it out! ~Lisa
Thank you so much, Lisa!!
Hugs,
Jamie
These are so pretty Jamie!! Pinned:) Happy weekend!
Ya! Thanks Krista 😉
Hugs,
Jamie
Beautiful!! Simple, sweet and chic!
Thanks so much, Heather 😉
Hugs,
Jamie
These are so sweet! I love the touches of pink from the felt marker!
Thanks Emily 😉
Hugs,
Jamie
So, so pretty! Love the white. I’ve never used clay before. Looks like I need to give it a try. Thanks so much for sharing, and beautiful photos!! Happy Wednesday to you!
You have to try it, so much fun! Thanks Brooke 😉
Hugs,
Jamie
Jamie, I love this project. The little hearts remind me of Valentine heart candy that have those funny little saying on them. So sweet!
Oh, that would be fun to make! Thanks so much, Yvonne!
Hugs,
Jamie
So pretty, Jamie. Thanks for sharing at Silver Pennies Sundays. x
Thanks Danielle 😉
Hugs,
Jamie
Hello Jamie,
Thanks for sharing these cuties at my party this week. I am going to feature them on Monday at next weeks party.
Blessings,
Linda
Thank you so much, Linda! You’ve made my day.
Hugs,
Jamie
I just love these Jamie!!! They are so classy and elegant and gorgeous! Pinning, and I featured this today on my blog!
Thanks so much, Jessi 😉
I love your darling hearts, Jamie! I found you over at DIY Dreamer and I’d love it if you’d consider sharing them at Brag About It on VMG206.
~ Megin of VMG206
http://www.vmg206.com/2014/02/brag-about-it-link-party-no-41.html#more
These are simply lovely. Love the way you strung them over the old box. The white against the aged wood is wonderful. I have pinned this and I am sure I will be giving your tutorial a try.
Thanks for sharing,
Suzanne
Pieced Pastimes
Thanks so much, Suzanne. It was so fun & easy 😉
Hugs,
Jamie
Jamie this is so adorable! I am going to share on my FB page tomorrow morning. Thank you so much for sharing at Redouxinteriors!
Thanks so much! I truly appreciate it 😉
Hugs,
Jamie
Jamie, I think your clay heart tags are the perfect ‘little something’ for Valentine’s Day. Thank you for sharing at Shabbilicious Friday…. I’m delighted to be featuring them at tomorrows party.
Hugs ~ Kerryanne
Thanks again, Kerryanne!! You made my day 😉
Hugs,
Jamie
Could these get any cuter?!?! This would be such a fun project to do with the kids! Side note….I am so jealous of all your fabulous vintage finds 🙂
These are absolutely adorable!! What a great idea. And I love all your pictures! 🙂 Pinned and shared!