
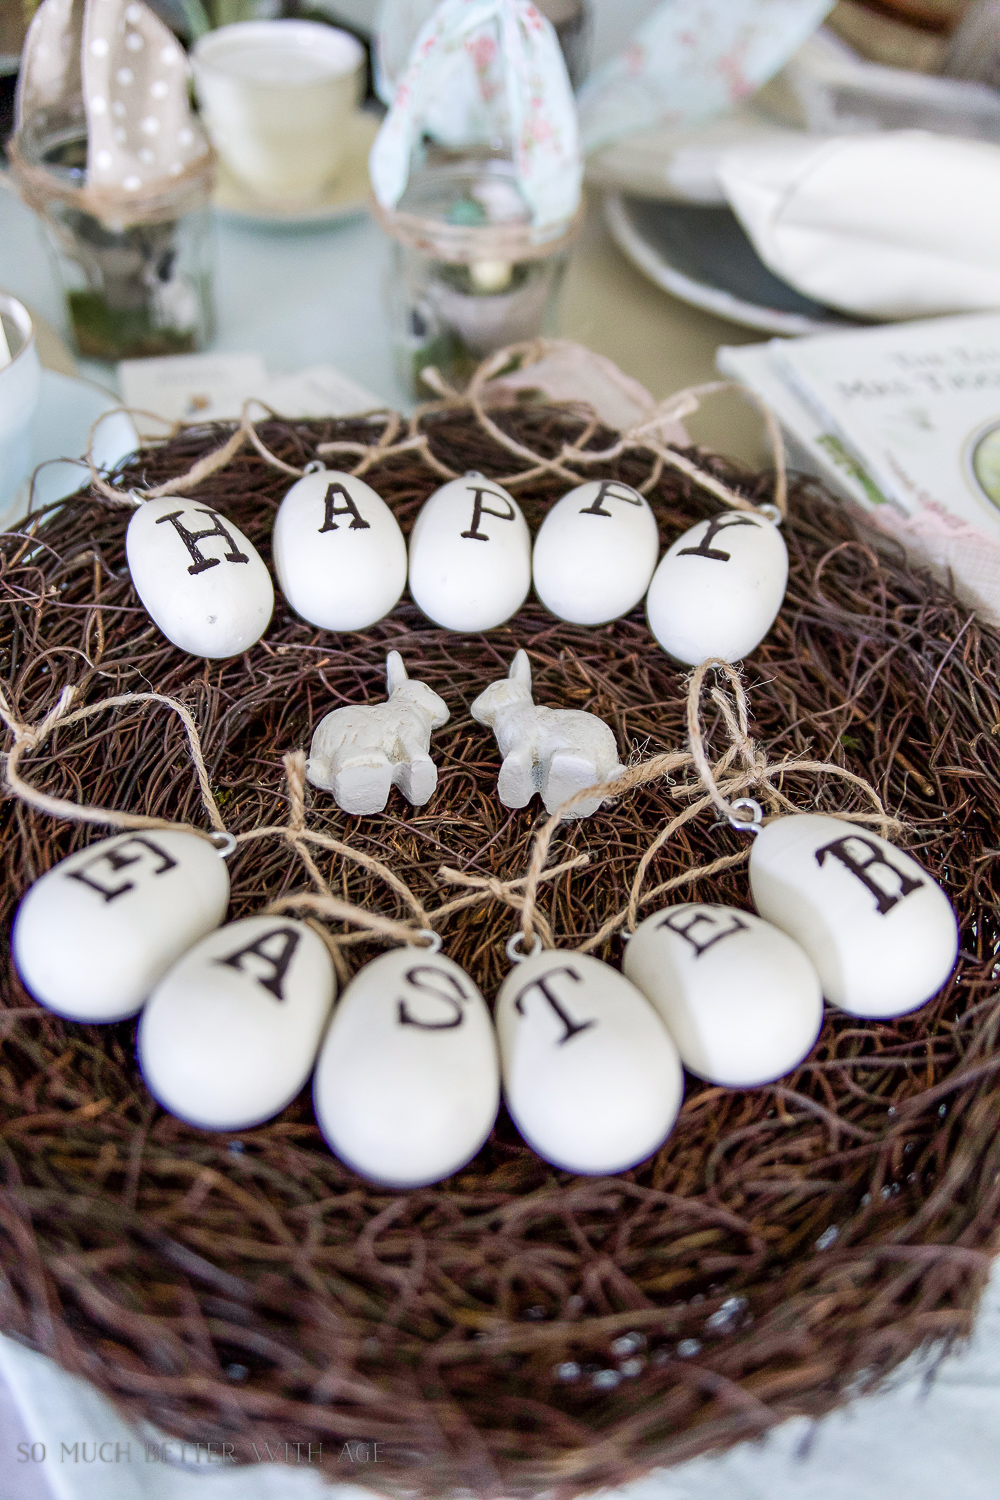
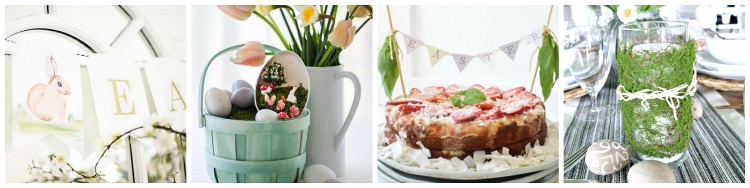
DIY Vintage ‘Happy Easter’ Eggs + Video
How to make your own DIY vintage ‘Happy Easter’ eggs!

Nothing makes my vintage loving heart pitter patter more than when I come across something putty coloured with vintage-y looking typewriter font.
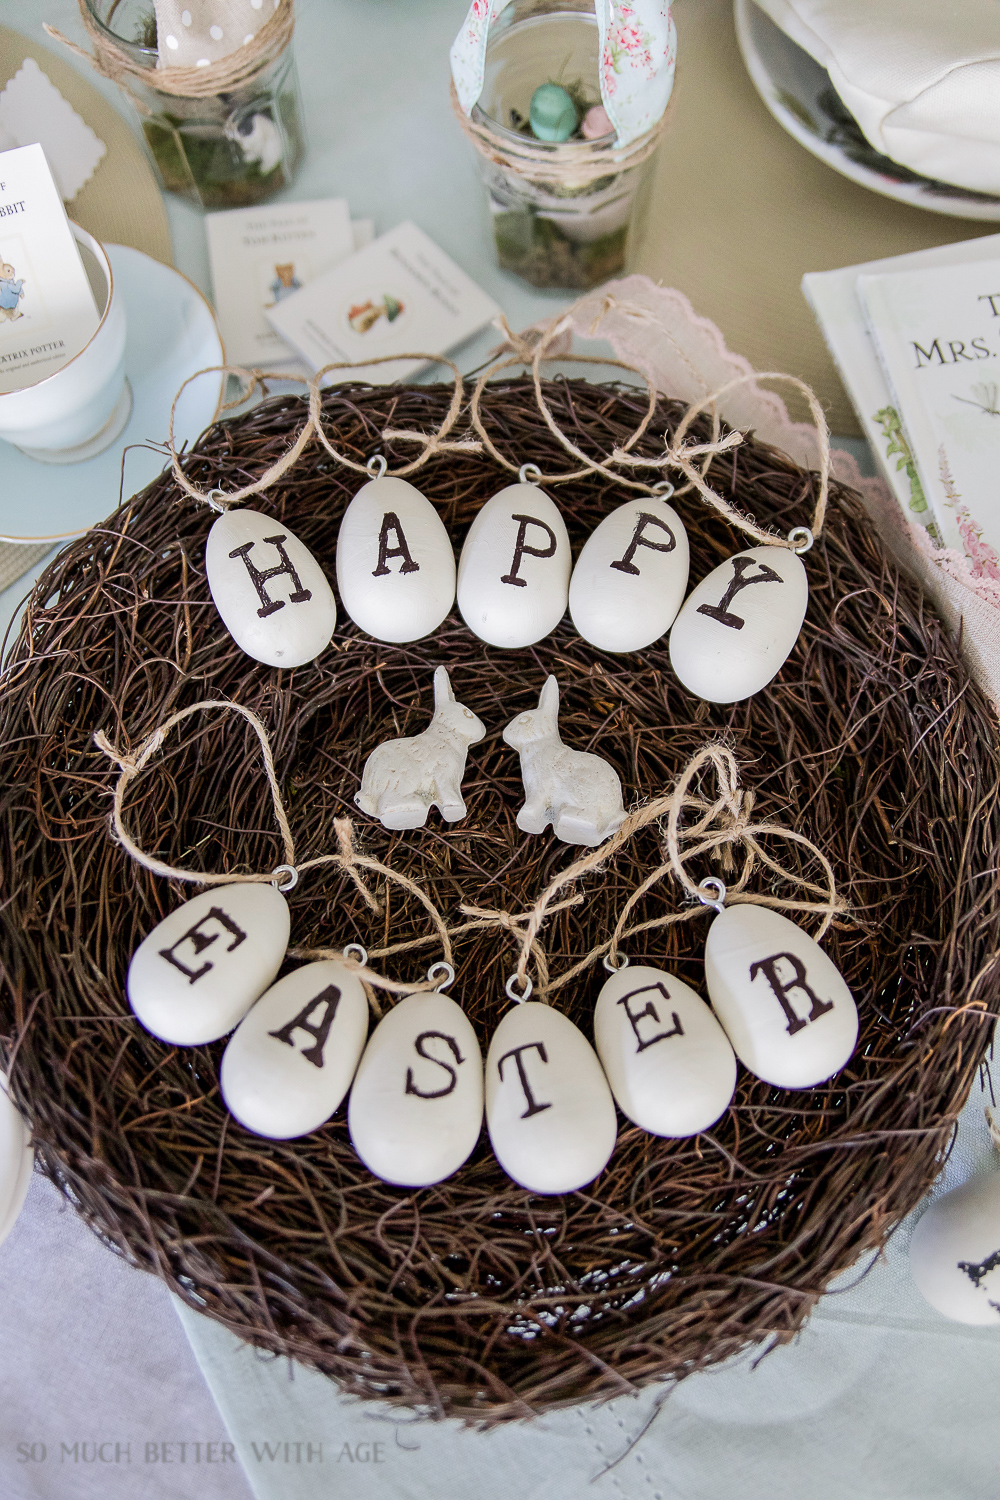
I bought these Easter eggs from Pottery Barn years ago and wanted to see if I could recreate them. I used them recently in my Easter egg decor stick.
I’m also joining friends to share our Easter crafts and DIYs. Thank you Annie from Zevy Joy for organizing this blog hop! Be sure to check out all the crafts/DIYs at the end of this post.
This post contains affiliate links for your shopping convenience. Click to read my full disclosure policy.
Here is what you’ll need to make your vintage Happy Easter eggs:
Supplies:
- wooden eggs
- electric screwdriver (this is my favorite) or drill
- Putty from Fusion Mineral Paint
- foam brushes
- mini eyelet screws
- wax paper or Avery sheets (see tutorial here)
- ultra fine tip black Sharpie
- jute twine
- tape
- scissors

Directions:
1. Pre-drill the top of each egg with a screw and screwdriver. It’s best to put it in a vice or you can keep it in the egg carton to hold it while drilling.
2. Paint half of each egg (so you have room to hold it). Once dry, paint the other half. Let dry in a egg carton. I like the bit of texture both paints add to the eggs.
3. Following this same tutorial, print the download below on Avery backing paper or wax paper from your home printer. The ink doesn’t dry (or takes a long time to dry) on wax paper so be careful not to touch the ink or it will smudge and you’ll have to print it over again.
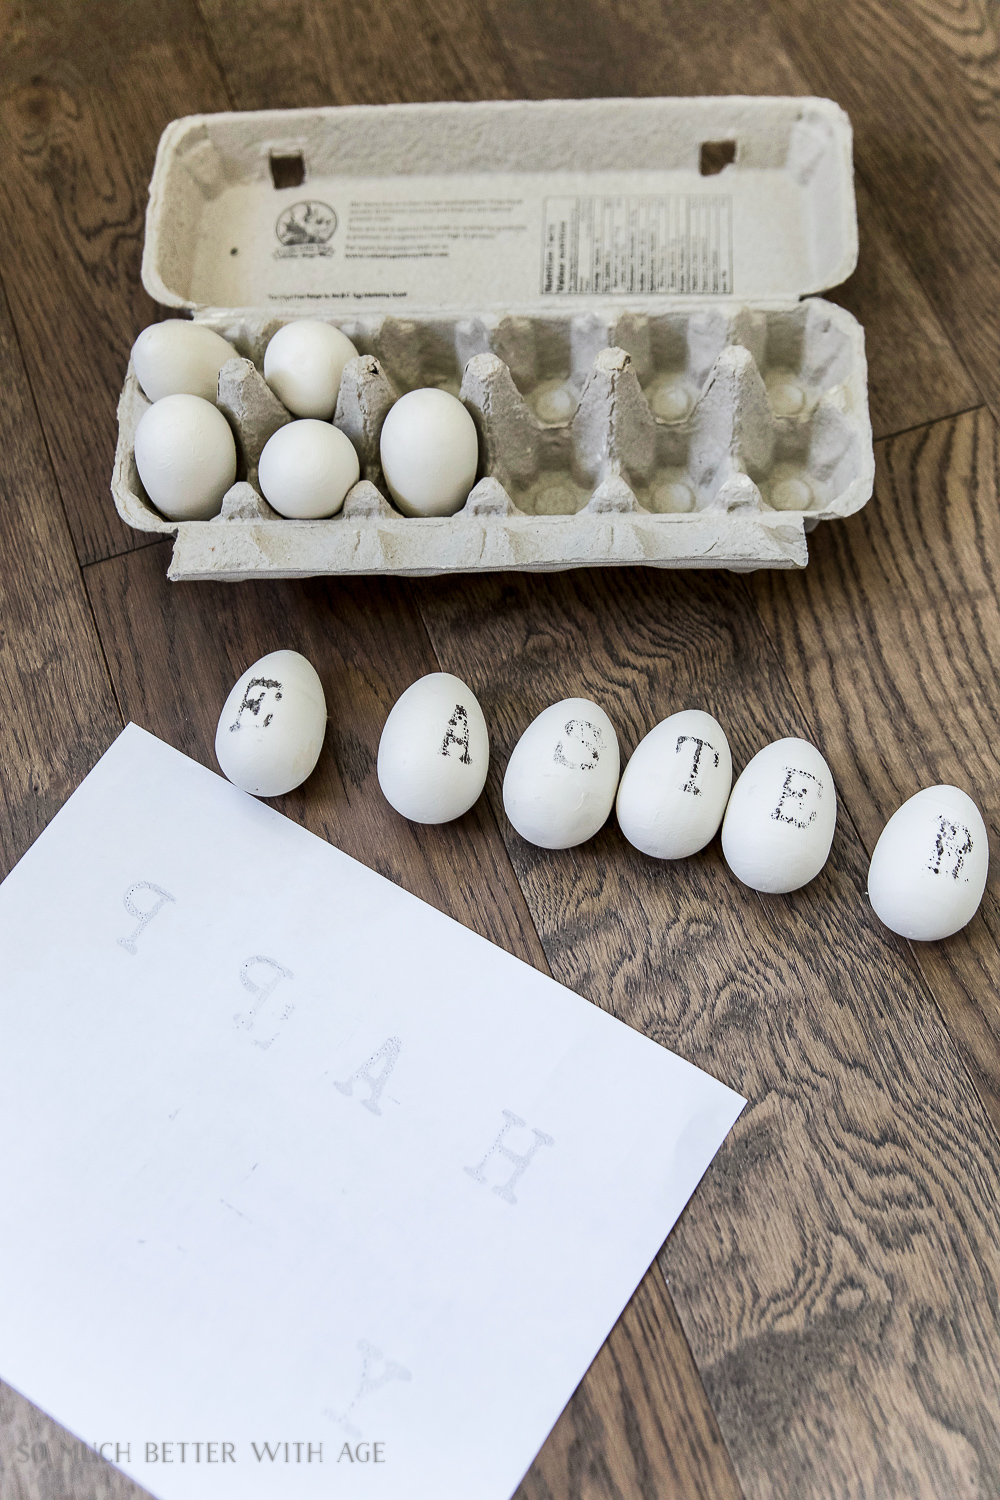
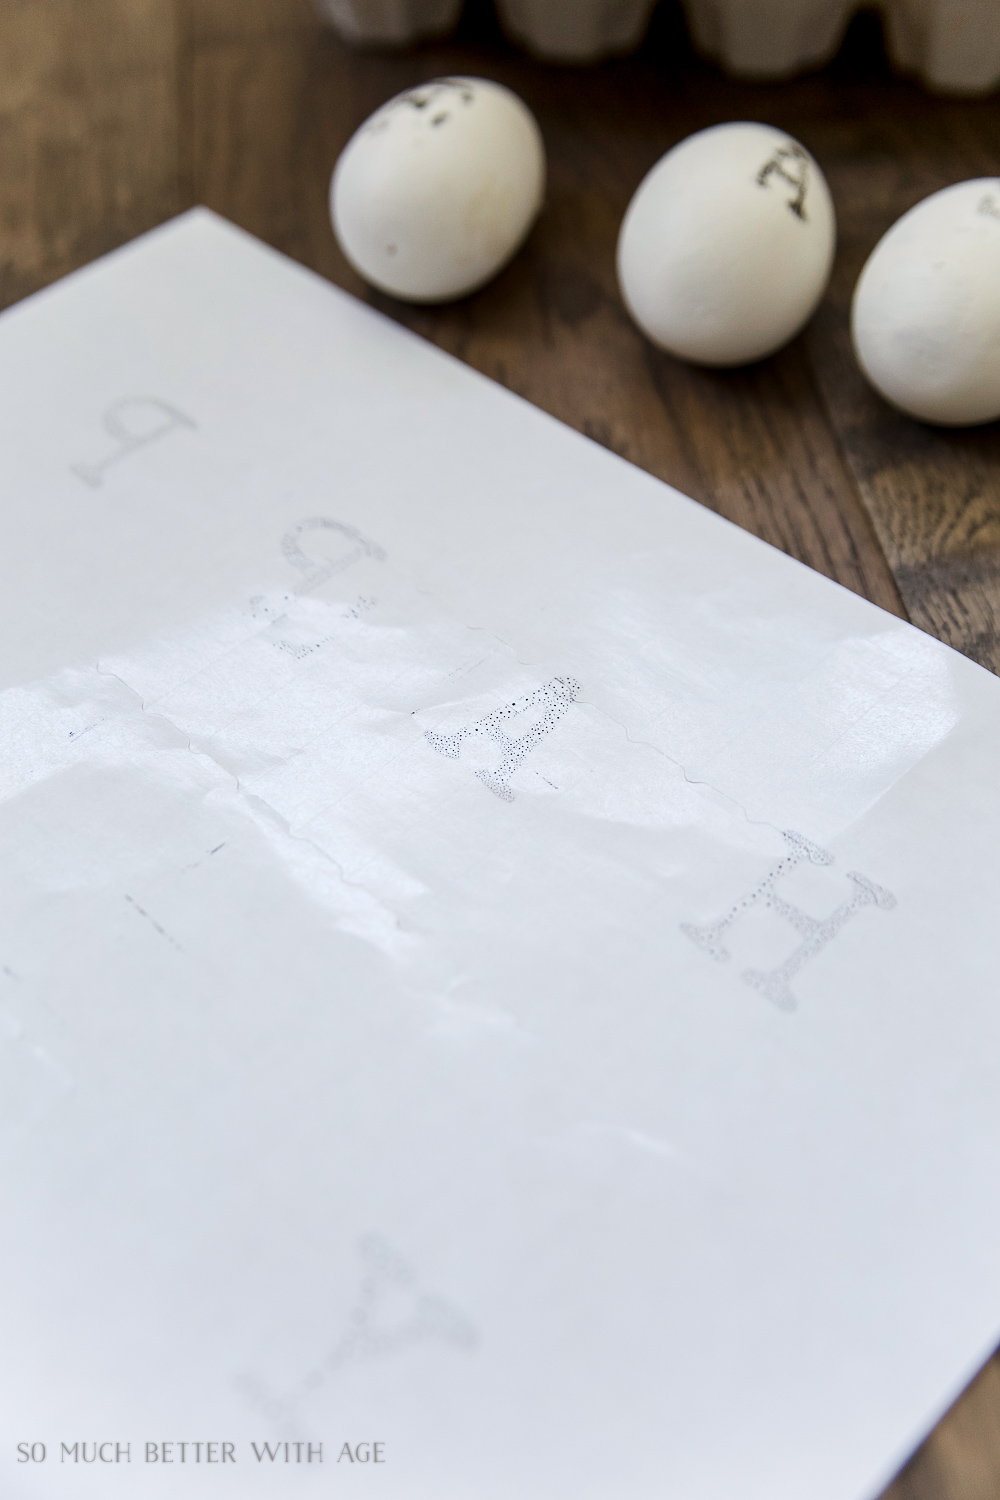
4. Cut out each letter and tape a letter to an egg rubbing a card over the letter to imprint the letter onto the egg. The letters are reversed so make sure they go on reversed. I almost put the E upside down.
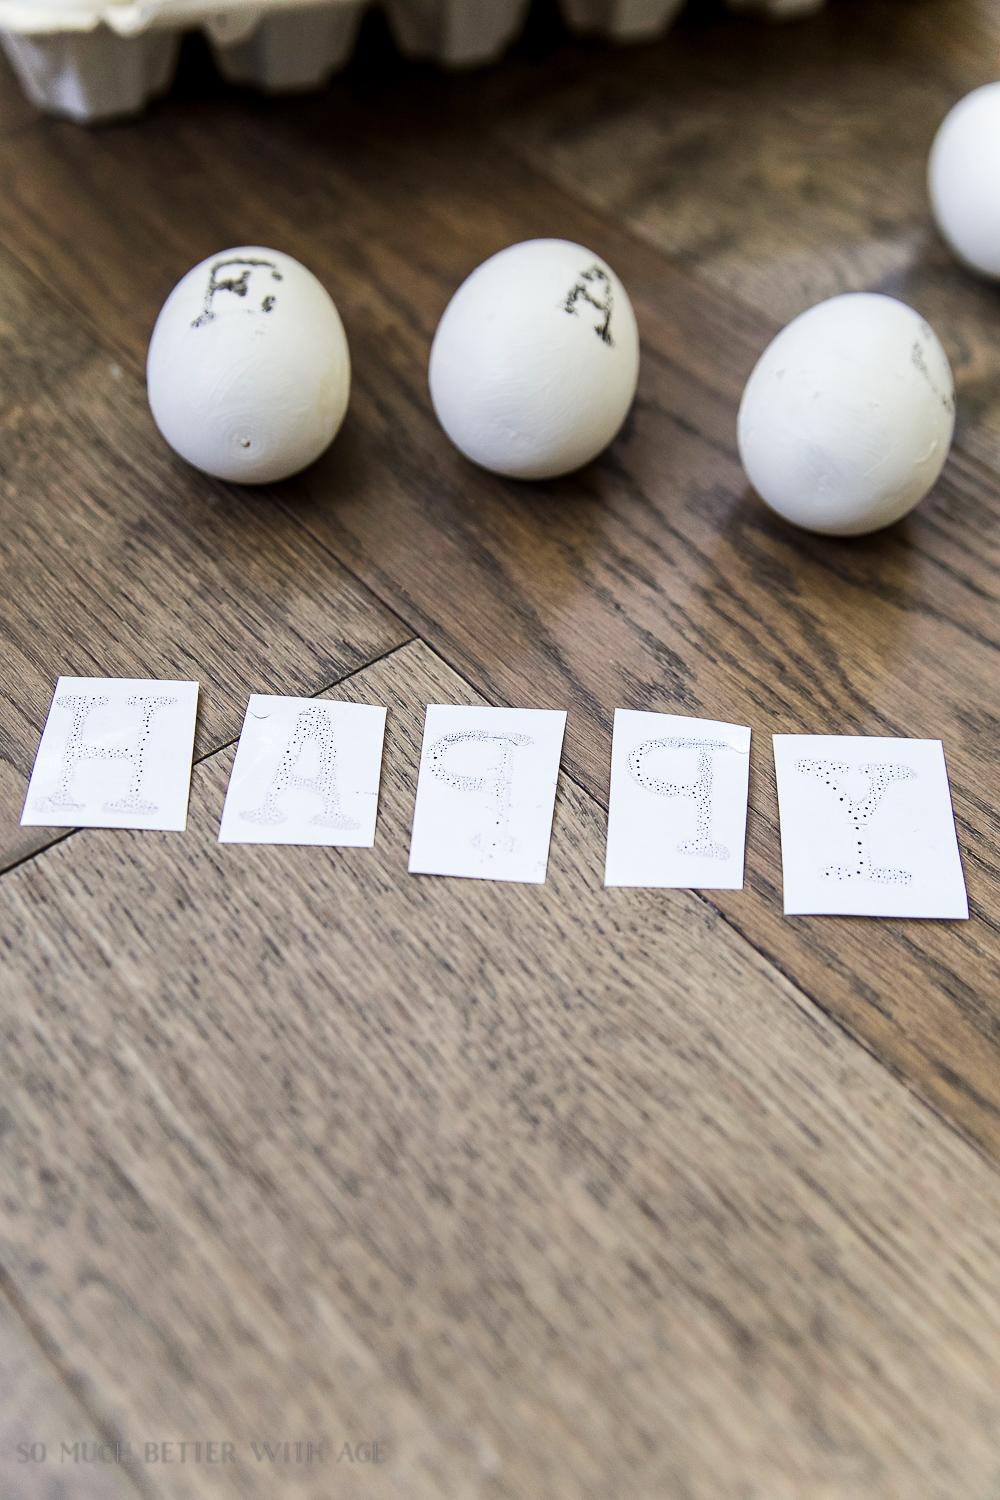

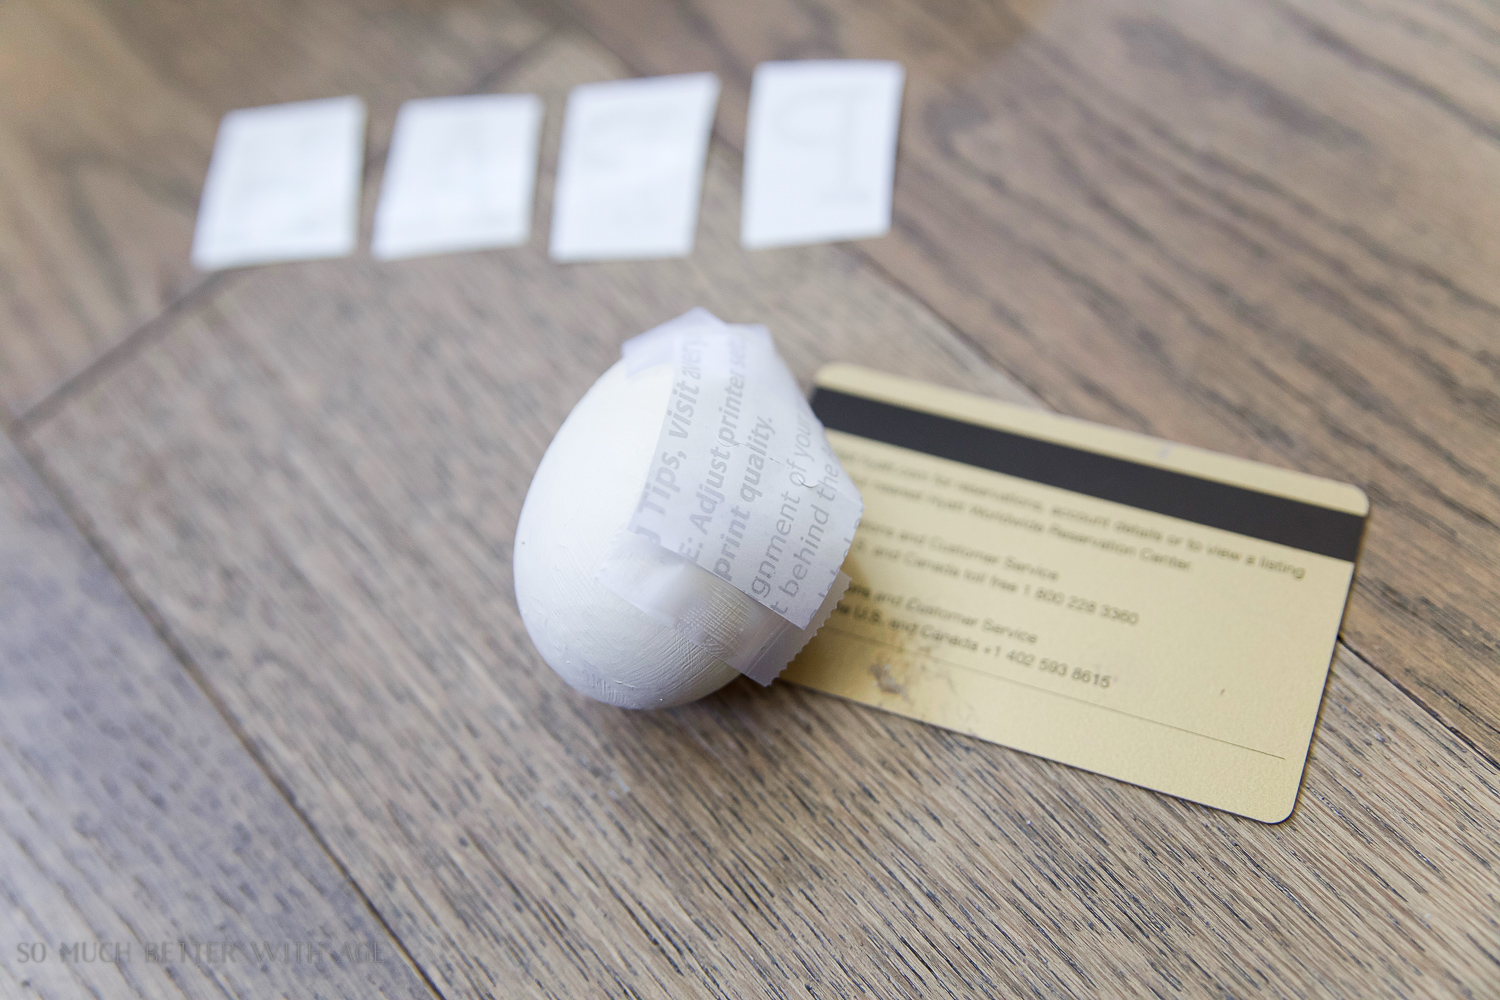
5. Using a fine tip Sharpie, color in the rest of the black letters on the egg. It doesn’t have to be perfect. The more ‘imperfect’ the better as you want to recreate the old typewriter font.
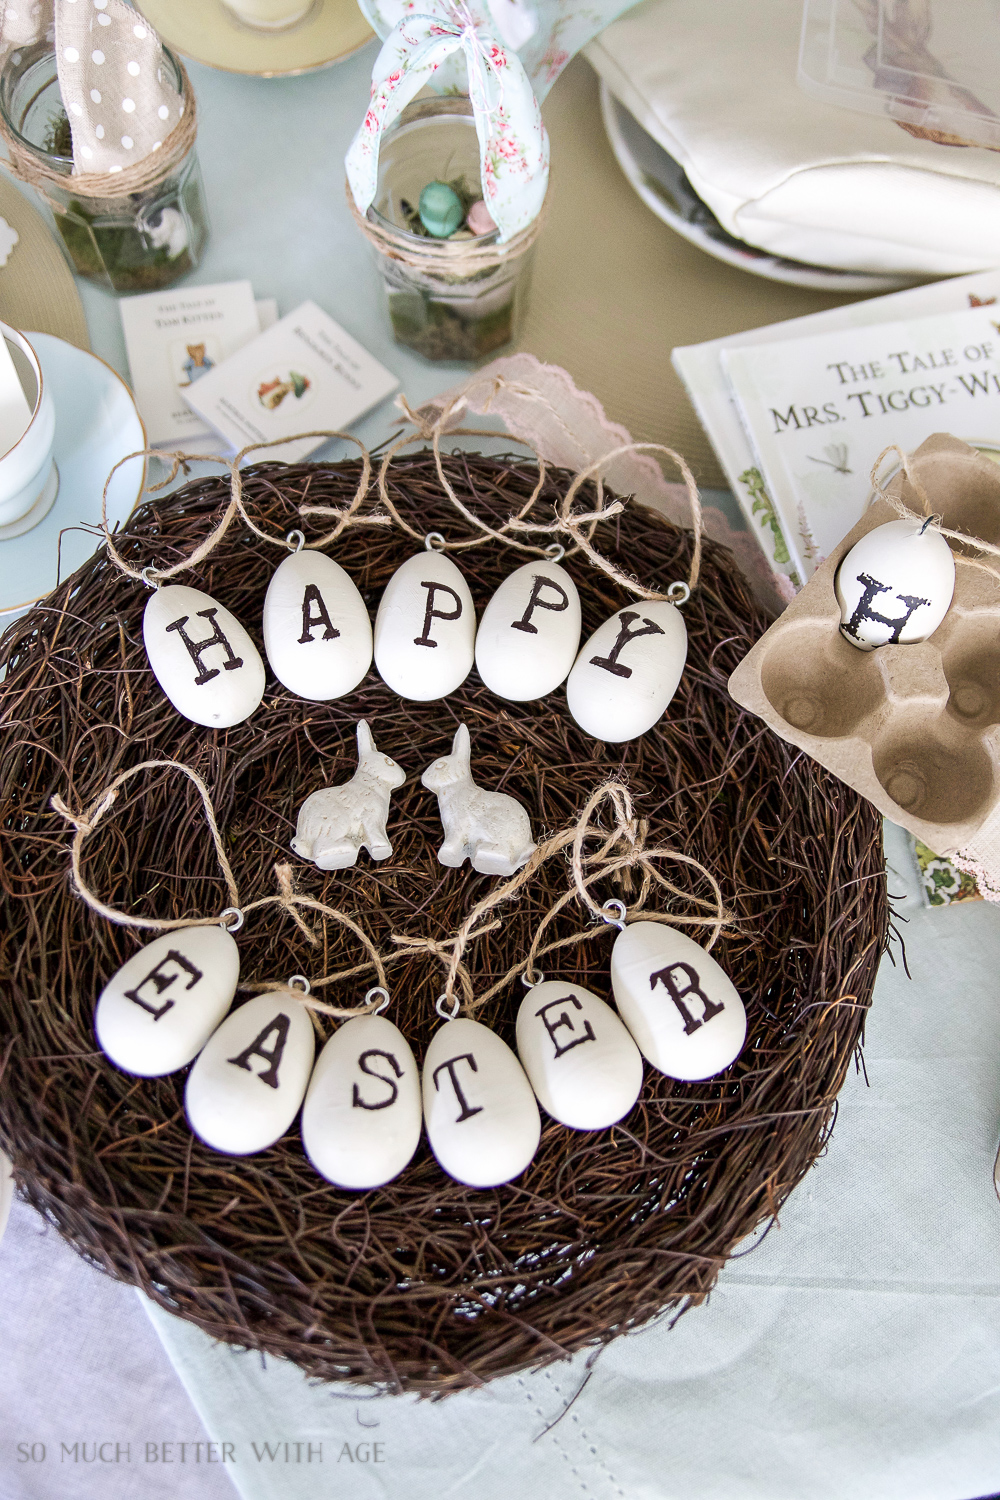
6. Screw an eyelet screw into the top of each egg and thread some jute twine through each screw.
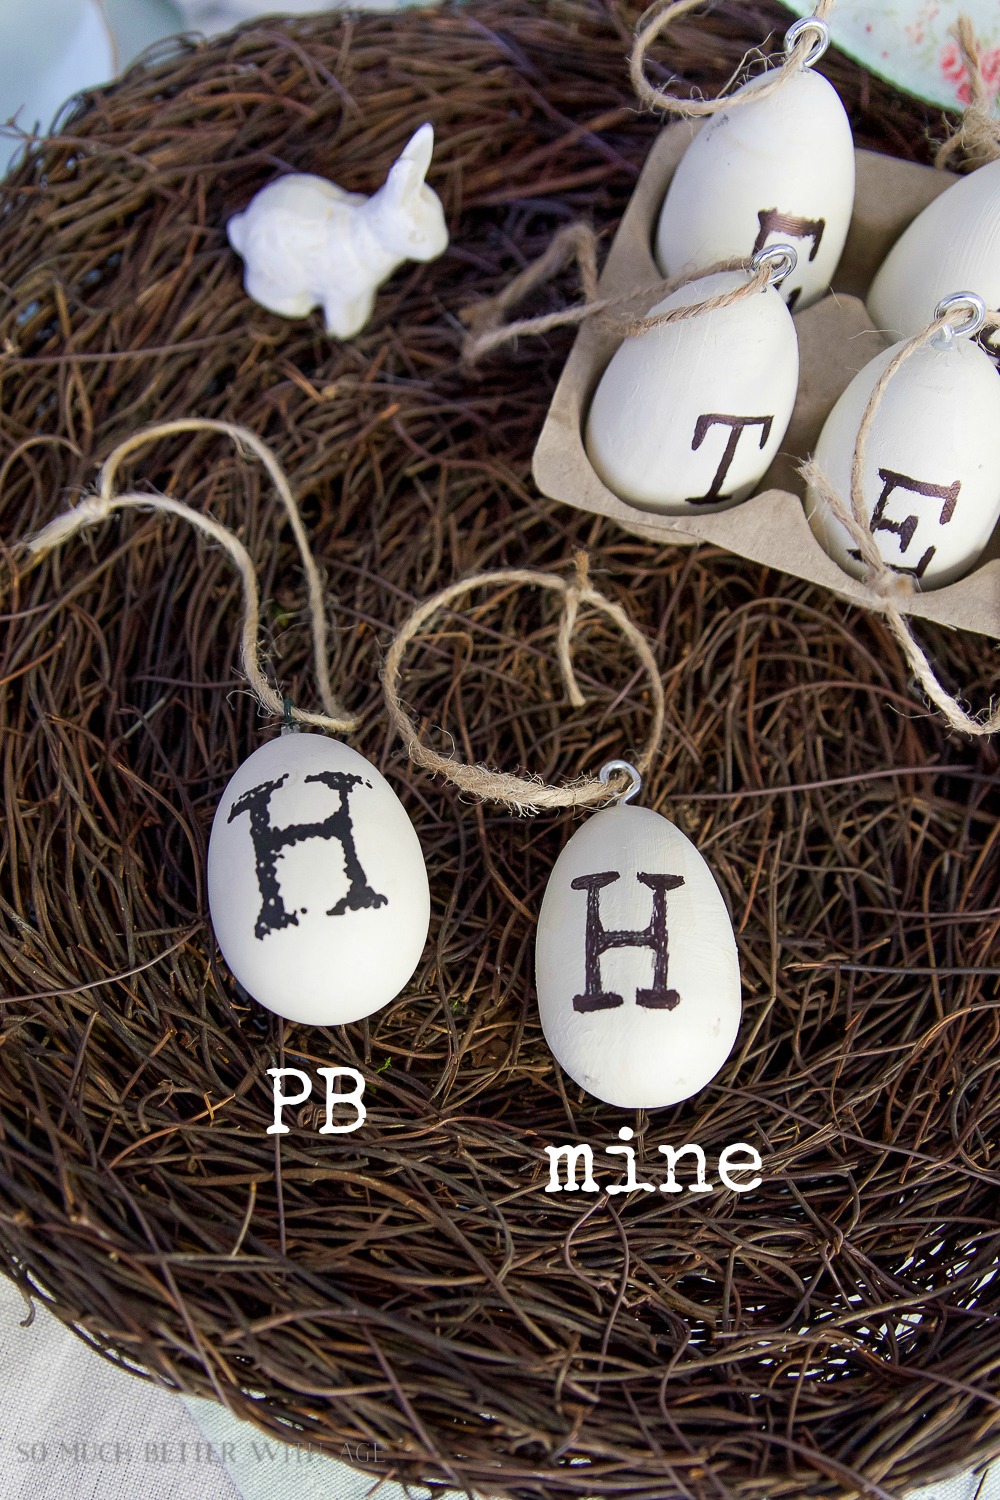
I love the way they turned out!

I like these better than the PB ones as the eyelet screws are facing forward for easy hanging on a garland. These ones got a bit wonky and I had to add tape to the top of the stick.
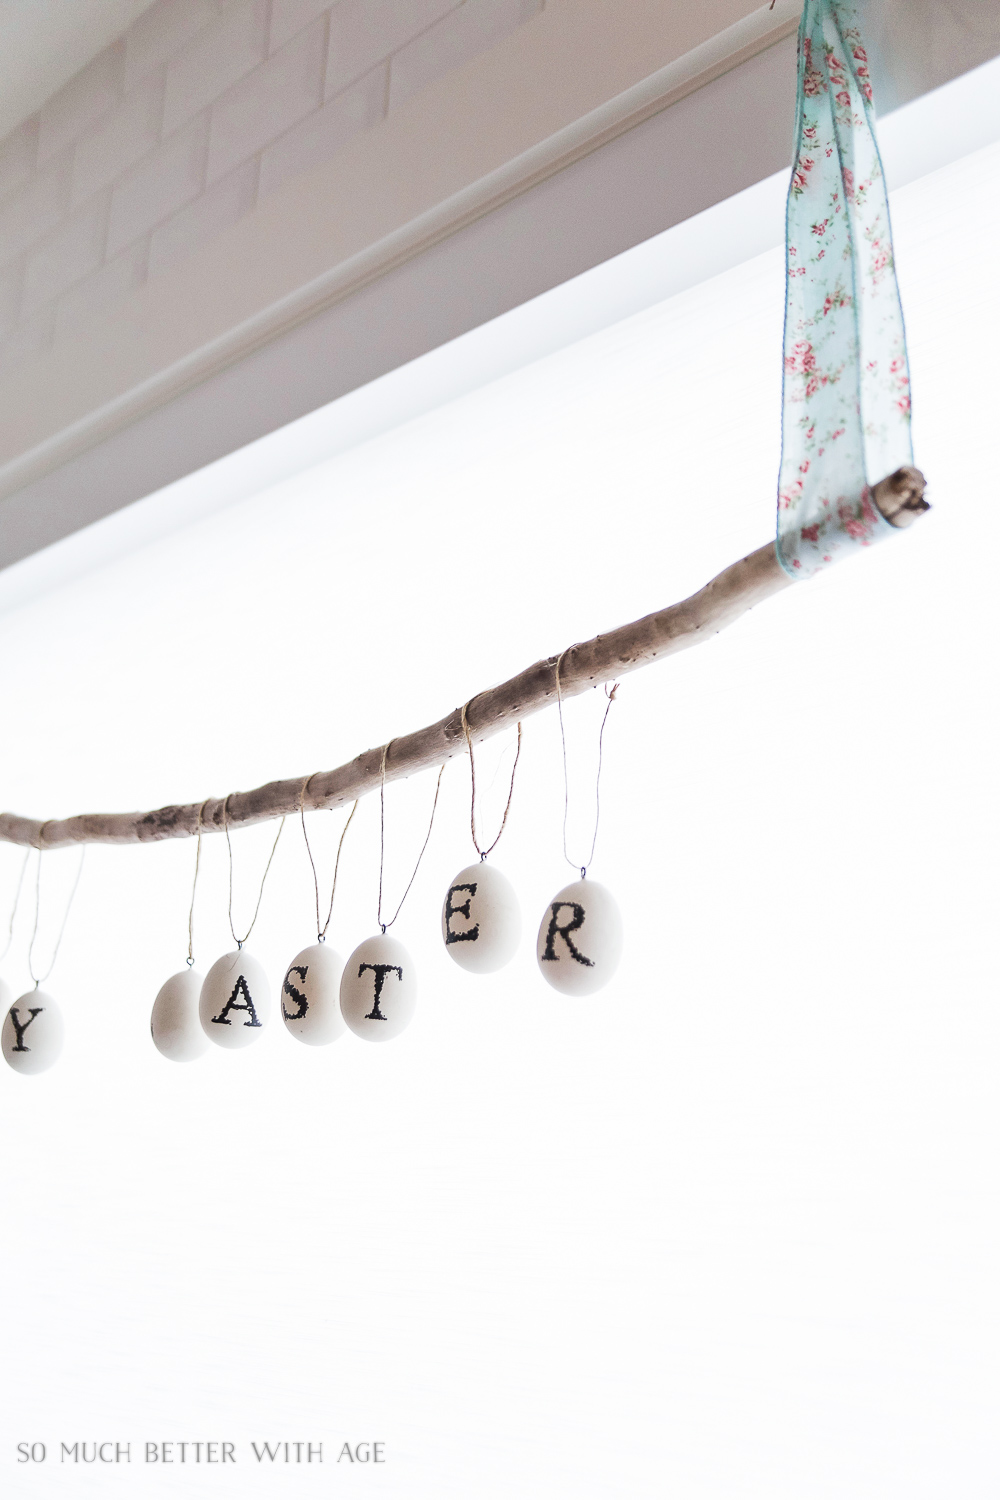
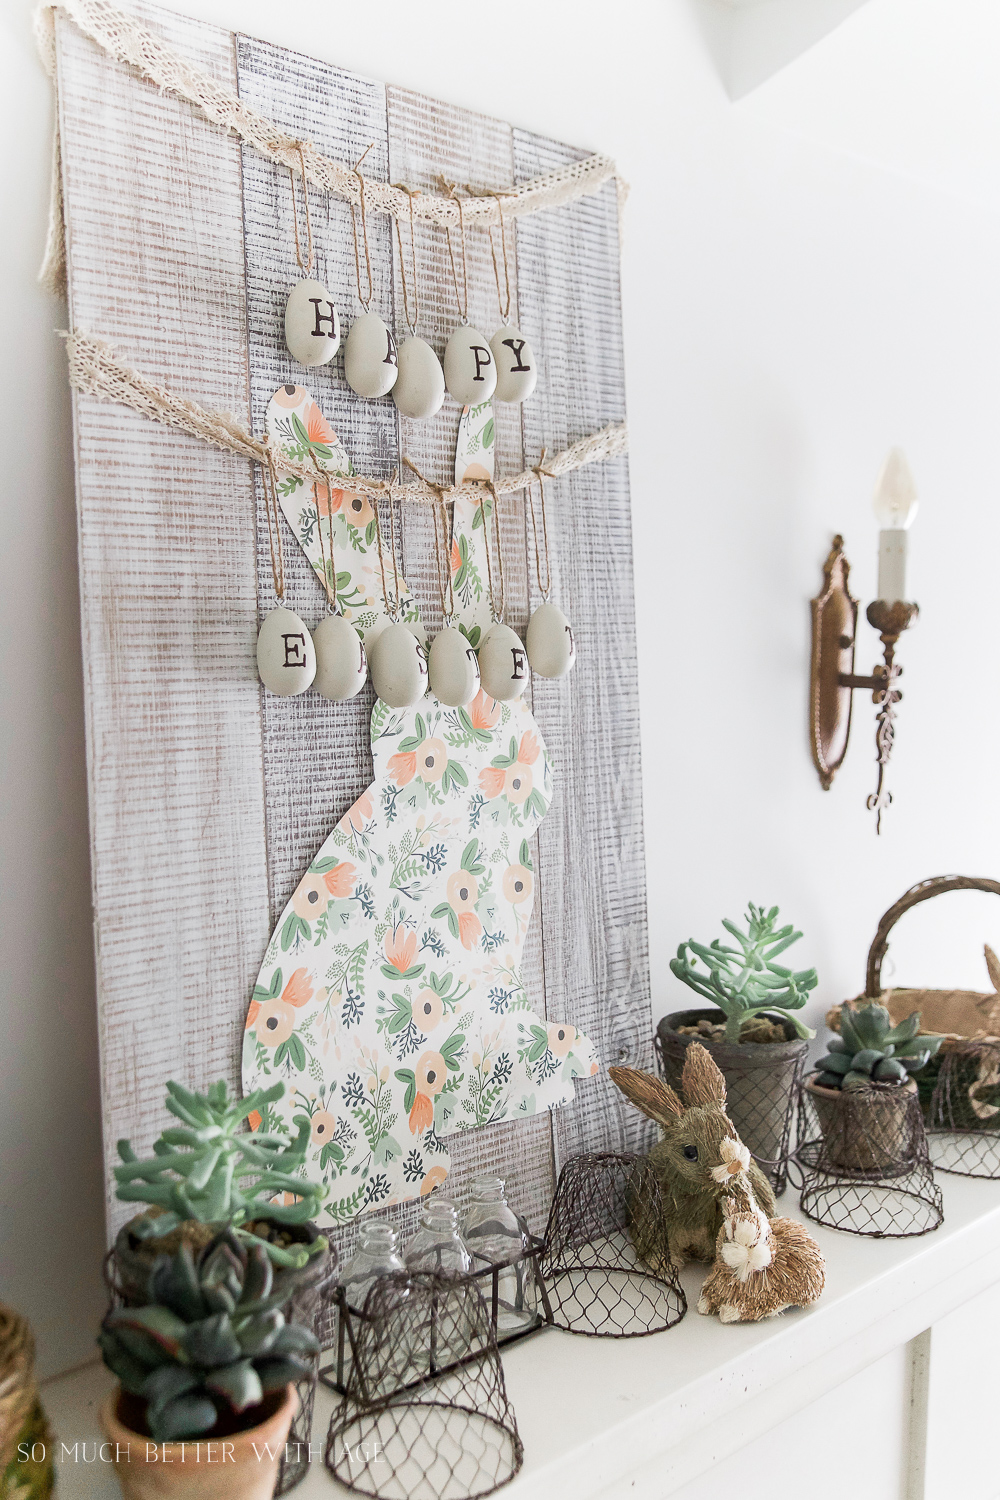
Now you can hang them up on a stick for window decor.
Or on something like the bunny sign that I made here.
I hope you feel inspired to make your own vintage ‘Happy Easter’ eggs.
Now be sure to visit all these wonderful blogger friends.
printables:
To download these printables, subscribe to my newsletter.
If you are already a subscriber, you’ll have access to the printable in your inbox.
CHECK OUT THIS SHORT VIDEO ON 12 CREATIVE EASTER IDEAS:
Make sure to pin it for later!

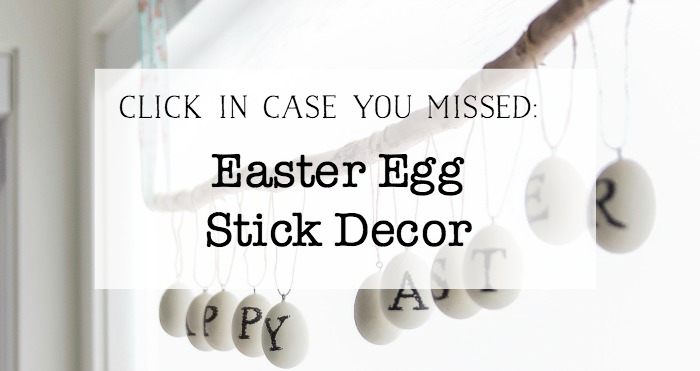
Click in Case You Missed:
French Bottle Drying Rack Floral Centrepiece


Kid’s Easter Table by Summer Adams

How To Dye Eggs With Food Coloring by TIDBITS | Easter Wreath by Shades of Blue Interiors | Easter Egg Decorating Idea – Mini Floral Bunny Ears by A Burst of Beautiful | DIY Easter Sign – Hello Peeps by My Sweet Savannah

DIY Bunny Napkin Rings by Craftberry Bush | A Kindred Easter with Kindred Vintage & Co. | DIY Metallic Easter Eggs with Maison de Pax | Spring Garden DIY Easter Centerpiece by Elliven Studio

Bunny Ears Bags and Free Printable by Ella Claire | Free Printable Easter Cards by Boxwood Avenue | Simple Modern Easter Tablescape by Cherished Bliss | DIY Vintage ‘Happy Easter’ Eggs by So Much Better With Age
Printable Watercolor Easter Banner by Nina Hendrick Design Co. | DIY Bunny Garden Easter Basket by Zevy Joy | Easter Cake – Paleo Coconut Pineapple Cake with Topper by Nesting With Grace | Moss Wrapped Candle by Design, Dining and Diapers

This is really cool babe! Well done!
Thanks babe
J. xo
Jamie I am going to do this project – it turned out so pretty and can be decorated with in so many fun ways! Thanks so much for joining!!
Thanks so much for having me, Annie!
Hugs, Jamie
These are so neat. Love them.
Thank you Jacque!
Hugs, Jamie
I love your eggs, I have not seen a post from ya, are you ok.
hugs
Thanks so much for your caring message, Pamela! I saw your message as soon as it came in but didn’t get a chance to respond until now. I have a lot of stuff going on right now but it’s good! I’ll be able to share soon 😉
Hugs, Jamie
Not a problem, I sure have enjoyed the chit chat…..that makes you more real , makes you more like a friend. I like that. 🙂 Thanks for the other website on French shopping. I subscribe to the site letter, I will be definitely ordering something maybe even a shopping tote! I so love them.
Thanks Pamela! I totally get that, it’s nice to connect to a human being beyond the blog! I just found this little site: https://shoppcbhome.com and recently bought the little wooden vases. You can see them in my dining room post.
Hugs, Jamie
I noticed them in dining room post, they are so cool looking. Thanks for sharing the site I went and signed up. They have so many cool things. and she also teaches calligraphy class’s , I love calligraphy, I taught my self, and just have not done it in years so I’m really rusty. Love the website.
Very cute! Love how it looks hanging on the stick.
Thanks Victoria! It was fun to make!
Hugs, Jamie
Your tutorial is so helpful. Nice tip about not rubbing it on backwards, I would so do that! Love these,Pinning. So glad you shared with us at Merry Monday.
Thanks Shirley!
Hugs, Jamie
I love this! Thanks for the tutorial. This is a definite must try!
Thanks Jolene!
Hugs, Jamie
Hi Jamie, I really like the eggs hanging from a “natural” rod suspended by the ribbon in your window. Natural decor is always my favorite. I have a question. The eggs on the rod in the large picture, (3rd from the bottom) in this post, are they PB eggs or eggs you made using your download? The font on the eggs in the picture looks a bit more “fuzzy” or vintage to me, I love that blurry vintage look, I can even make out an errant dot here and there. If they are PB eggs, I was wondering if there might be a way to achieve that look using your download? I’m thinking artist’s ink with a fine brush? Your crafting and decorating proficiency are 100% beyond my own, but my husband is pretty steady with brush and ink. If you think that would work, I’m always up for “begging”, “prodding” or “deal-making” with him. 🙂 As always, your creativity is so inspiring and I thank you for sharing your wonderful art!
Hi Judy,
Okay, it’s been a couple of years so I did that project and wrote the post so I had to look very carefully to find out 😉 I do think it’s the PB eggs that I used for that post. It does look more fuzzy and I think if you were color it in like you mentioned using my tutorial it should work. Maybe just using dots and a fine tipped pen? Here is the tutorial on the stick garland if you need it:
https://somuchbetterwithage.com/easter-egg-stick-garland/
Have fun creating!
Hugs, Jamie
Thanks for helping me out with this one, Jamie. Using a fine tipped pen and dots is ingenious! I approached my husband with my brush and ink idea…well, he didn’t say, “yes- or no…”, he just kind of winced. I know he’ll go for the pen!
Once again, your creativity overflows!