Garage Makeover Details + Video
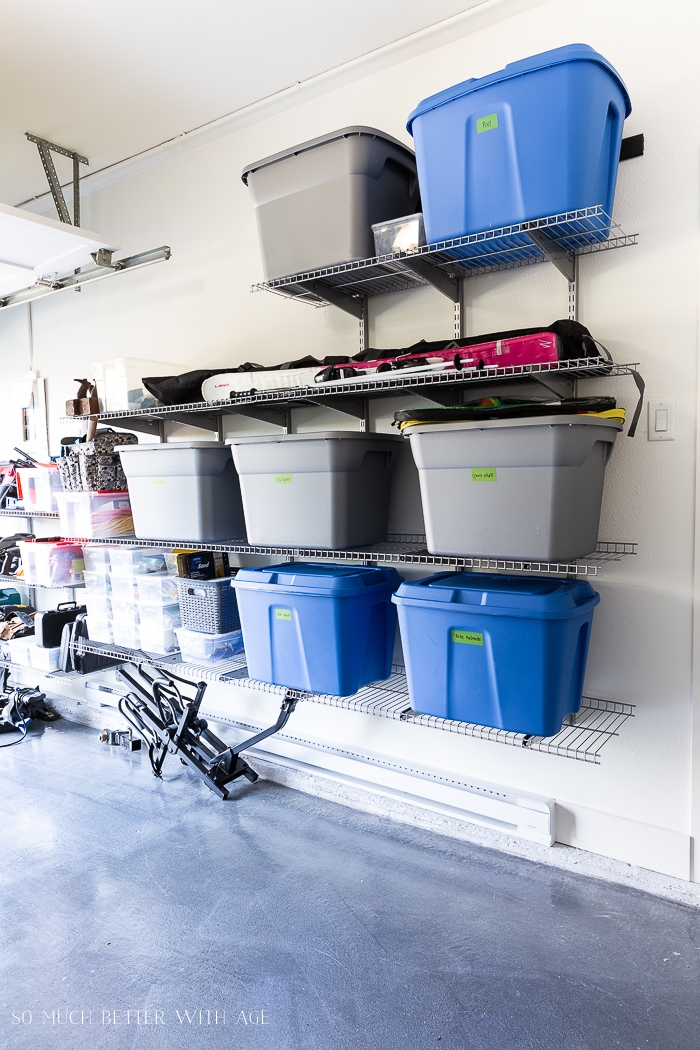
We turned this one car garage into a beautiful and organized storage/workshop/studio space!

Disclosure: I received product from Rust-oleum Canada. All opinions are 100% my own.
Last week I showed you how we transformed our one car garage into a beautiful space and today I’m sharing all the details with you!
the to do list
These are the steps we took to prepare the space before installing all the organizers.
- Insulated the walls
- Insulated around the garage door
- Clad the step with wooden flooring
- Installed trim and baseboards
- Painted the walls
- Painted the interior of the garage door
- Installed an electric baseboard heater
- Applied Rust-oleum Rocksolid to the floors
wall Insulation
Insulating the walls was a horrible job and not one I recommend doing yourself. Aaron and I rented a insulator blower from a local hardware store and the machine was constantly jamming. In theory, you should just be able to plop in a bag of insulation and it grinds it up and shoots it out through a long tube. You cut holes in the drywall just slightly larger than the tube itself and it blows the insulation into the wall.
Except that our machine kept jamming and it was clog the hose up so bad and we had to take it apart completely and no amount of pressure would unclog the hose.
Anyway, if you prefer not to get divorced, hiring someone for this job is highly recommended (or getting a machine that actually works). We were so frustrated that we didn’t even take photos! Here are some shots I grabbed from my Instagram stories.

You can see those holes are grey inside which is the insulation. Aaron had back the cut drywall circles and patched up the drywall.
garage insulation
We bought some weather stripping for around the garage door for a nice tight seal. We wanted to be able to open the garage door for lighting (for photo shoots) and working in the garage in the warmer months.
Here are the products we bought:
Rubber garage door bottom seal
This garage weather stripping is the product we bought from Amazon (Canada) but it’s no longer available. I would keep checking back as Aaron says it’s a phenomenal product!
He found one that looks the same similar at Lowe’s (Canada) Climaloc garage weather stripping.
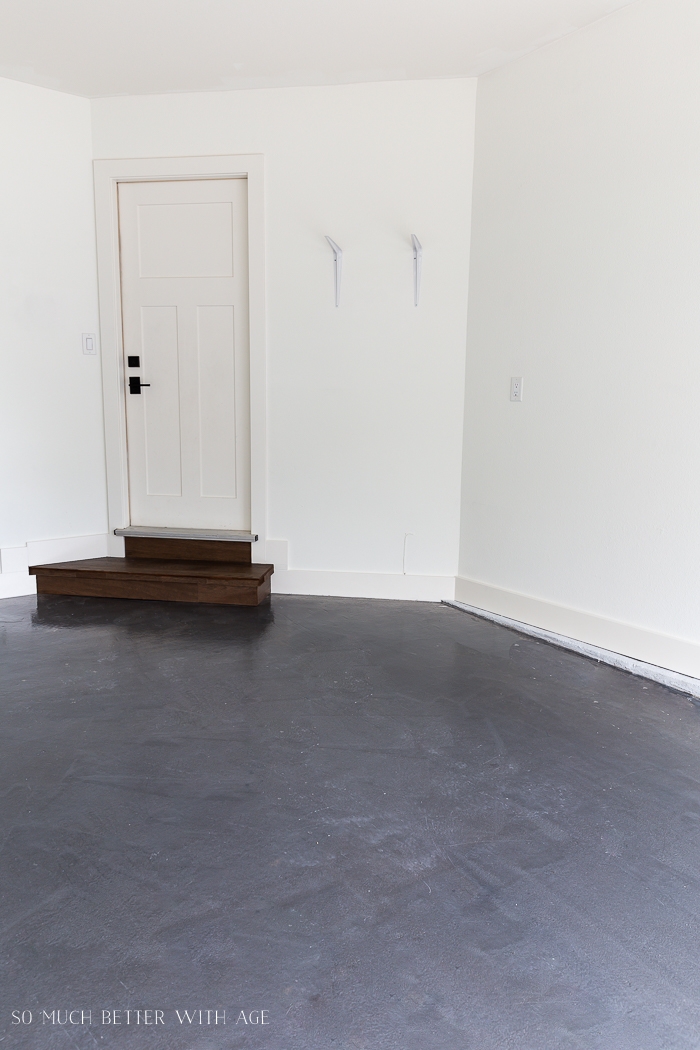
updated step
The step inside was fine but the paint had worn off. Aaron took it one step further by cladding it with the leftover flooring from our interior flooring.

It looks really good!

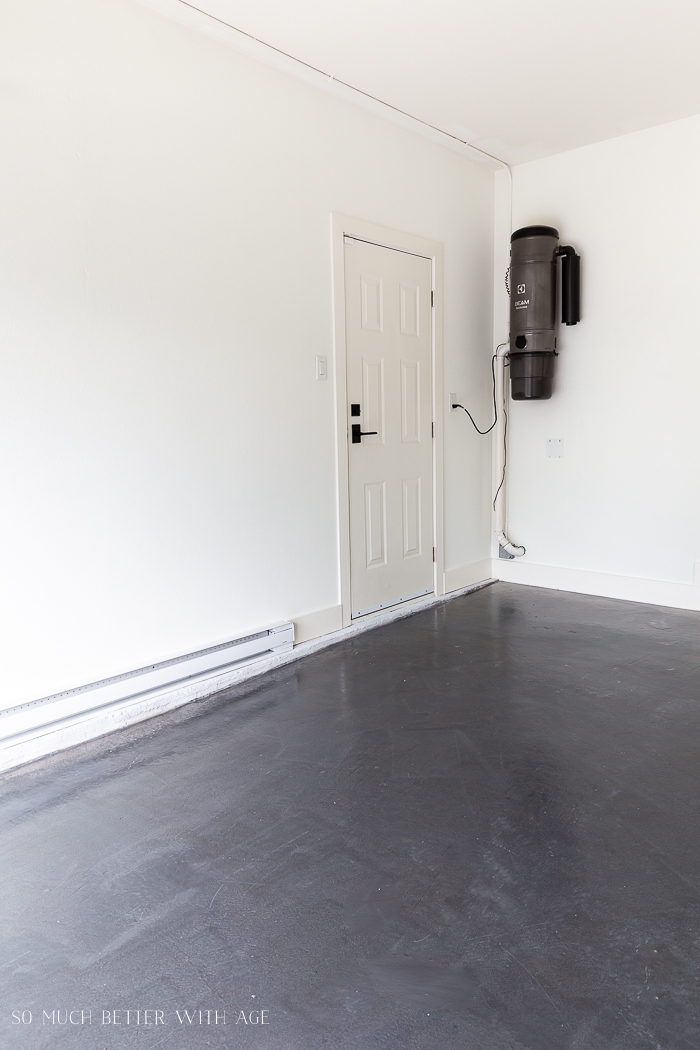
trim and painting
We (I mean Aaron) added baseboards around the perimeter and trim around the side exterior door.
I told him this wasn’t necessary but he really wanted to make sure everything was done properly since this is the only time we’ll be updating the garage (and this folks, is why I married him!).
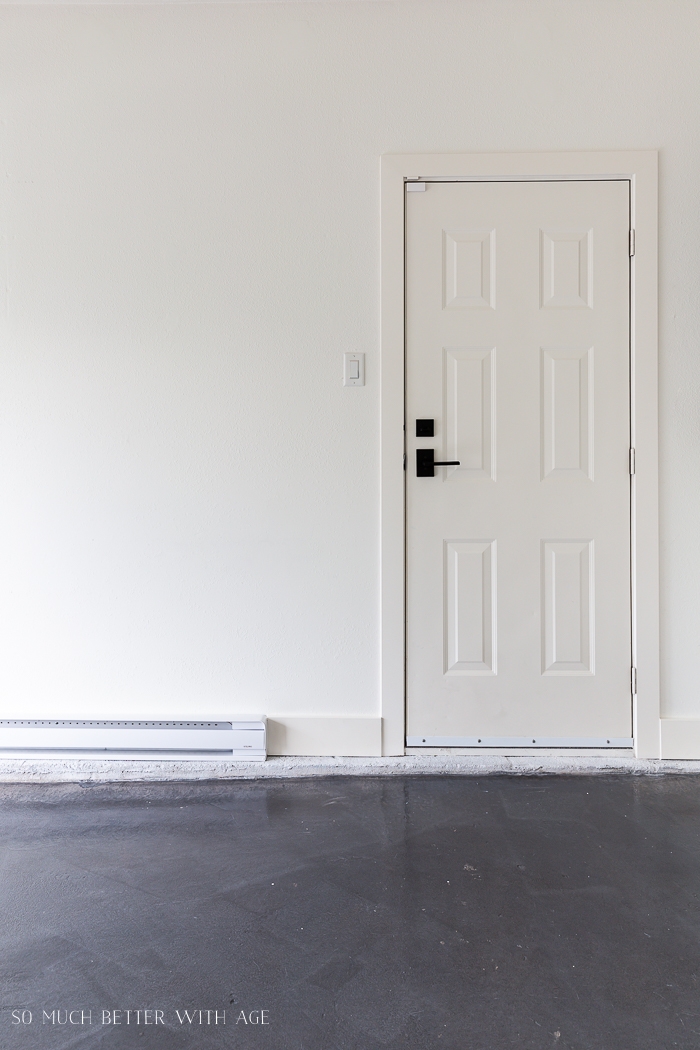
Then everything was painted in regular white paint (the kind that’s already in the cans) after all holes were patched up.
We painted the interior side of the garage door as well.
electric baseboard heater
We had an electrician come and install this very long electric baseboard heater along one wall. Aaron is very handy with electrical work but we weren’t sure if our electrical panel was already maxed out so we had a professional install it.
It’s now so nice and toasty in here now!
And with everything off the ground, there’s no worry about the heater making items too hot.
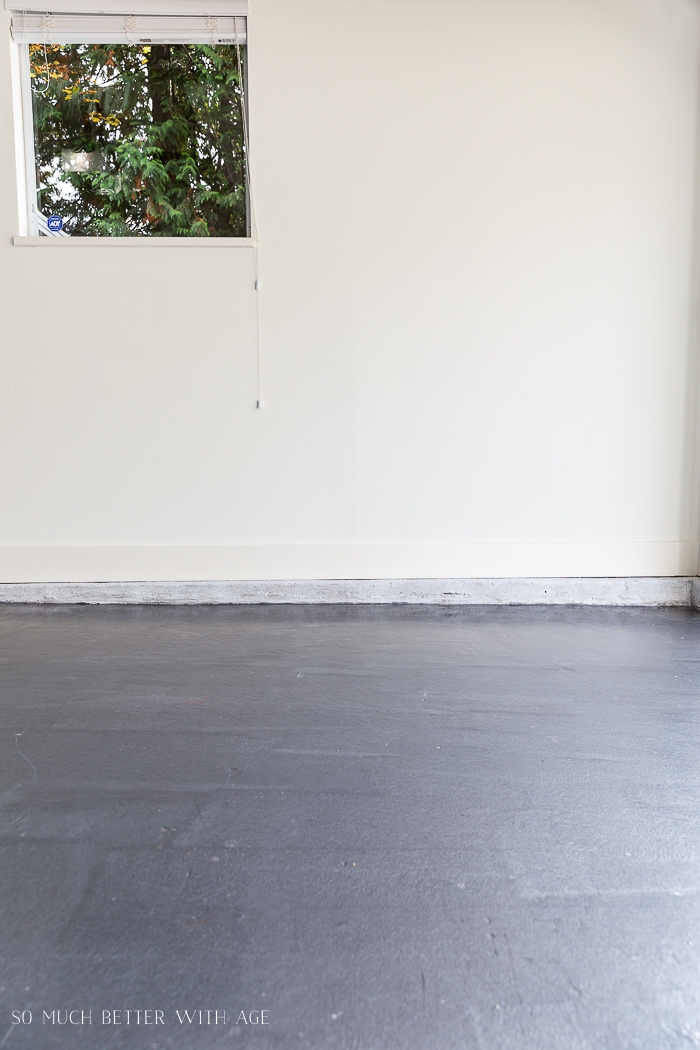
flooring
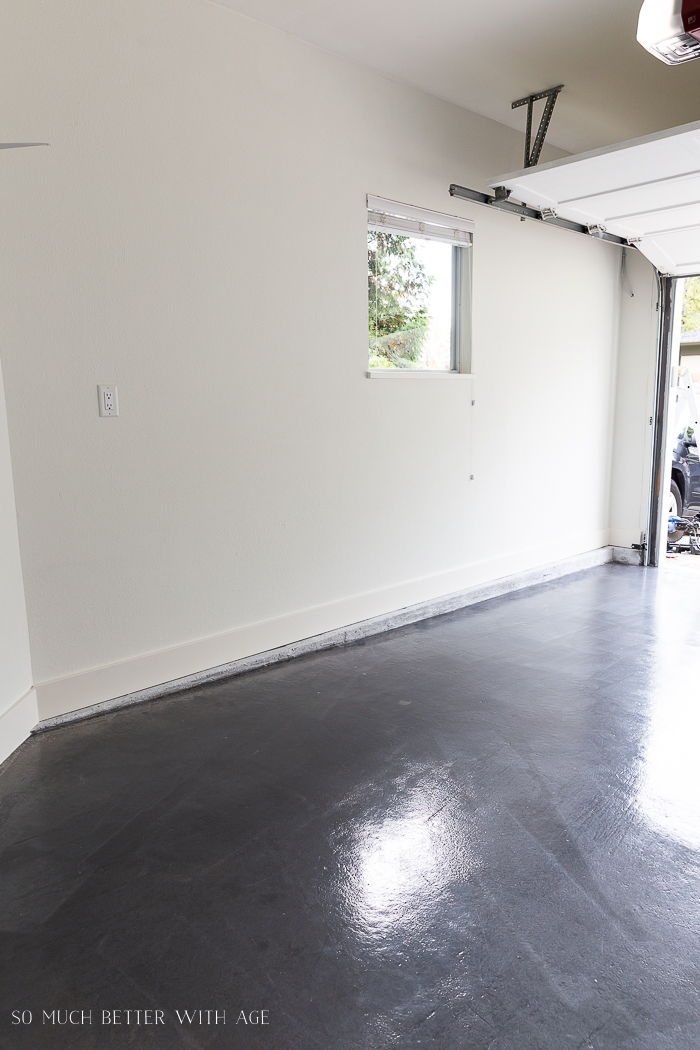
The biggest impact with this garage makeover has got to be with the flooring.
Since we always parked in the garage, the flooring was pretty much like any other well used garage floor.
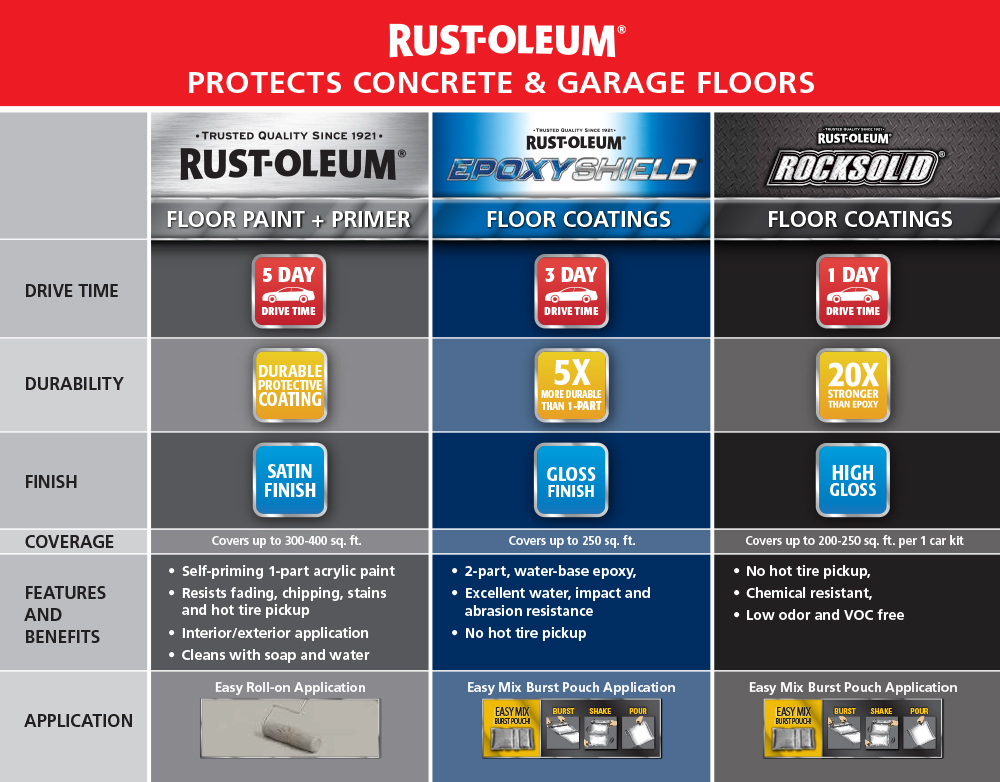
We decided to go with a Rust-oleum product as we’ve always heard such great things about their garage flooring products. They have two main flooring products and I’ll let you know which one would be best in picking out for your garage floor.
Rust-oleum Rocksolid in Silver Bullet
Rust-oleum Textured Clear Top Coat

prep
First, you want to start with a clean floor. Vacuum or sweep it out really good.
If you need to patch the concrete, follow the directions with the product you use. With the product we used , it required us to keep the floor damp so we hosed it down, let it dry a bit and patched some holes in the concrete. This step is optional, of course.
If you have grease/oil on the concrete, you will need to take care of that with a degreaser so that the products adhere properly.

do I need to prime?
This is a great question and one that we should have done! Our floor was so badly marked up that we should have primed before using the product. If your concrete floor is new or in great shape, you do not need to prime. You will use the citric acid wash that comes in the box.
If you need to prime, you will skip the citric acid wash step.
Our flooring isn’t exactly perfect looking BECAUSE it wasn’t primed. This product is quite opaque so you will be able to see whatever is underneath.
(there’s another Rust-oleum flooring product that you could use instead OR you could just prime before)
mixing and applying the product
You can watch the video below to see how this is all done!
You will mix the two products that come together in the separated packs and pour it into a bucket. Then add the metallic dust to your bucket and mix well.
Now you can apply it to the floor by painting the edges first with a cheap brush or foam brush then roll the rest on.
Remove any bubbles that have popped up by sanding down.
The second box is a textured matte clear coat that prevents your floor from becoming too slippery.
Mix the separated packs together and pour on and roll.
The results are really beautiful!
How to decide which product?
Remember, if you have an old, marked up garage floor, be sure to prime first!
You can also use Rust-oleum Epoxyshield Garage Floor Coating.
You can check out their guide here:
video
Be sure to watch this short video on to apply the product!
Make sure to pin it for later!


click in case you missed:
How to Declutter & Organize Your Basement