
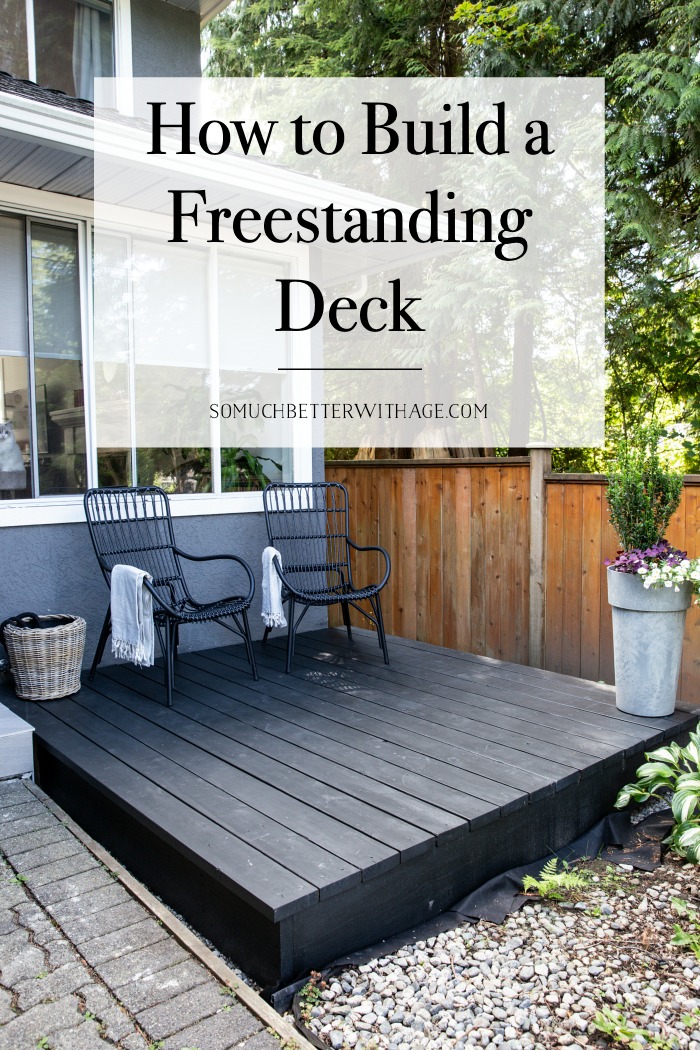
How to Build a Small Freestanding Deck
If you’ve wondered how hard it is to build a small freestanding deck, this post is for you! See how we transformed a small area in our front yard for a sitting deck.
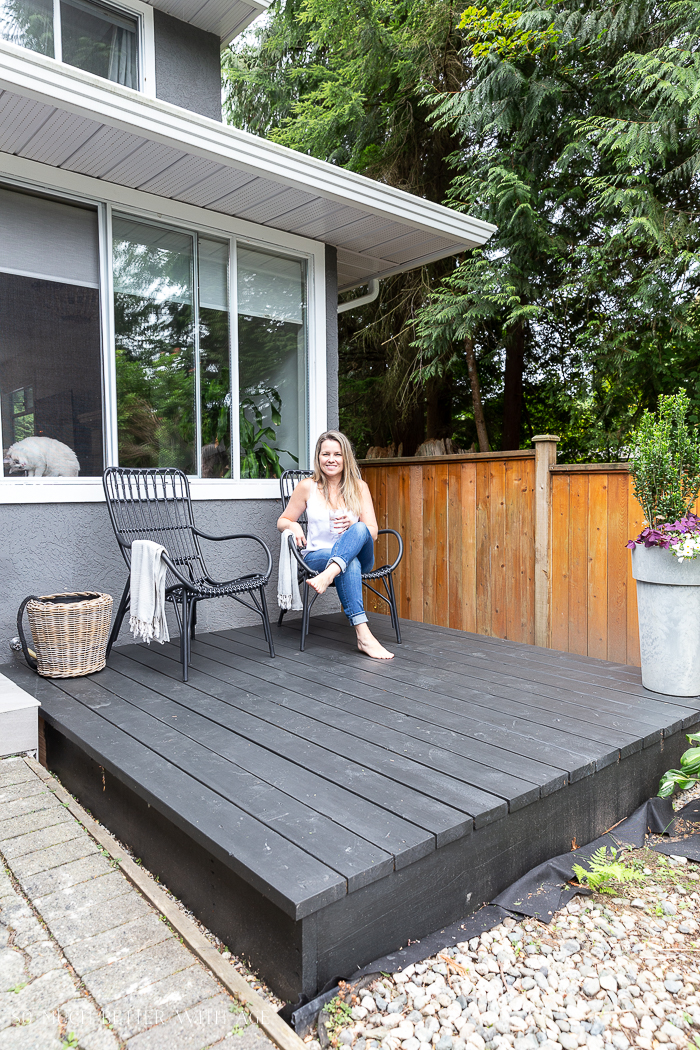
I can’t wait to show you how we made a freestanding deck in our front yard. The sun disappears from my backyard early afternoon so we wanted a place where we could sit out front and enjoy the afternoon sun.
There are a few things to consider before determining if a freestanding deck is right for you:
- This type of deck isn’t attached to the house so you don’t need to do anything to ensure it’s attachment. It’s basically a floating, detached deck.
- We live in a very mild climate zone (Vancouver, BC Canada) and have very little frost so the decking posts we use only needed about 6 inches of drainage rock underneath instead of deep footings. If you live in a colder climate, you will probably need to dip deeper footings. Check with a local professional.
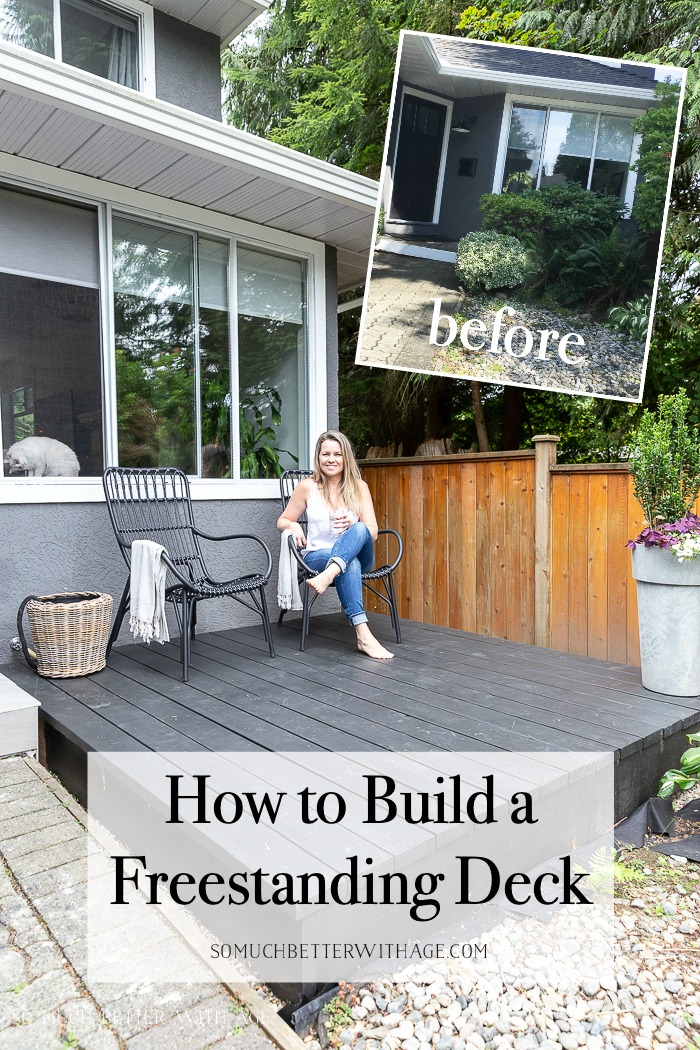
Let’s first let’s see what our yard used to look like.
I’ve mentioned many times before that our exterior needs a lot of work. We’ve done a few things like paint the back patio concrete slab with stripes and I painted the brick pavers at the front door but really that’s just lipstick to what really needs to get done, and that’s an entire overhaul.
Future plans:
- new pavers on driveway or poured concrete
- new pathway to the front door
- new front door step
- re-stain this fence (like our backyard)
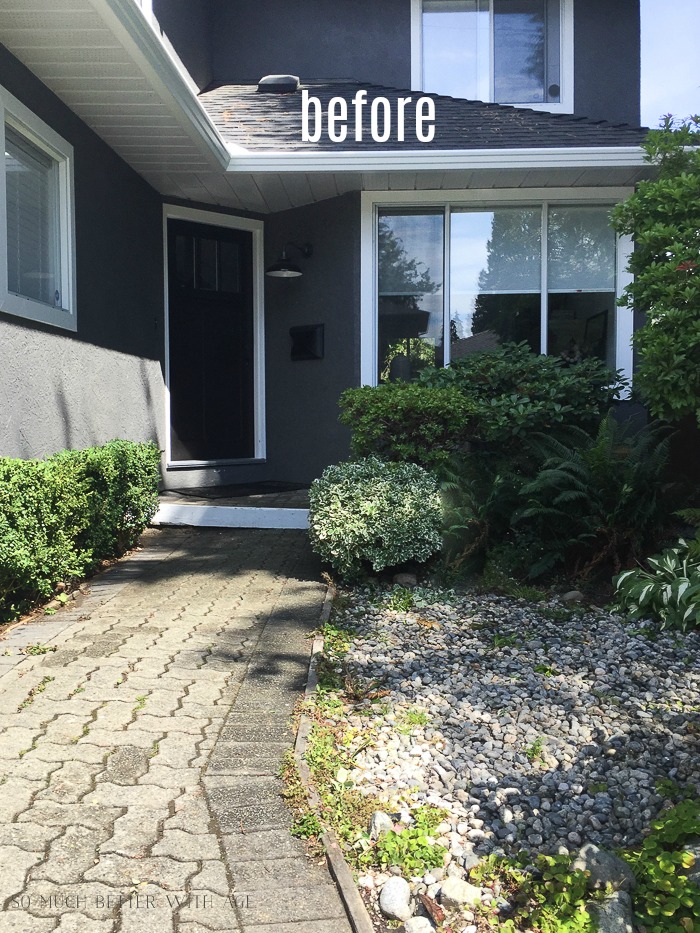
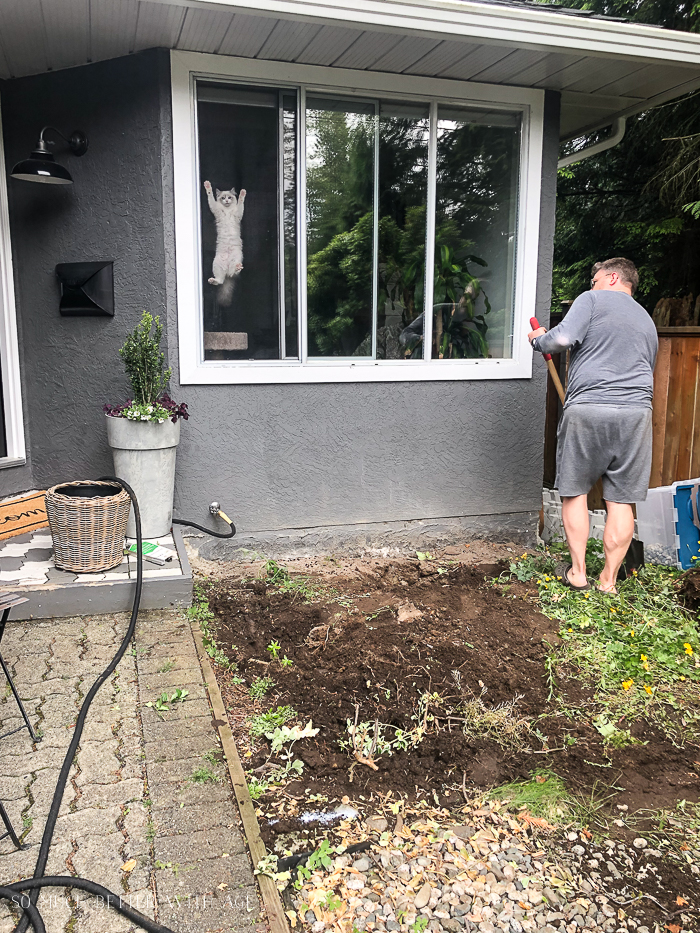
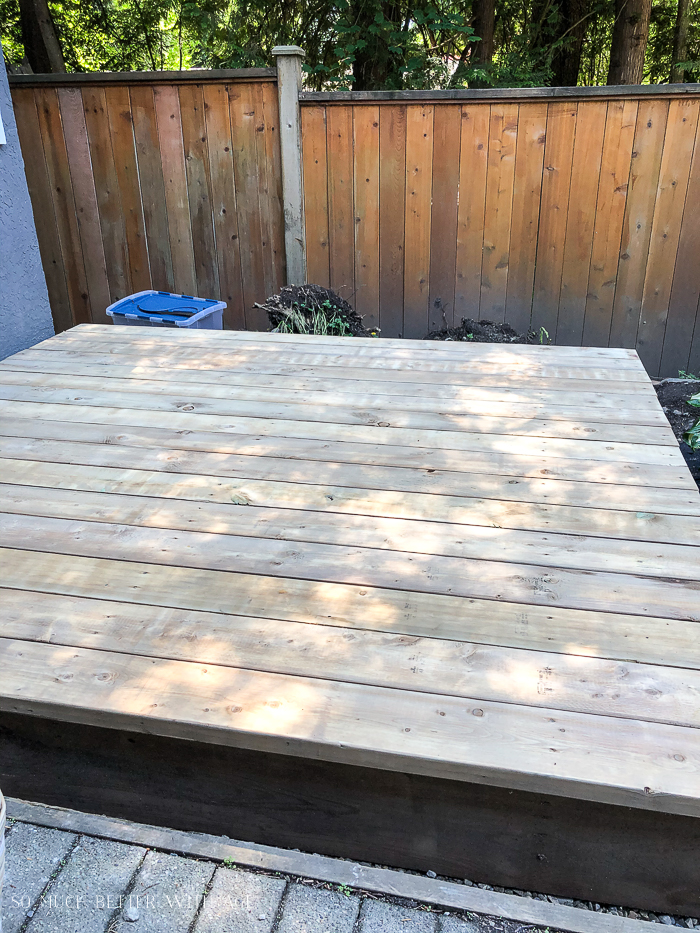
Here is what our front yard area looked like before.

I had just done some pruning a few months back and took some quick pics with my phone. These ‘shrubs’ went for years without pruning and now they look like trees (they’ve looked like this since I purchased this house).
This whole area is going to be changed, these shrubs will be removed and hydrangeas and boxwoods will be added.
Here are the painted brick pavers I did about three years ago now. The paint has held up great on the pavers but not the wood. The pavers are slowly sinking and the whole step and path and driveway need to be redone.
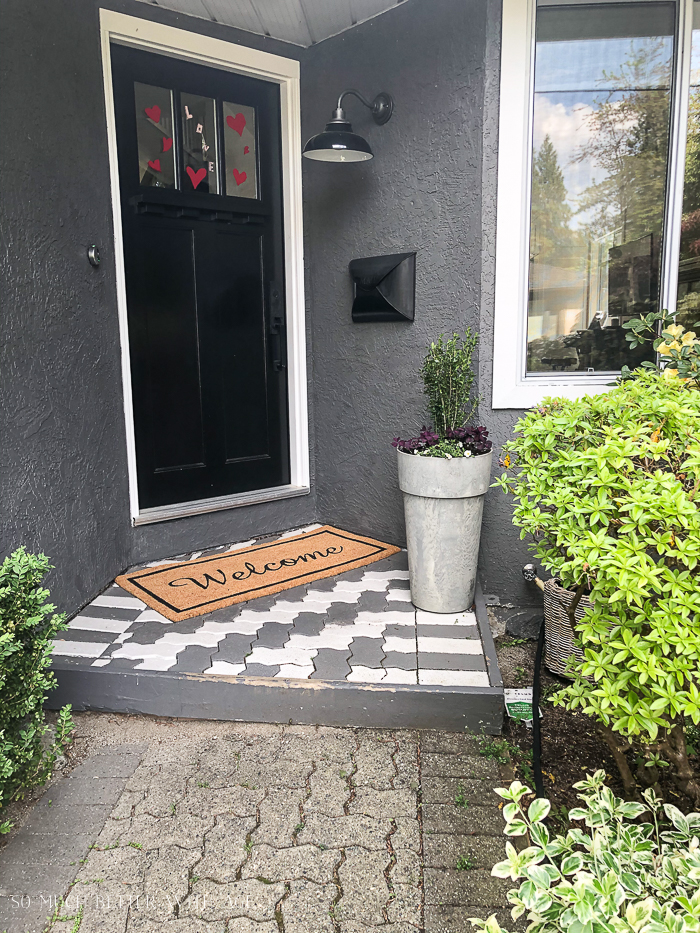
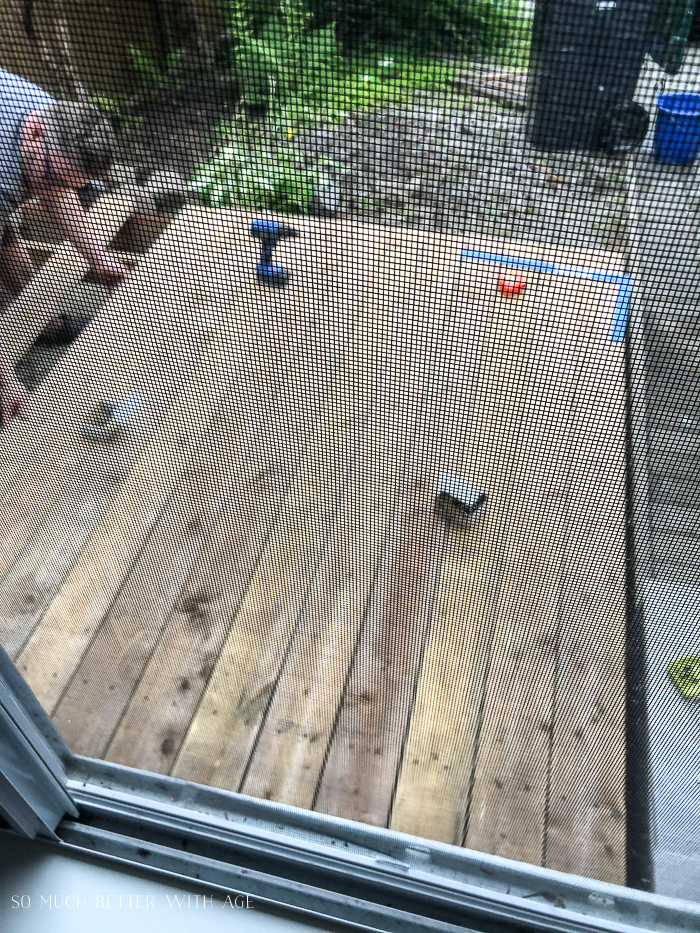
Can you spot the little kitty in the window?
We got a kitty a couple of months ago she’s the cutest thing ever!
Wait for the next photo…

She is an indoor cat but definitely wanted to get outside 😂.
Prepare for the FreeStanding Deck
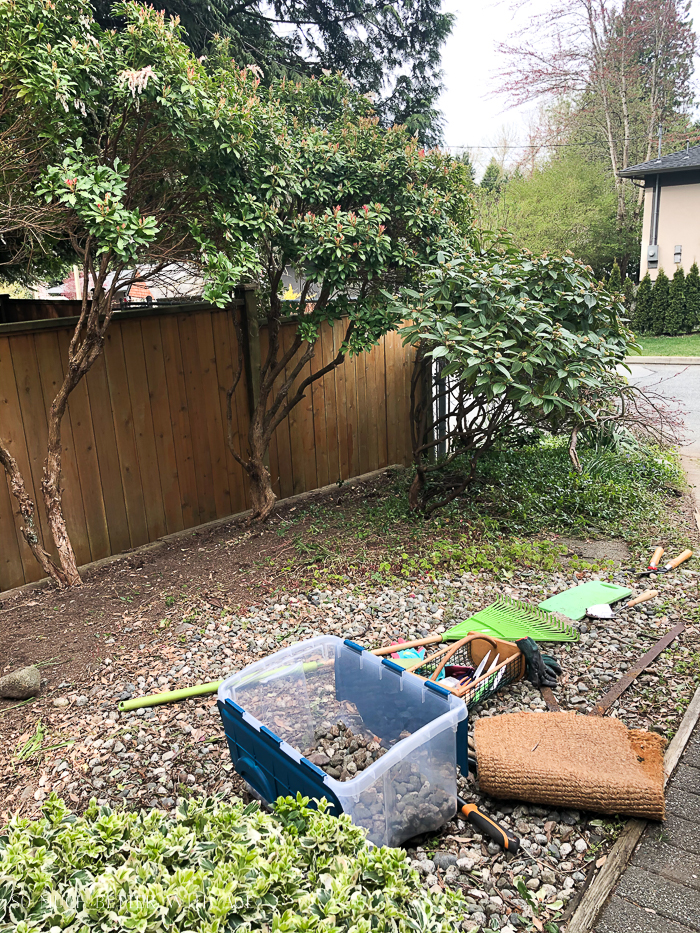
The biggest part of this job was just clearing the shrubs and levelling out the ground area. There is quite a large slope to this area which is hard to tell in the photo. Getting rid of the roots of the shrubs is important so the shrubs don’t regrow through your newly made deck.
Map out the area you want to create and spray paint the ground then start digging out the shrubs or grass.
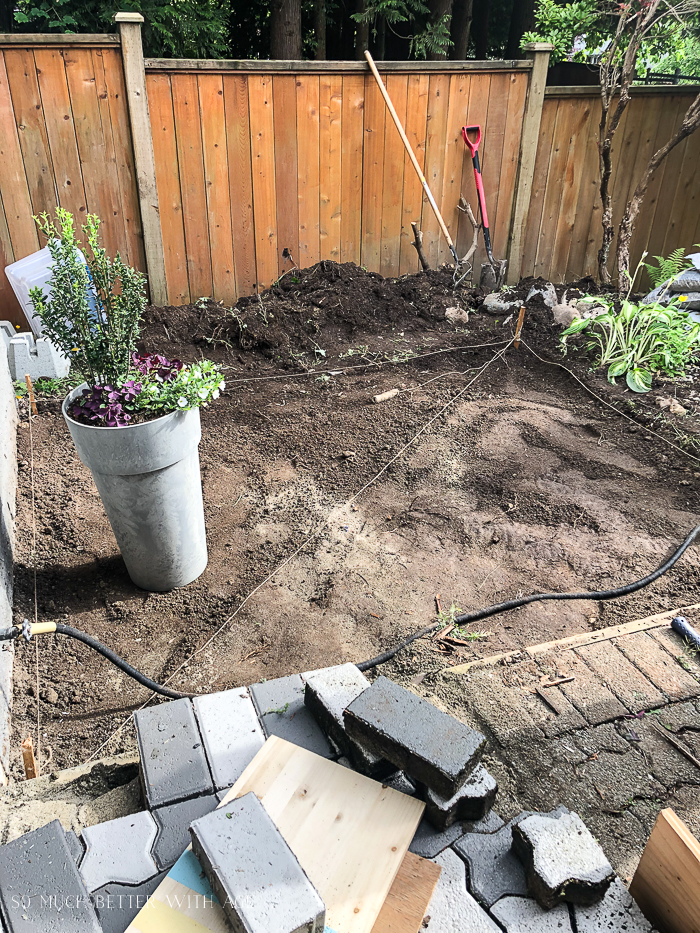
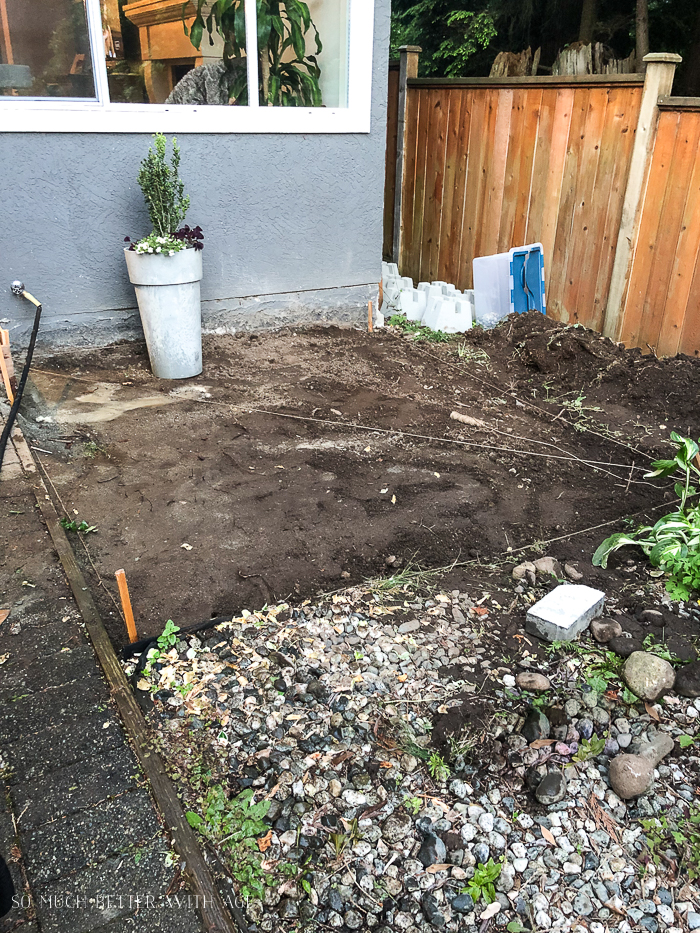
I decided on a square size of 8×8 feet but the width of our house was a bit smaller than 8 feet so the deck is 91″x96″.
Next you want to make sure it’s square and level but using wood markers and string. They mostly just help with as a guide to see where to place everything, to make sure it’s square and it’s an easy way to ensure the ground is level.
Disclosure: This post may contain affiliate links. Please read my disclosure policy.
building the freestanding deck
Here are the major supplies needed to get you started on your deck.
Supplies:
- 4-way deck blocks
- 2x6s 8 feet long (for joists and decking boards)
- 2x10s 8 feet long for fascia (the ones listed are 16 ft long so they could be cut in half)
- drainage rock
- landscape fabric
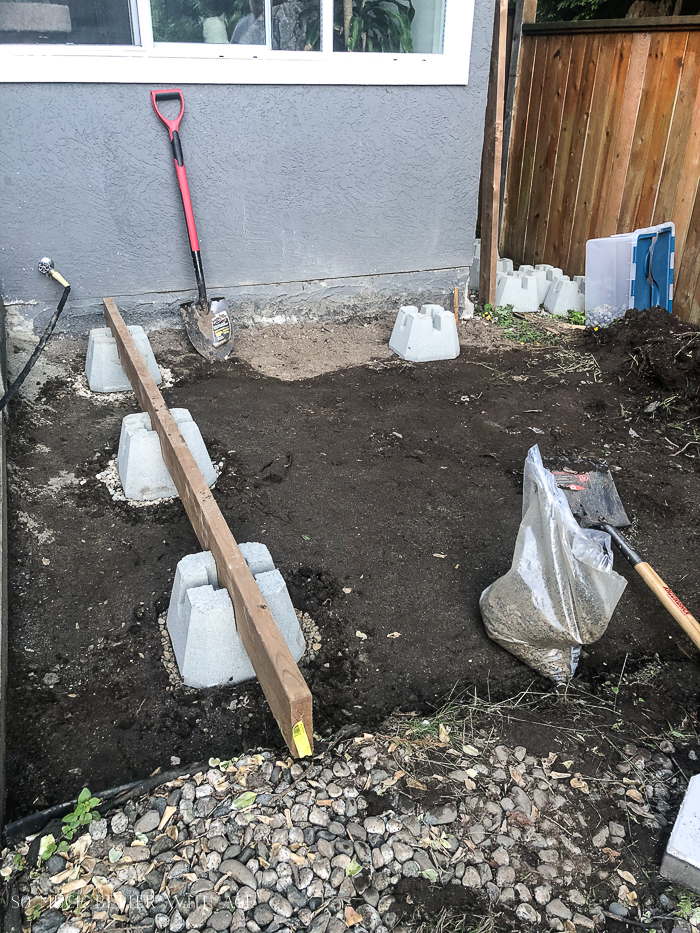
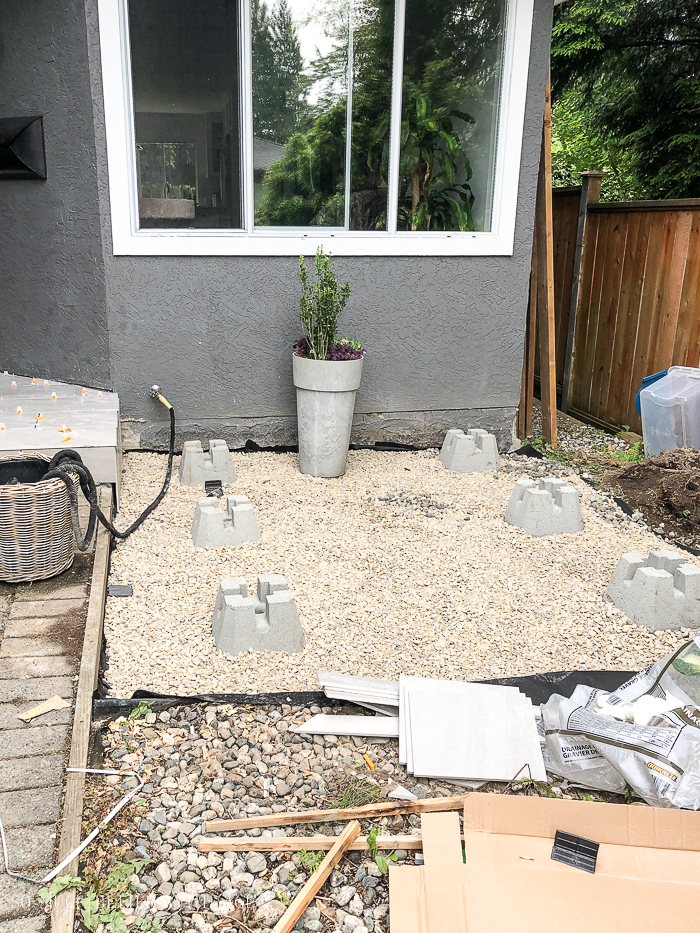
Next you want to measure out where you’re going to put the 4-way deck blocks. Six were added to this space.
Dig a hole 6 inches deep and pour drainage rock into. I didn’t get a photo of the hole being dug and it looks like by this photo that rock is just sitting on the ground but I assure you it’s 6 inches deep 😉
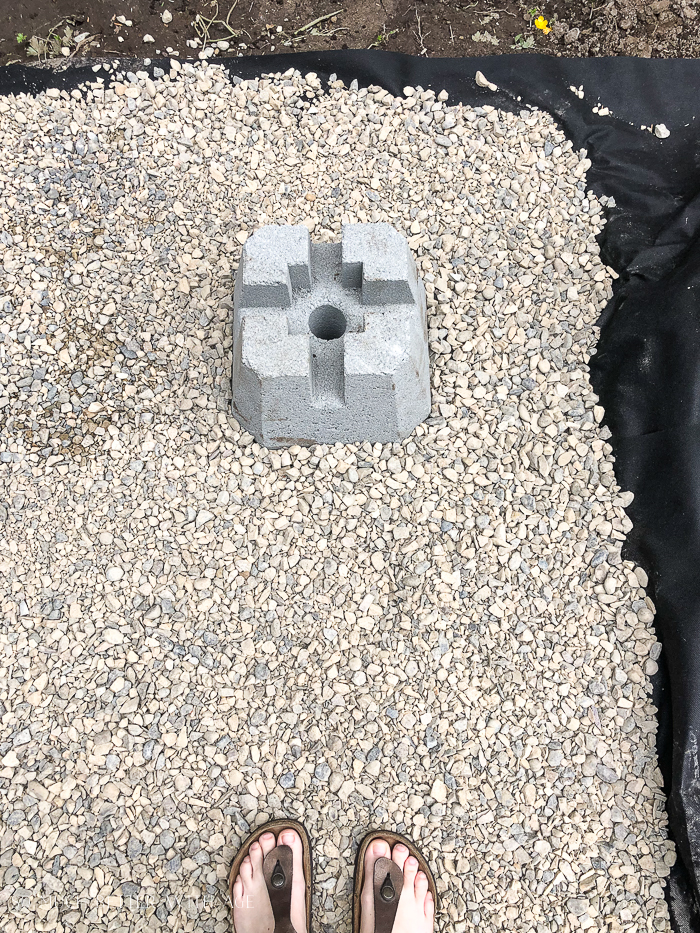
Then you can put one of the 4-way deck blocks on top of the drainage rock.
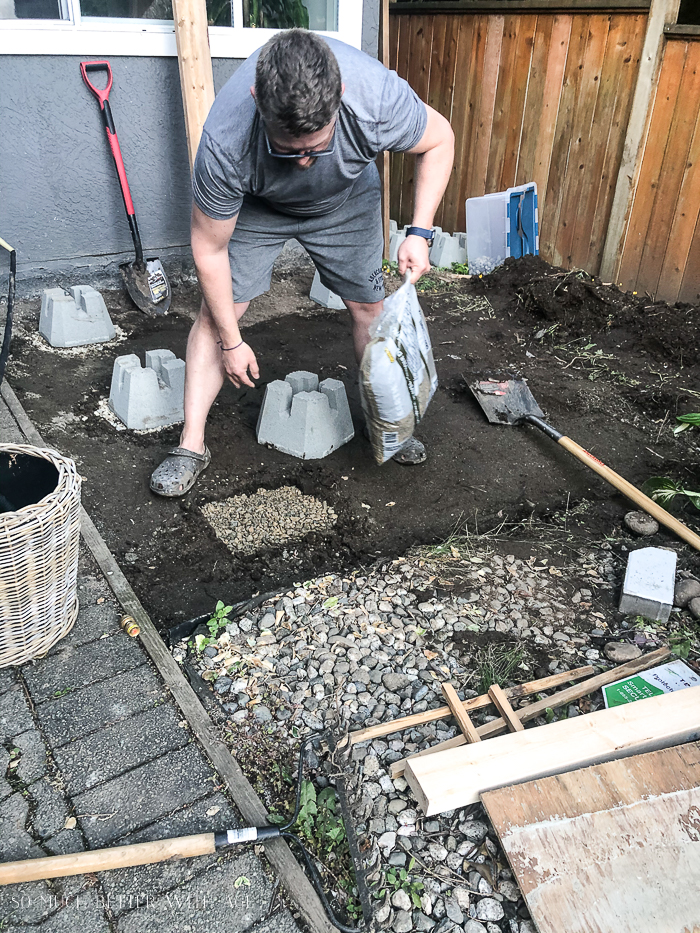
Then put a 2×6 in to make sure they are lined.
Make sure to use pressure-treated wood or cedar.
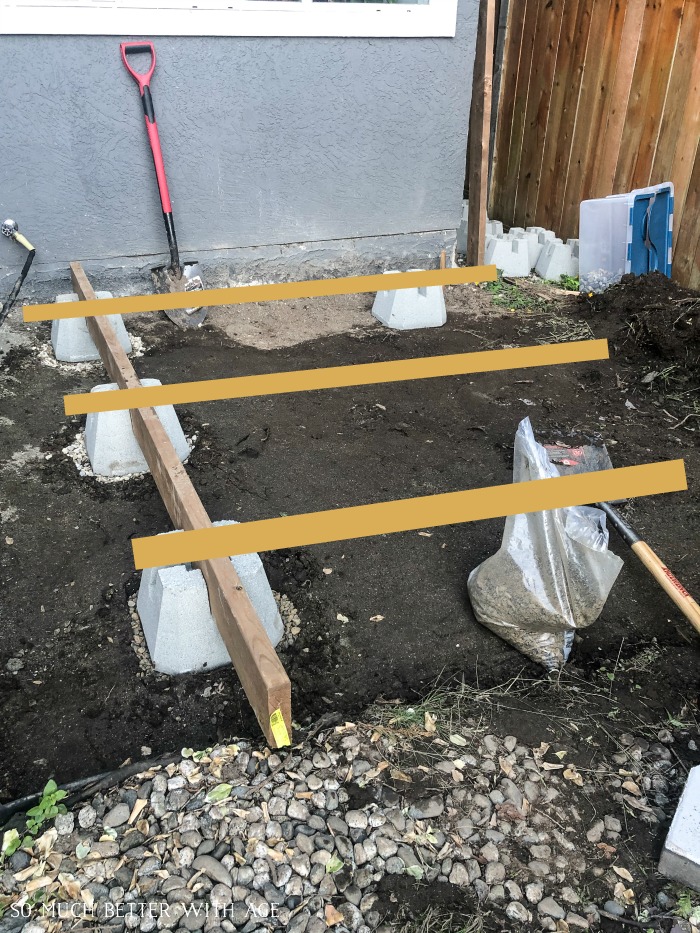
NOTE: The 2x6s were actually laid out in the other direction and the decking boards went on top in the other direction. See photo below.
Next lay out landscaping fabric over the ground and drainage rock. You’ll want to lift the decking blocks up, lay the fabric down and plop them on top of the fabric. Make sure they are all lined up again.
The landscaping fabric ensures no plants to grow up under your new deck.
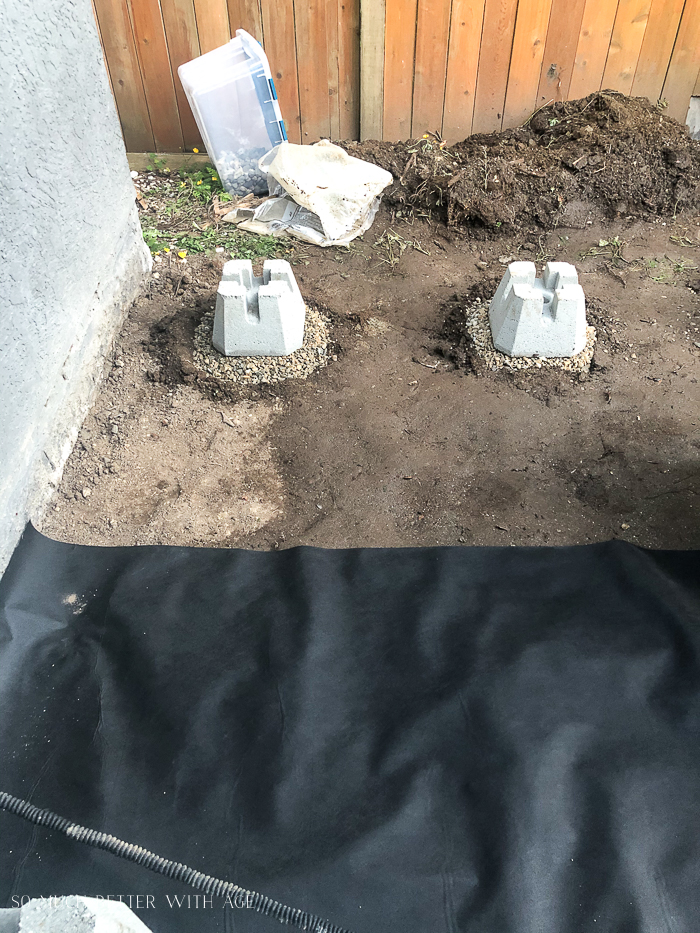
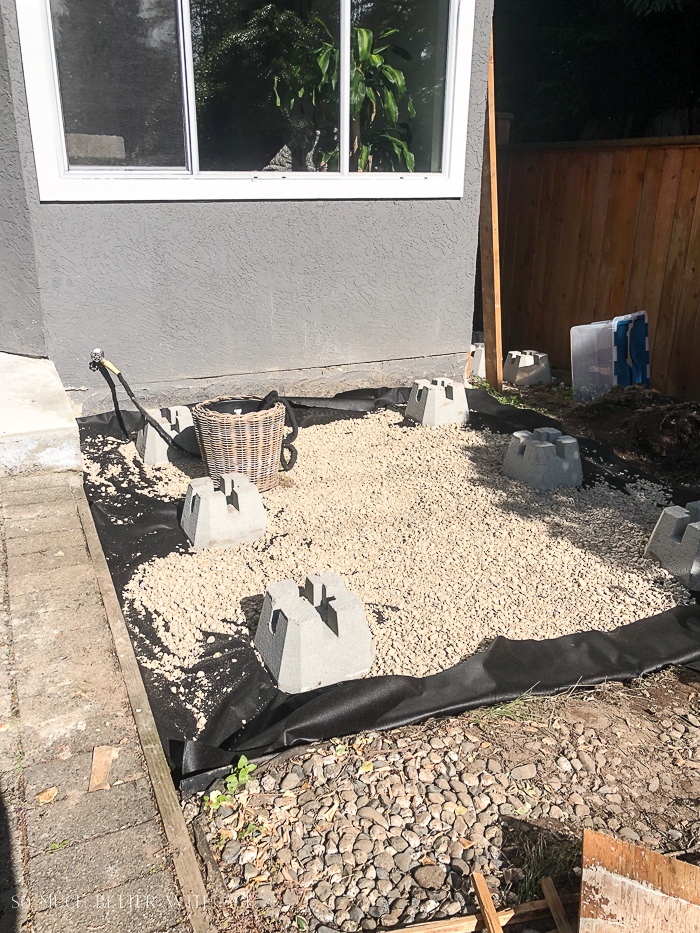
Lay down drainage rock over the fabric, enough for it to be 3 inches deep.
Now, I had surgery during this week and, unfortunately, and this is the only photo I got of building the actual deck.
So before you start laying decking boards, you’ll want to add your 2×6 joists to the 4-way decking blocks like this:
Then build the fascia (a square box) and attach it to the end of the 2×6 joists.

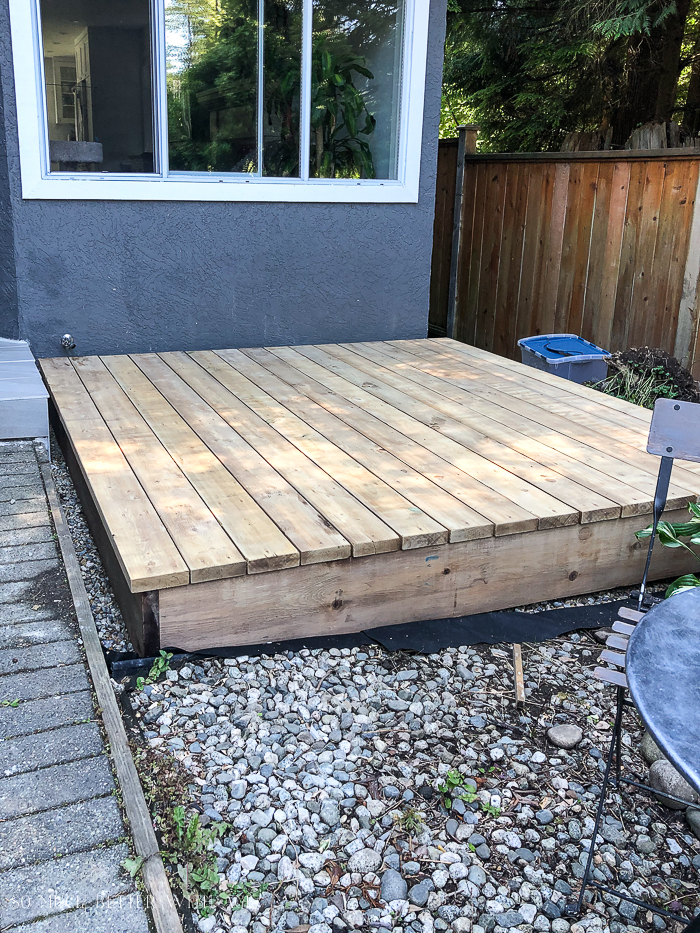
Then you can start screwing in the decking boards on top with decking screws into each of the joists (one board will have 2 screws at either end screwed into the joists and screwed into the middle joist as well for a total of 6 screws per board).
It looks good, doesn’t it?!

Next we sanded it down for a smooth finish.
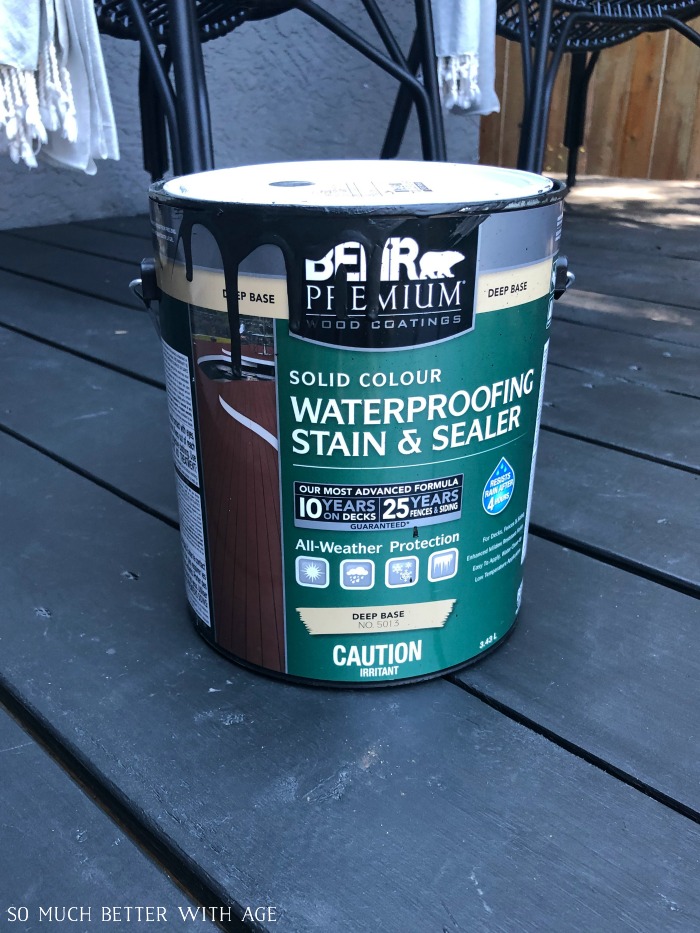
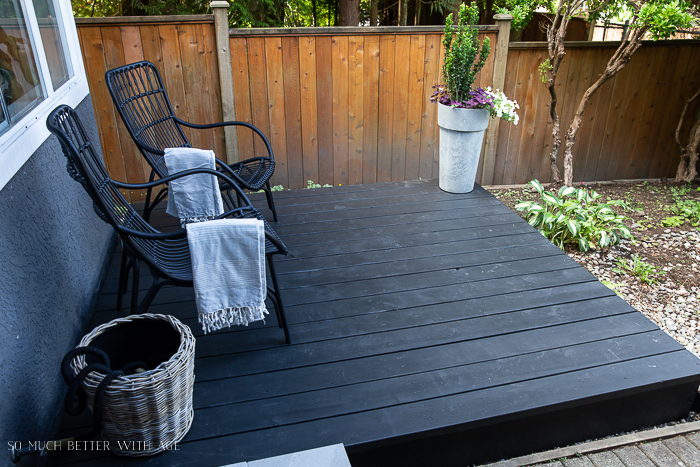
And stained it with Behr Premium Solid Colour Waterproofing Stain and Sealer in Slate.
Love the way it looks!!
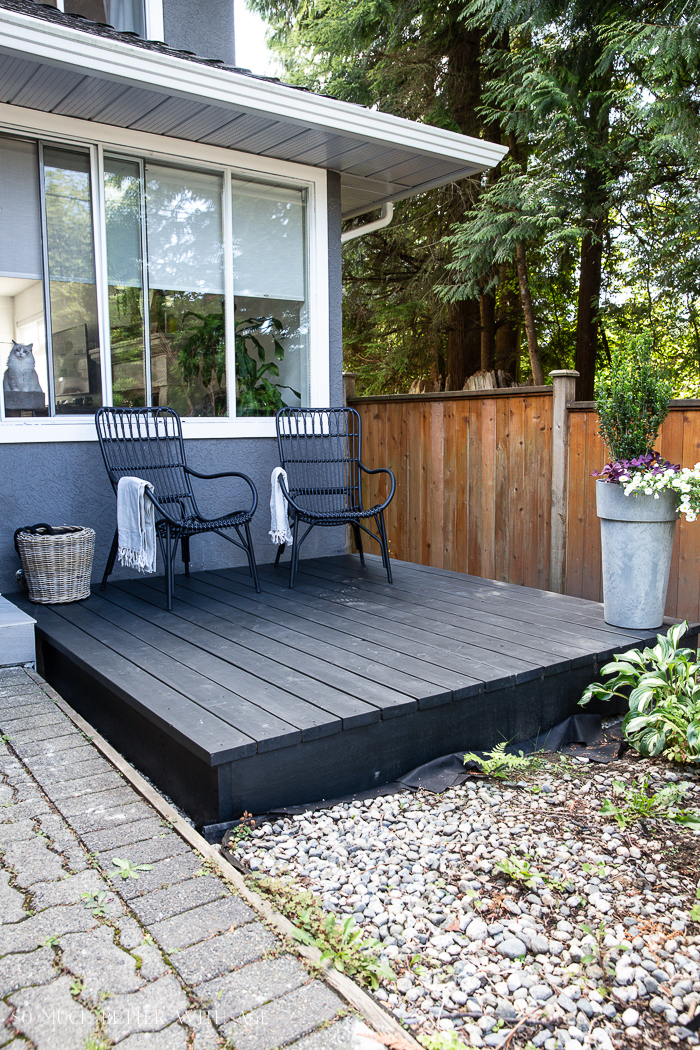
I have more to do with landscaping and will get rid of that extra landscaping fabric around the fascia to make the whole area look beautiful.
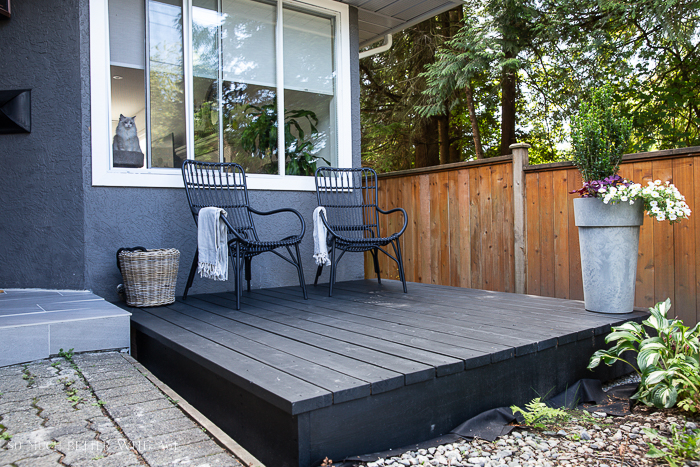
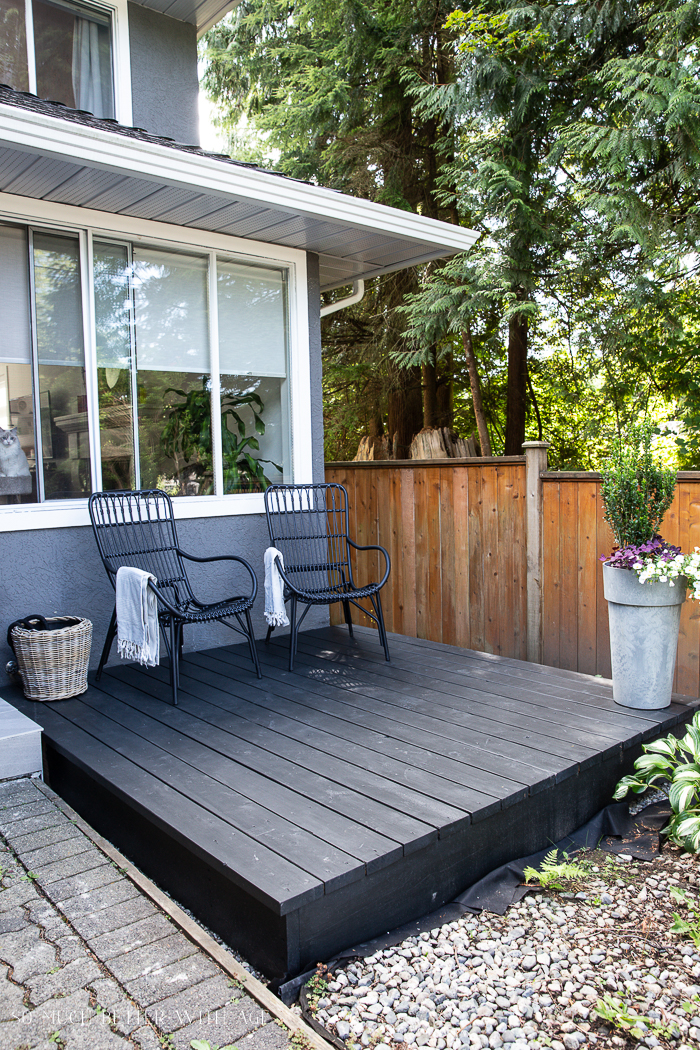
I’m so happy with how it turned out! It’s been great enjoying a glass of wine out here in the evening with the late sun.
Check out how we made built and tiled the front step over the painted brick pavers!
Shop The Post

Make sure to pin it for later!

Click in case you missed:
How to Build and Tile a Front Step
How To Prep and Re-stain an Old Fence


Jamie, your deck looks awesome ! Thank you so much for sharing all the details of how to build it. We want something similar in our backyard but that has been put on the back burner – for – like forever 🙁
Thanks to your explanation – I can show hubby, how it can be done.
Your kitty is the cutest ! Don’t cats just make the cutest poses !!
Jamie, Every Monday, we host the Meraki Link Party, thru till Thursday. We’d love for you to share your post with us at https://doodlebuddies.net/2020/08/31/meraki-link-party-3/
Many regards
Naush
Thanks so much, Naush! We took forever to finally get this deck built too!
I’ll definitely check out your party, thanks.
Jamie
Hi, is this color Slate basically black? I can’t really tell from the pictures…we’re looking to paint our deck few shades lighter than black. thanks!
Thank you for sharing this – and OMG, your cat!! 😂
haha so funny, right?
Jamie