
How to Paint Furniture for a Professional Look + Video
Have you wanted to know how I get my damaged furniture to look so great after being painted? I’m sharing all my tips and secrets with you today on how to paint furniture like a pro!
There is nothing more satisfying than taken a piece of furniture that no one wants and making it look gorgeous by having it look professionally painted.
I’m often asked how I get my furniture to look so good and today I’m sharing my tips and secrets on how to paint furniture for a professional look.
And with 25 years of experience with giving furniture makeovers, I’d say I have lots to share with you today!
Here is what you’ll need to get started:
Favorite Painting Supplies
This post contains affiliate links for your shopping convenience. Click to read my full disclosure policy.
- my favorite primer Zinsser 1-2-3 Bulls Eye
- my favourite sash brush
- foam rollers (good)
- microfibre rollers (excellent – especially with Fusion Mineral Paint)
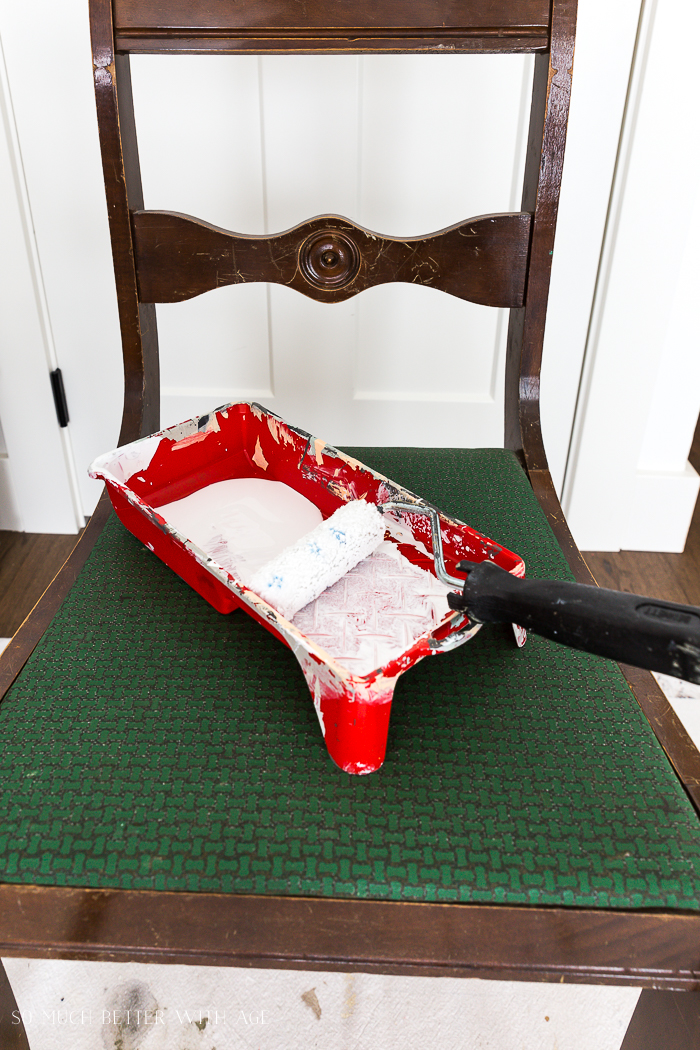
- small painting tray set
- paint can opener

More Supplies Needed
Drop cloths – I invested in about four as I usually have a few projects on the go and if you are doing a dresser, you’ll need one drop cloth for the dresser and one for the drawers. Wash and dry the drop cloths in the washing machine once the paint on it has dried.
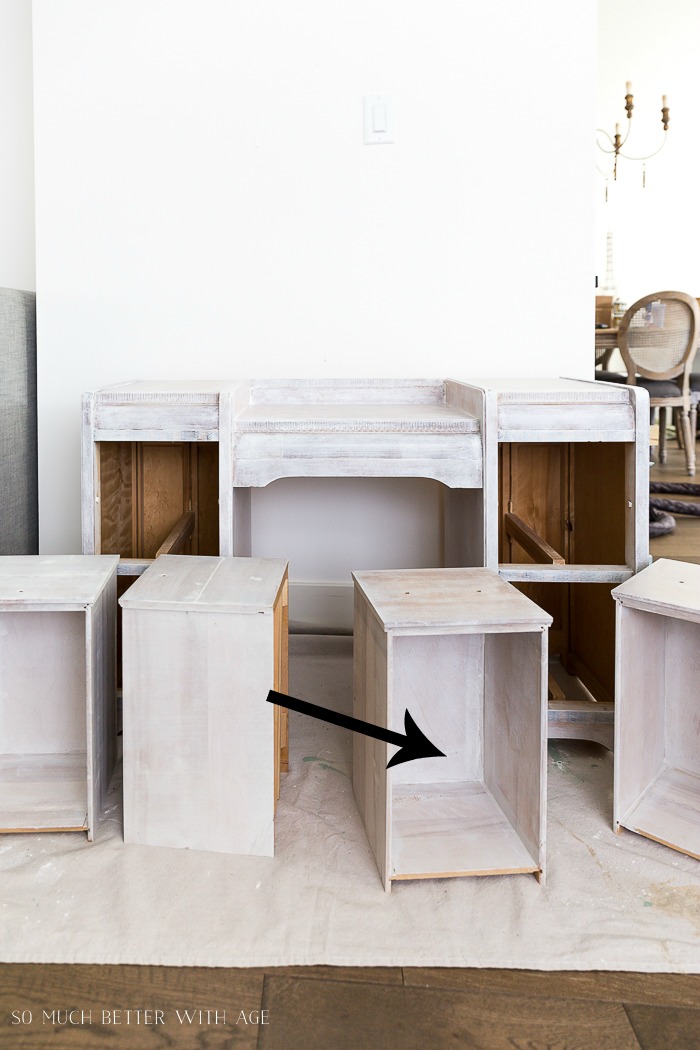
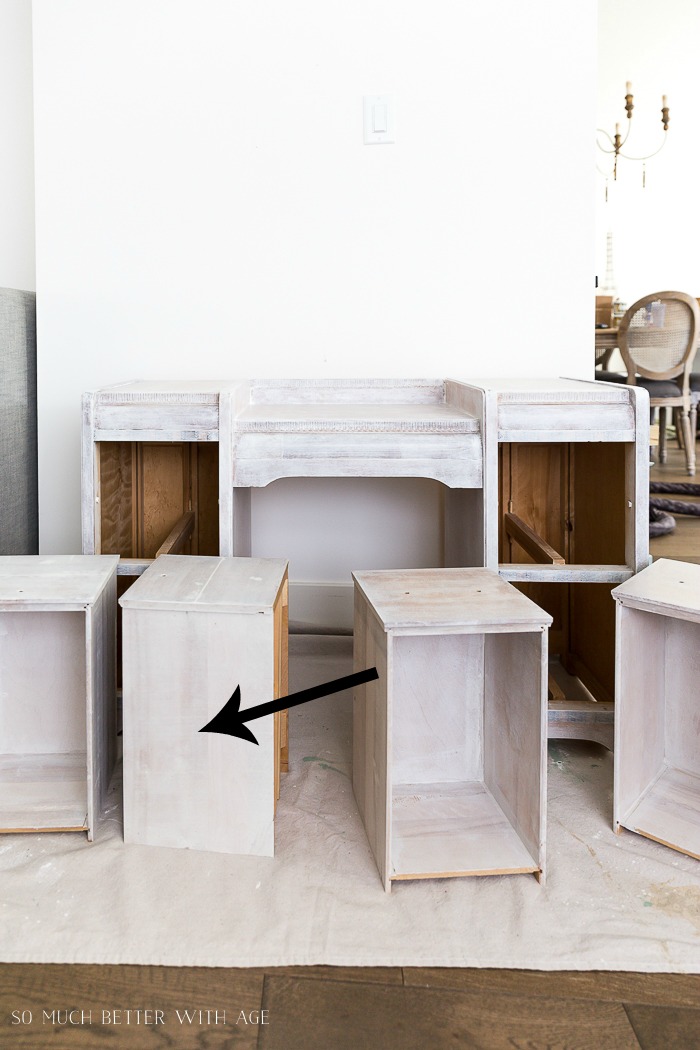
Pyramid stands / scrap pieces of wood / bricks – if you’re painting a furniture piece like a dresser and the whole piece sits on the floor (like the image below) you’ll need something for the furniture to sit on so your paint brush and roller don’t skim along the drop cloth. The drop cloth will harden to the furniture which isn’t good. I used bricks or scrap pieces to lift it up on to.
Sandpaper /sanding sponges – I use somewhere between 120-220 grit sandpaper for roughing up the piece of furniture for painting.
If I’m painting a chair, I just lift each leg up as I’m painting it so I’m not skimming the drop cloth with my brush.
Pyramids stands are good for items that aren’t too heavy.
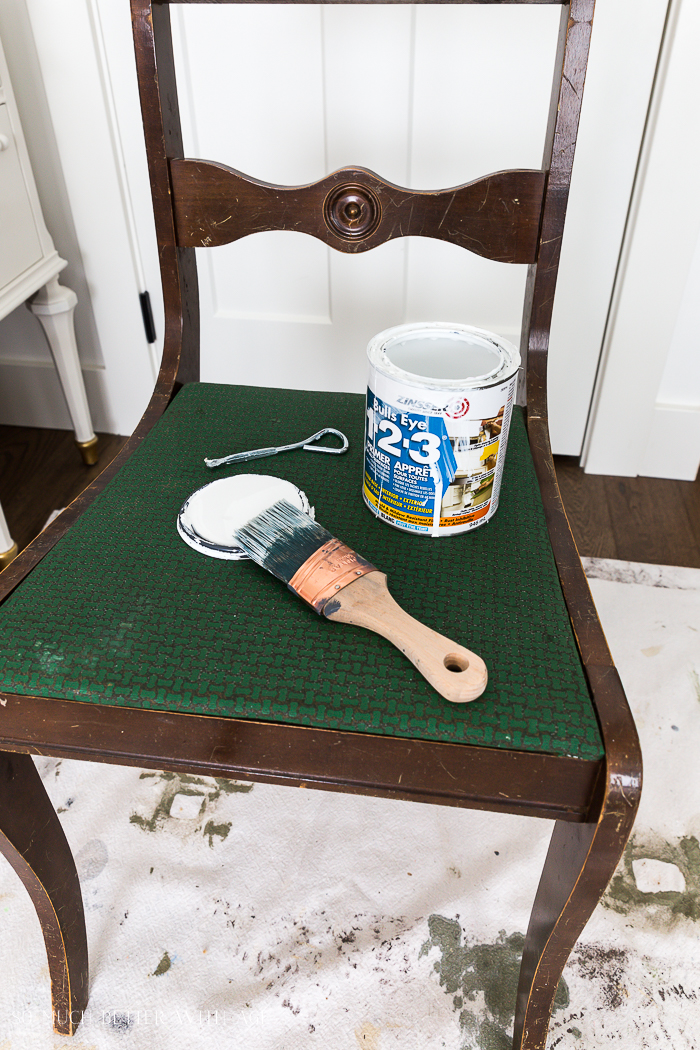
Why Use Primer?
Now that the prep work is out of the way, you can begin painting your furniture piece with primer. If you are using a chalk paint or Fusion Mineral Paint, you technically don’t need to prime beforehand. Those paints have excellent adhesion.
But here is why I always prime my furniture pieces
1) you use less of your good/expensive paint
2) you’re guaranteed excellent adhesion (especially if the piece was already painted and the previous paint used could be an oil based paint)
3) it covers up dark wood effectively
How to Paint
1. Start by dipping your paintbrush in the primer. You can use the paint directly out of the can but I mostly use the paint from what’s been poured into the painting tray.
2. Offload the paint on the inside edge of the can or painting tray. You won’t need a lot. You can see by my brush that it doesn’t have a lot of paint on it.
3. Start by brushing an area making sure to getting into the cracks with the brush.
4. Have a painting tray and roller ready with primer. Roll the roller into the paint and offload it on the raised flat part.
4. Roll out brush strokes with the roller. Roll over the area back and forth a few times.
The paintbrush is what’s needed to get into the cracks and corners but the roller smooths it out evenly.

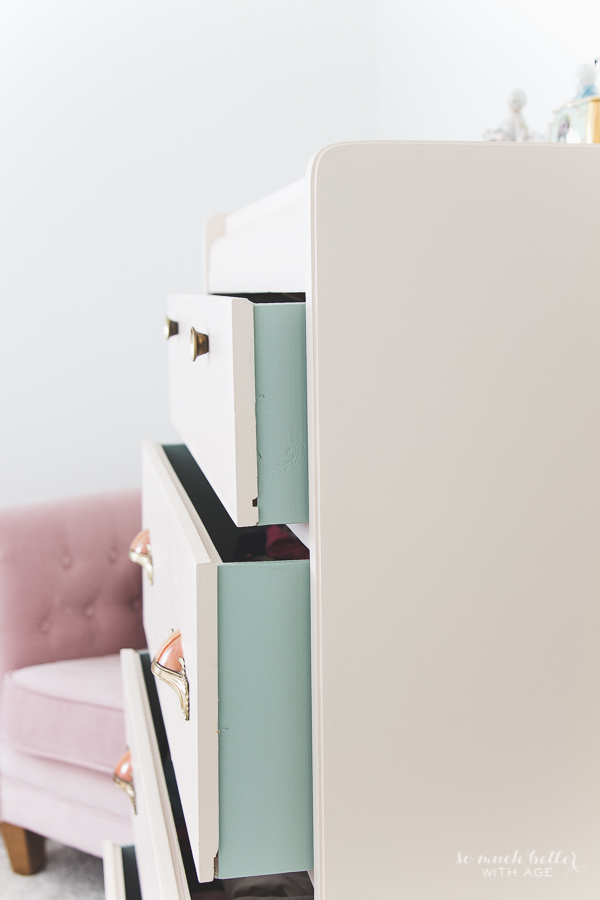
When I painted my daughter’s dresser after I had piped the design on the sides, I made sure to really get in there with the paintbrush.

Then I rolled right over it all with the roller.
Note: Once you move onto another section, resist the urge to roll back over it. This will make lines and marks in your paint!
As it’s drying, it will look like you need to go back over it with a roller BUT DO NOT DO IT!
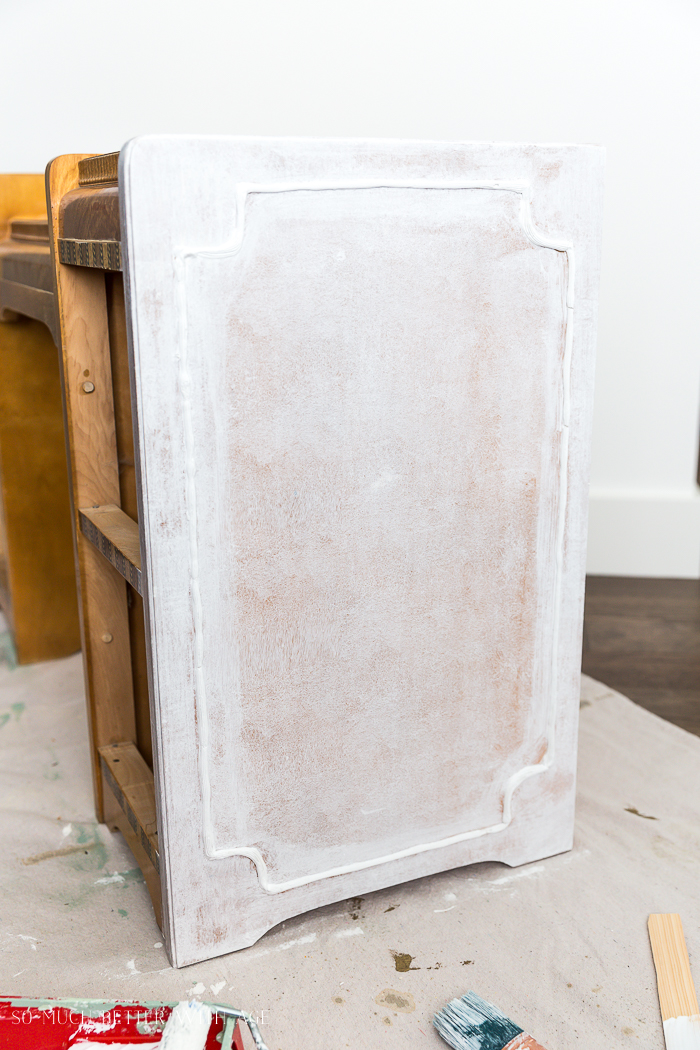
5. One coat of primer is all you need even if you have a bright coloured furniture piece.

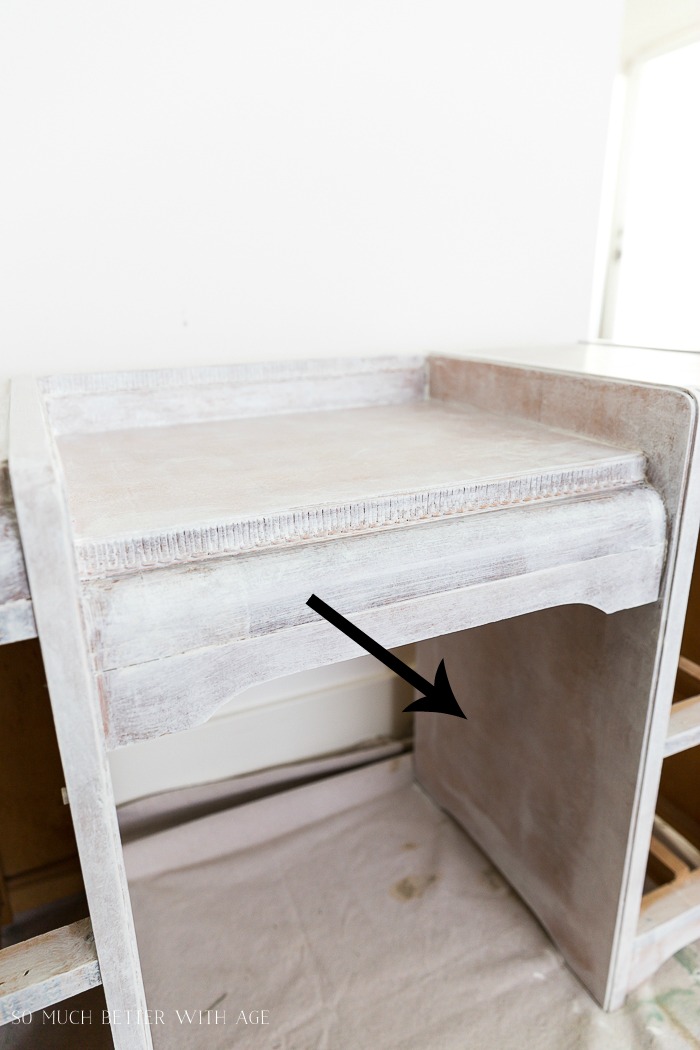
6. Make sure to not miss any areas like the inside parts of this vanity.
7. Go over the entire piece to make sure there no drip marks.
8. Once the primer has dried (it usually dries quick but wait a couple of hours), you can begin to paint with your favourite paint, acrylic or chalk paint or Fusion Mineral Paint (my favorite brand!).
9. Paint 2-3 coats of paint on the furniture piece drying several hours in between coats. This is essential for getting that professional look. Three thin coats of paint are far better than one or two thicker coats. I’ve had paint completely peel off in strips by not following these steps.
How to Determine If You Need Another Coat of Paint
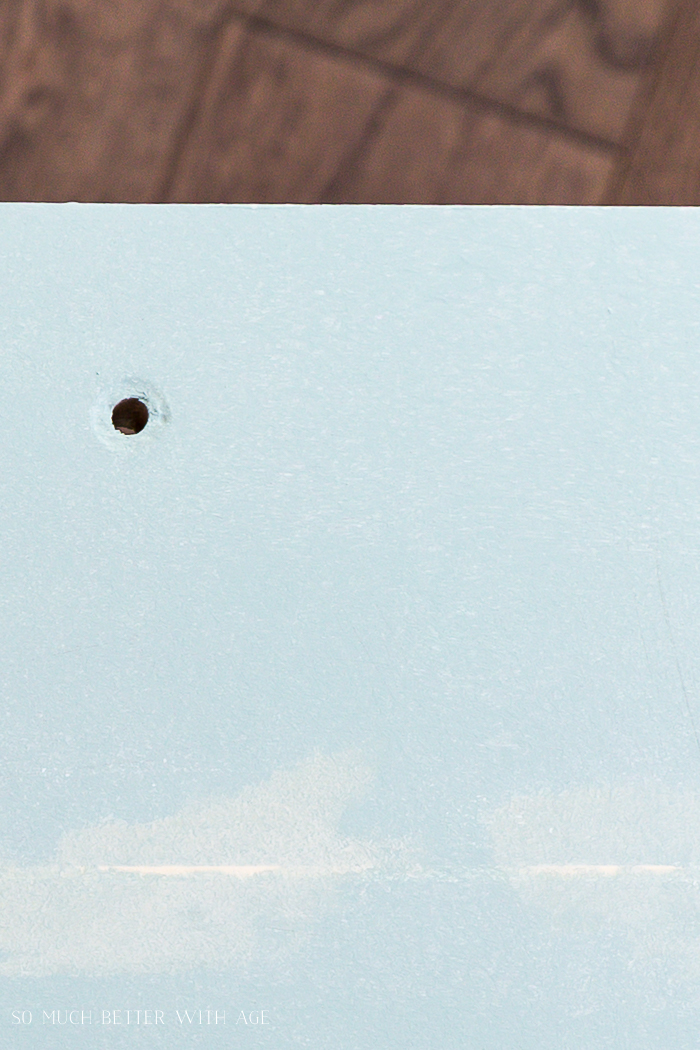
I zoomed in really close to this image of a dresser I was painting. This is the first or second coat and after it dried you can see that there are small white flecks showing through the paint. That’s when you know you need another coat.
If you have any hesitation at all that you should paint another coat, then you need to paint another coat!
You want your furniture piece to look professionally painted in any light.
Should You Paint the Drawers?
I love when the drawers are painted on the inside too. Paint them the same way by using a paintbrush to get in the corners first then rolling it over with a roller.
Should you paint the OUTSIDE of the drawers?
If the drawers are already tight, then I wouldn’t paint them especially if you are selling the furniture piece. The first things buyers do is check to see if the drawers move nicely. There’s nothing worse than spending all this time on painting to have the drawers stick.
(I’ll be posting soon about ways you can unstick drawers that have already been painted!)
If you don’t paint the outside of the drawers, use painter’s tape to paint just an inch of it near the front so you can’t see it’s when the drawers is pushed in (just in case).
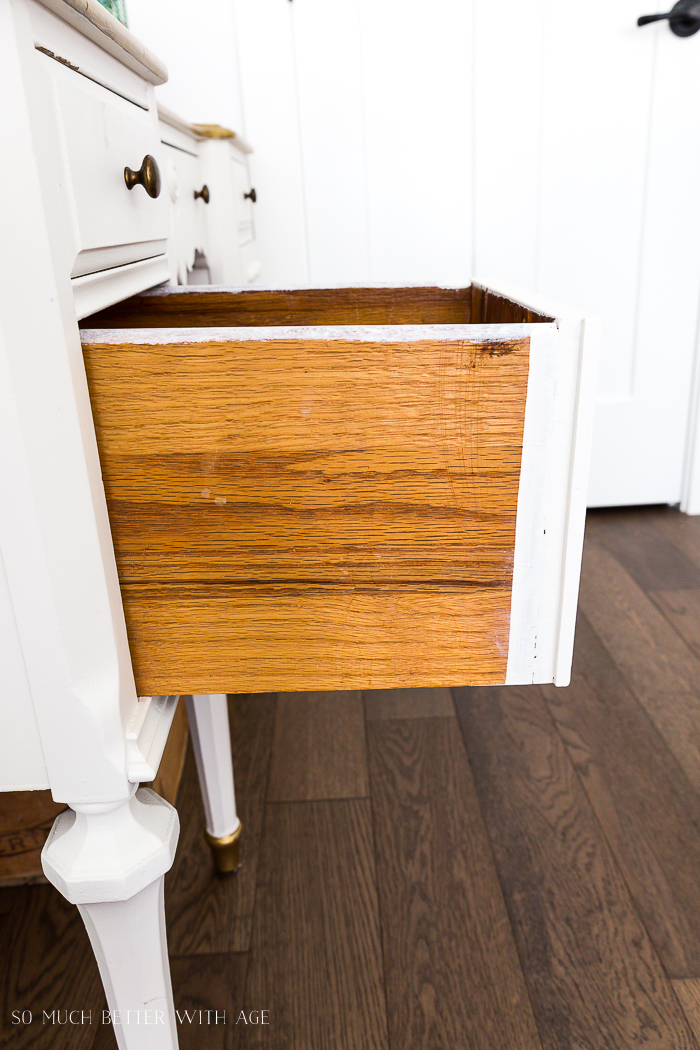
Normally I don’t paint the inside of the drawers if I’m not painting the outside.
I added marble contact paper to these drawers.
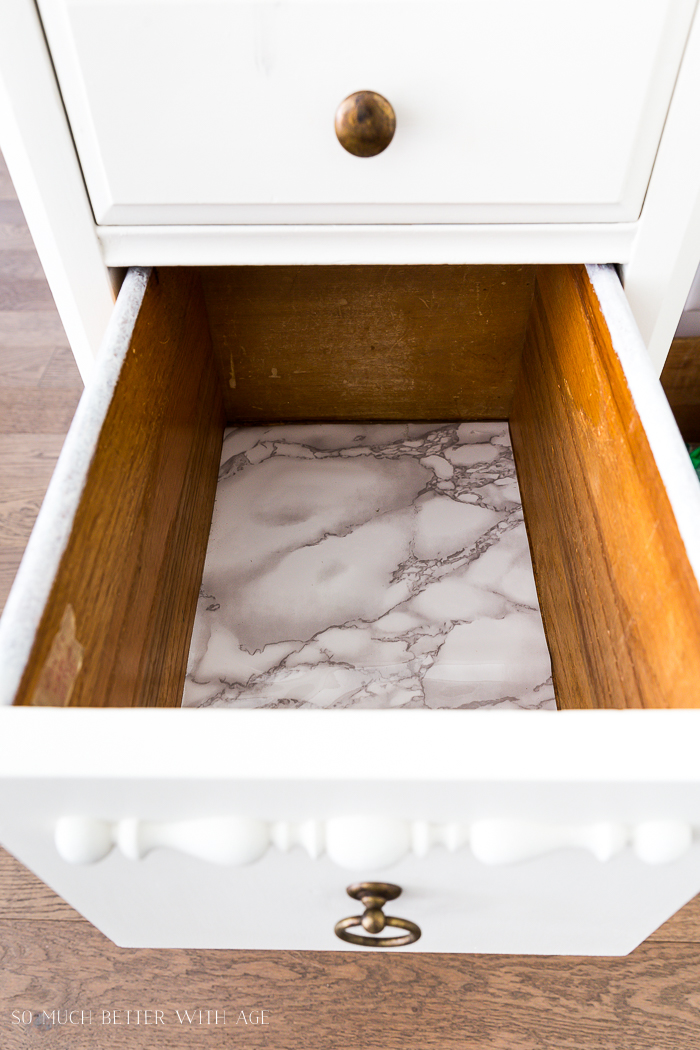
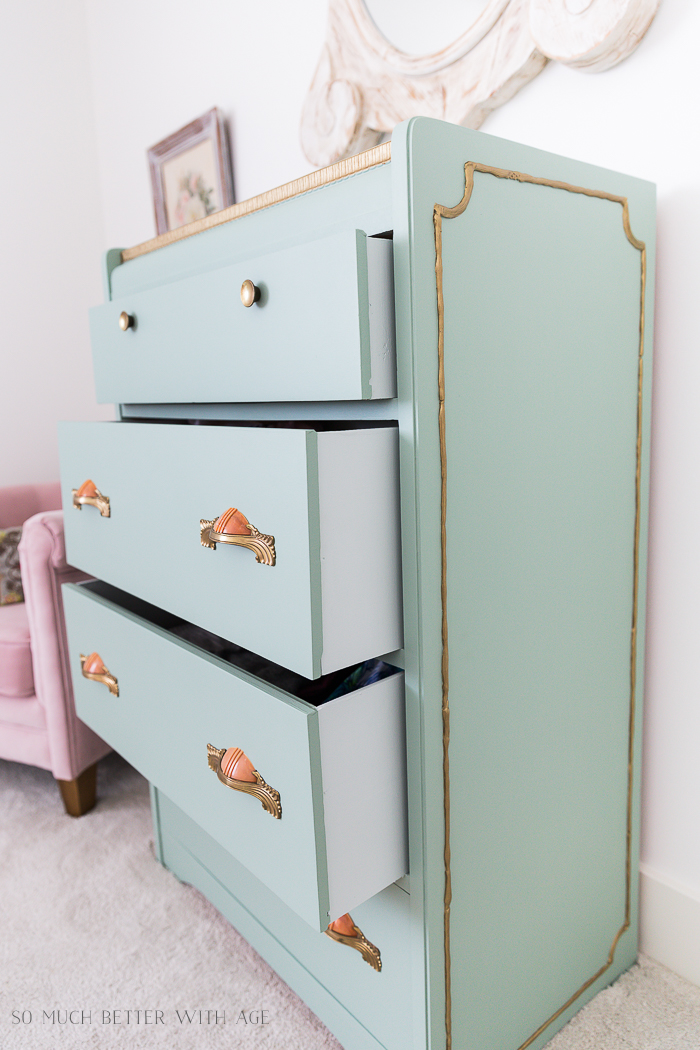
Here are some examples of my painted drawers. It’s always fun to use a different paint color!

Don’t Wash Brushes Between Coats
I hate washing the roller and paintbrush in between coats. Waiting for them to dry after washing can take too long.
I wrap the brush and roller in plastic wrap in between coats and I stick the painting tray in a plastic shopping bag.
There’s been times when I couldn’t finish the job for a couple of days and the brushes were completely fine to use again!

If you missed my post on how to prep your furniture for painting, click here.
Also, have you ever wondered if you should give an antique piece of furniture a makeover or not? Click here.
video:
Be sure to watch my YouTube video below!
Make sure to pin it for later!

I hope this has helped you learn how to paint furniture for a professional look.

Click in Case You Missed:
How to Use Dark Wax on Furniture

8 Steps on How to Fix Badly Damaged Furniture


I always like to read your blog. And really do appreciate your tips for painting furniture. I get so anxious and don’t usually want to take the time to sand / prime. Thanks for your information!!
Thanks Mary. Yes, it’s all in the preparation but don’t let it intimidate you! The sanding for prep is really only 5 minutes. You’ll love the results!
Hugs, Jamie
Your furniture looks amazing. I didn’t realize you could wash drop cloths, I have a few that need a good cleaning. Thanks for sharing all of these great tips at Merry Monday
Thanks Jenny! Yes, I wash them all the time and they get softer the more you wash them. Such a great material!
Hugs, Jamie
Jamie it was so fun joining you ladies for Home Style Saturdays today!
Thanks for having me 🙂 I’ll always be amazed at the cool technique you did to add the piping detail, that’s a big favorite.
Happy Saturday, Shannon
So I didn’t read your blog or watch the video thorough enough and I painted with a paintbrush but didn’t go over it with the roller. That was coat one. Should I sand in between coats where the paint is thicker or will the next coat cover it? Also I have a FEW drip marks that occurred after I finishing painting. Right now I can see brush strokes, which I don’t love! Any advice? Thanks.
Hi Jen,
If you have drip that are thick enough to scrap off then do that now! You’ll never be able to cover them up. I usually can scrape them off with my thumbnail if the paint is still not too hard. If you did one coat with a paintbrush, no problem. Just paint the next coat(s) with a roller and it should cover up any paintbrush marks. Hope this helps!
Hugs, Jamie
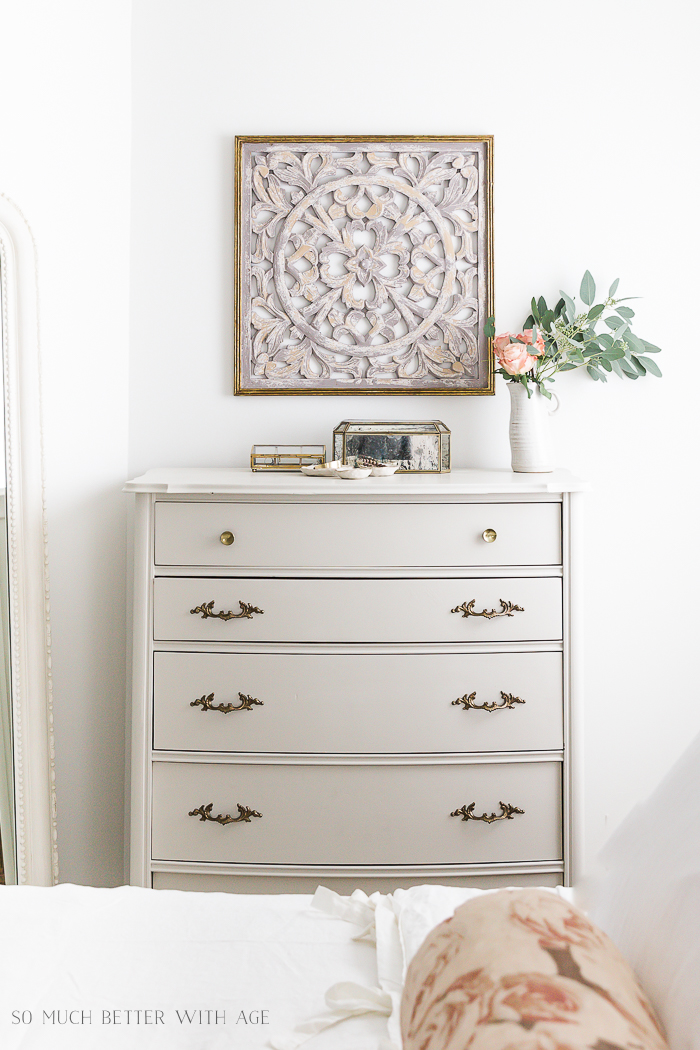
What paint color did you use on the dresser at the top of this post?
Hi Emily,
Hope you got the email I just sent. The colors are in this post under no.6: https://somuchbetterwithage.com/8-techniques-to-fix-badly-damaged-furniture/
Hugs, Jamie
Hi Jamie! I’ve been reading your blog & checking out every picture detail for hrs.Can u tell me what 2 colors U used on the grey dresser missing a couple drawers? Its beautiful! Your very talented! 😊 I keep reading reviews about piping you did but havent seen what that looks like or even know what that is.The problem I have is cant retreive my emails.But hopefully I ll be able to read it on here somehow to get your reply.Thanks so much for all the great tips!
Which dresser were you referring to? I’m not sure which one you mean by missing a couple of drawers as they all had drawers unless you’re seeing something I’m not!
Hugs, Jamie
Hi Jamie, have you worked with black lacquer. I have a vintage Ralph Lauren coffee table and need to refinish areas that have been scratched. Can you help, give advice. Thank you. .