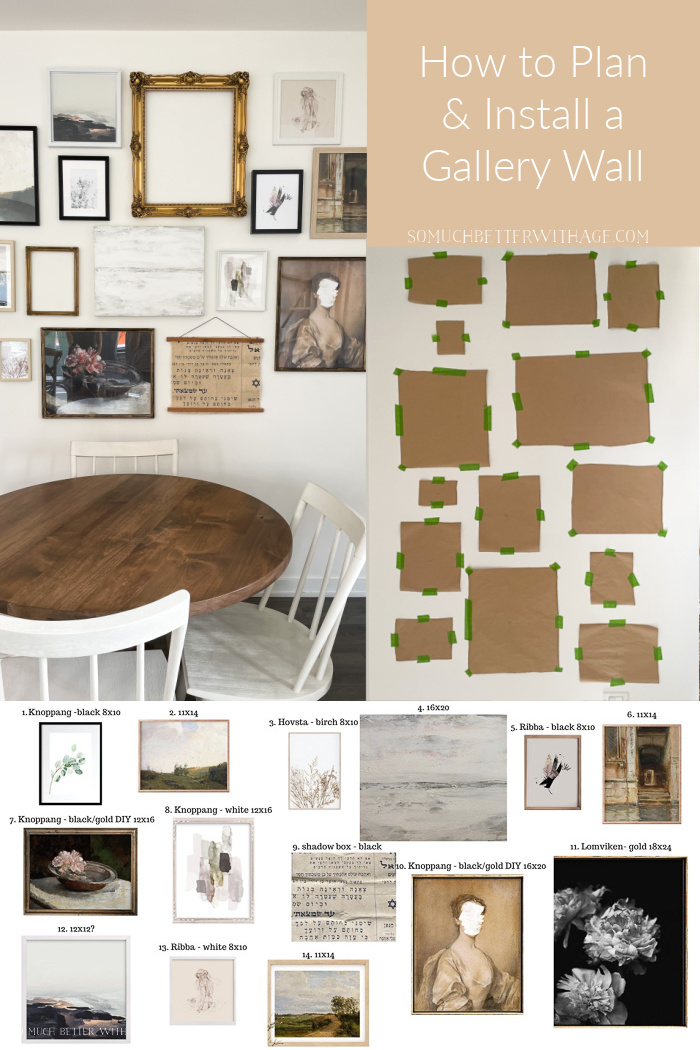
How To Plan and Install An Eclectic Gallery Wall
This article will give you all the advice you need on how to plan out your eclectic wall gallery and how to install it.
Disclosure: This post may contain affiliate links. Please read my disclosure policy.
Planning and installing an gallery wall with eclectic art pieces can be challenging! Where do you begin? Which pieces of art do you choose that blend well together? What size frames and art pieces do you choose? And how do you plan it all and install them?
I’ll answer all of these questions in this article with using one of my clients as an example.
My client has a small condo with an amazing deck and floor to ceiling windows with views of the North Shore mountains (where I live) and of the ocean.
Her first request was to install a gallery wall and it was fun coming up with the arrangement to fill the space in her small dining room area.
How to Pick Art Pieces
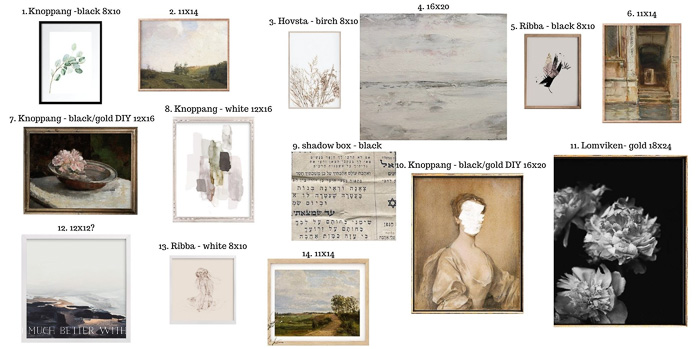
We started with an abstract piece from Beach Antionette (# 4) and then a personal piece she had from Israel (# 9) and we added different abstract and vintage pieces to pull it altogether. Most of those were downloadable prints that we purchased online and had them printed at a printer’s.
The first thing I do when putting together a gallery wall is to figure out how it is going to look digitally before playing around with it on the wall.
This will save your walls! And also save time and your sanity.
When COVID was in full swing, I tried to limit my time at my client’s place so I did a mock-up on my living room wall and made sure I measured it to be the same space as her dining room area of her condo.
I think when picking art pieces for your own home, start with one or two pieces you really love that you already own and see if you can use those as jumping off points for other art.
It doesn’t have to relate exactly to the pieces you have, you just need to look for something that is similar. If it’s an abstract piece, choose another abstract piece of art. Or it could be one color that ties another piece together.
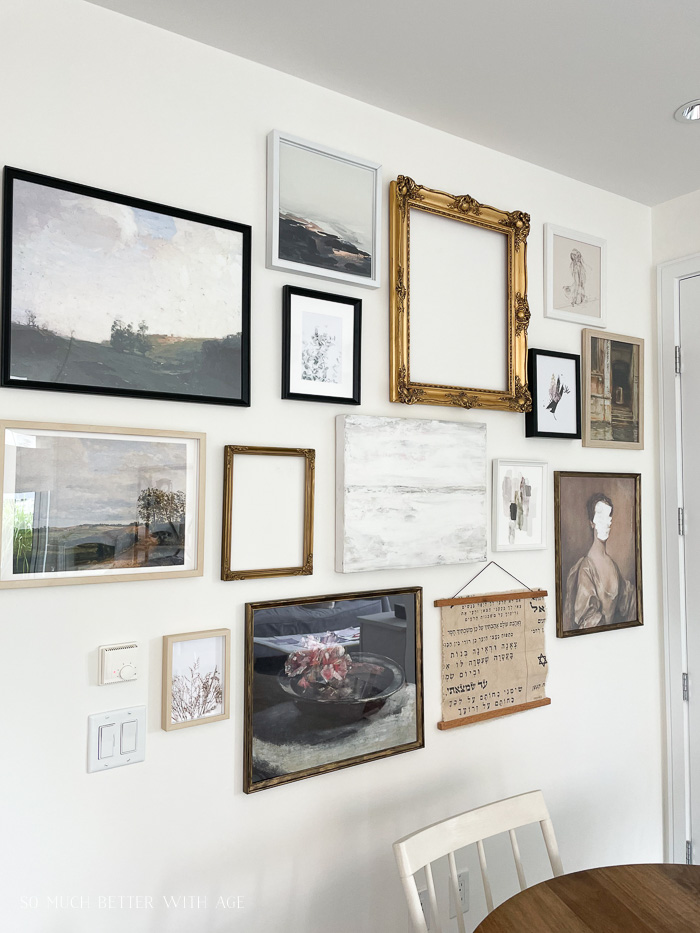
If you look at this image again, you’ll see that I made sure there was more than one black piece as the client wanted the black and white peonies art. I just had to make sure there was one other art piece with black on it to tie in together and not make the black and white peonies art stand out so much.
The tones of the goldy-beige relate to a couple of art pieces together and there’s a few landscape pieces and ones that have lots of white backgrounds.
The sky is the limit when coming up with the right formula for your eclectic gallery wall.
Picking The Frames
For the frames, you want to make sure it’s just like the art pieces, mix them up with varying types. You might want a few that are black, blonde wood, gold and/or black. I try to have two frames that are similar to each other so there’s a good mix throughout.
I laid the varying frames on the floor leaving space for the frames/art pieces I didn’t have yet.
I got most of the frames for this install from Ikea and to make some of those frames look vintage, I used this technique over black frames to make them look gold/antique looking.

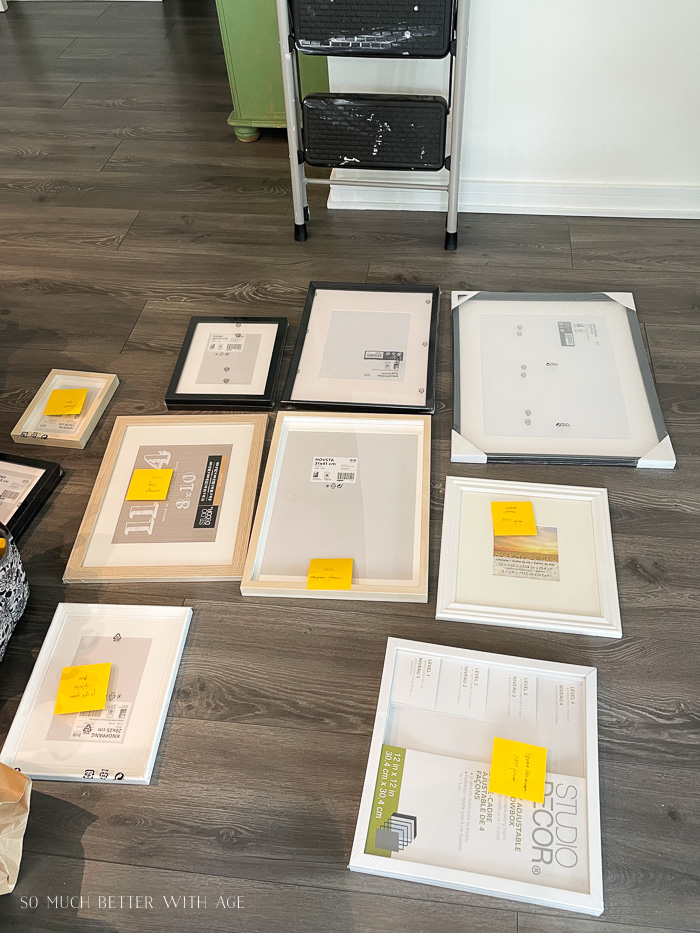
Pro tip: put a sticky note on each frame that coordinates with the art piece.
I gave each of the pieces of art a name that was easy to remember like black peonies or black and pink smudge art (you have to have some fun, right?).
Picking Art Sizes and placing them on the wall
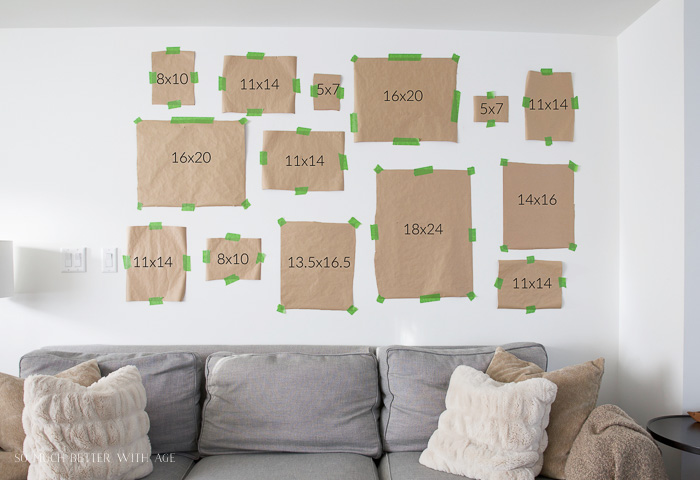
There’s a lot that goes into picking the different sizes of art pieces and placing them on the wall. Especially since we are downloading the art pieces, we can print it out to whatever size we want. Which is great but that also makes decision making more difficult. A good variety is key when choosing the sizing.
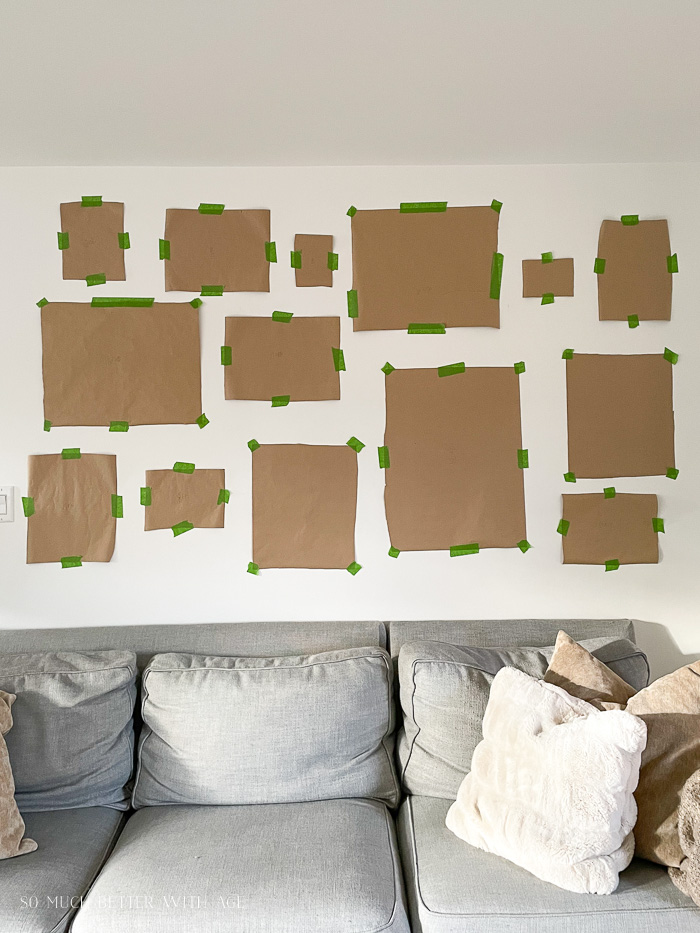
I cut kraft paper into the same size as all the pieces of art and using painter’s tape, hung them on the wall.
installing the wall gallery
Now that the art is picked, the frames are picked and the prep work is done on placement, now comes the time to install the art on the wall.
Method 1 – using kraft paper
Remember I was placing the kraft paper in my house but it would be best to place the kraft paper where you are actually going to be doing the install. Once the kraft paper is exactly where you’d like it, you can measure where the nail/hanger should be placed and hanger right through the kraft paper. Then there is no guessing where on the wall it should go!
Just remove the kraft paper and hang up your art.
Method 2 – Lay Artwork on the Floor
Lay out your artwork and pick one piece that you want to start with.
It’s a bit haphazard to do it this way as opposed to the kraft paper way but sometimes that’s what works best for the feel of the space.
Even the best laid plans don’t always work out. My client wanted a couple more gold frames added at the last minute so I made it work.

Pick one piece to start with (l chose the artwork from Beach Antionette) and worked off from there, using my digital guide as a blueprint.
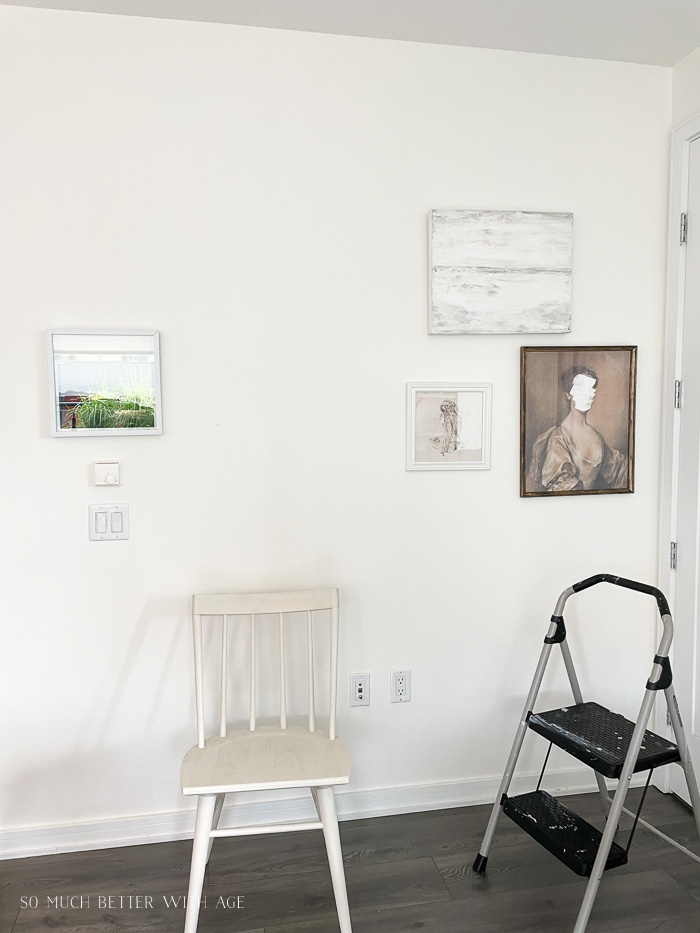
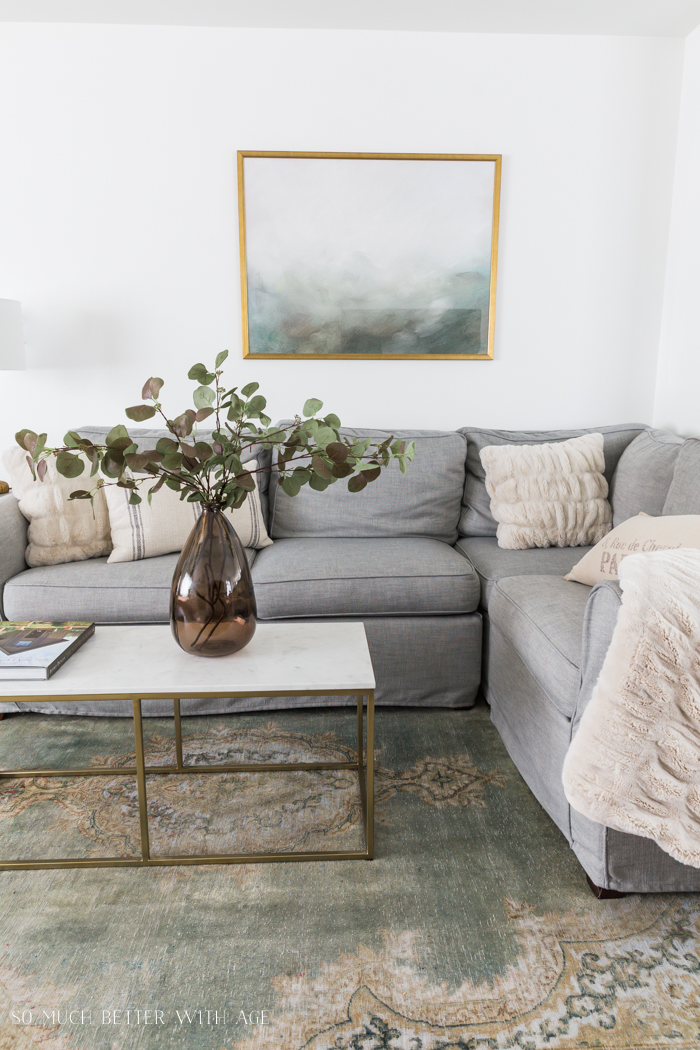
This is what the gallery wall looked like after we added those two gold frames.
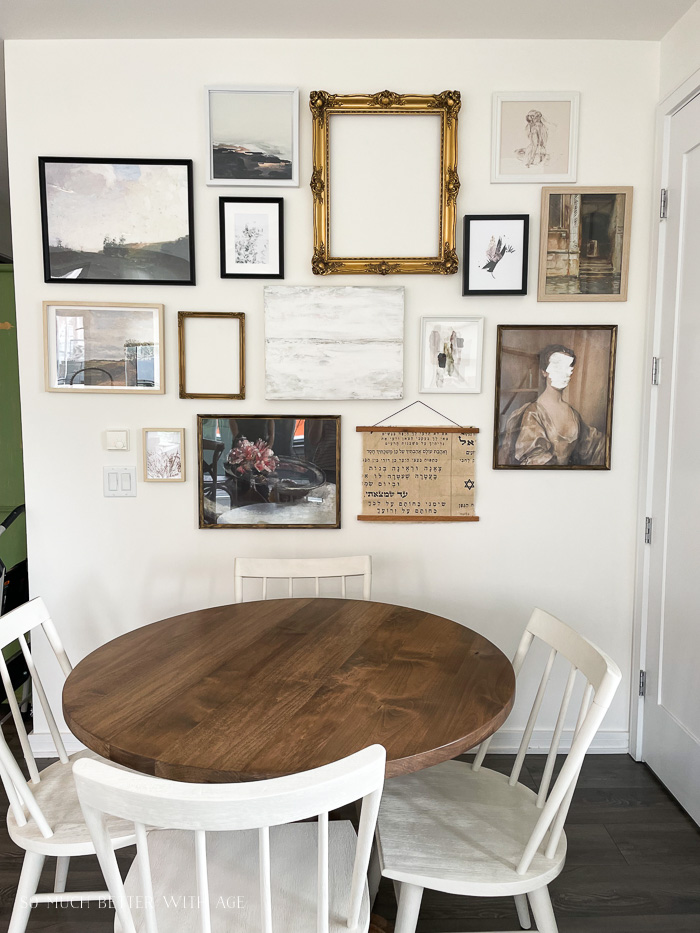
I also make sure to add cabinet bumpers to the bottom two corners of each frame so they stick to the wall and don’t tilt like when doors or slammed, for example.

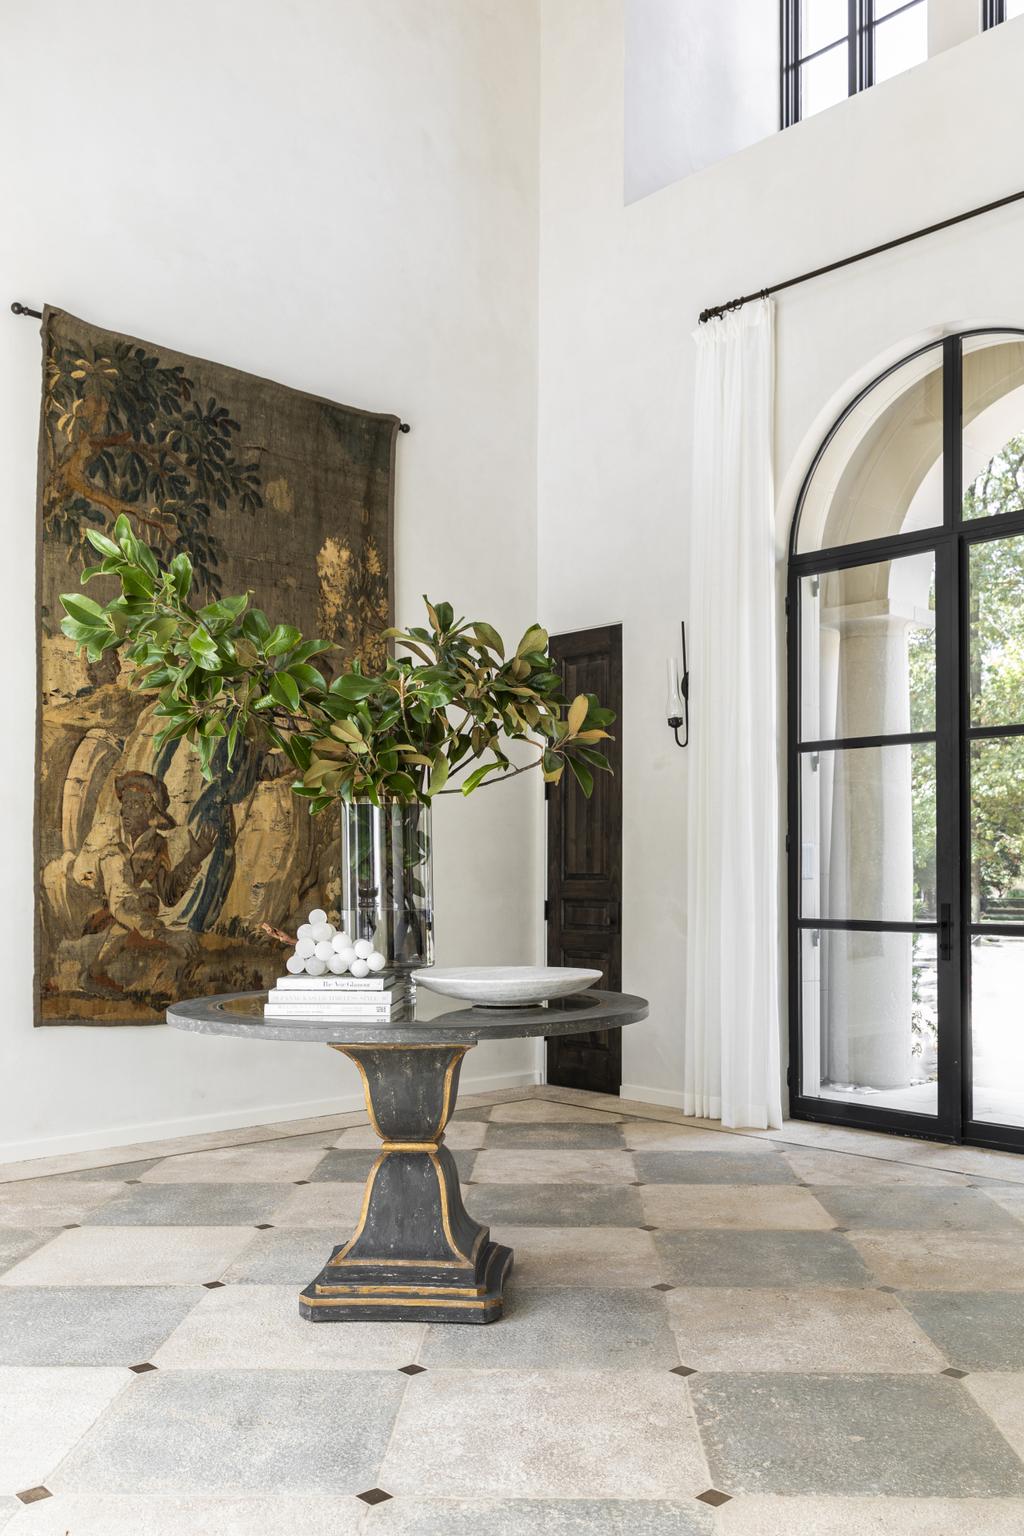
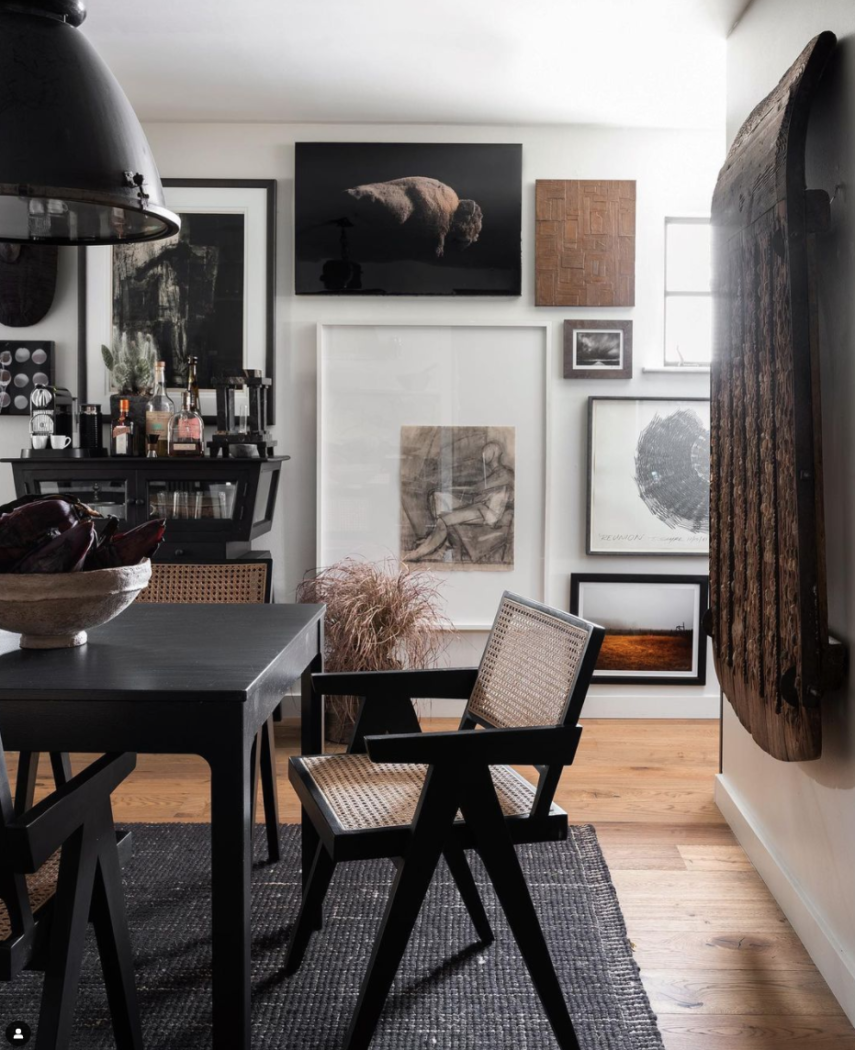
Other Eclectic Gallery Walls
Here are a few beautiful examples of other eclectic gallery walls.


Shop The Post:

I hope this has helped you plan and install an eclectic wall gallery. Let me know if you have a gallery wall in the comments below.
If you are local and would like help installing one, you can contact me through my interior design site jamielundstrominteriors.com.

Black Frames To Gold Vintage Frames

Where to Find Downloadable Vintage Art