
How to Prep Furniture for Painting
Are you wanting to paint furniture pieces but don’t know where to start? Be sure to check out this guide on how to prep furniture for painting!
I love updating old furniture by painting it. I love solid wood furniture but the finish can be worn and the look can be dated. To get a professional painted look, these are the steps you need to do before you get the paint out. It can be tedious but will make all the difference!
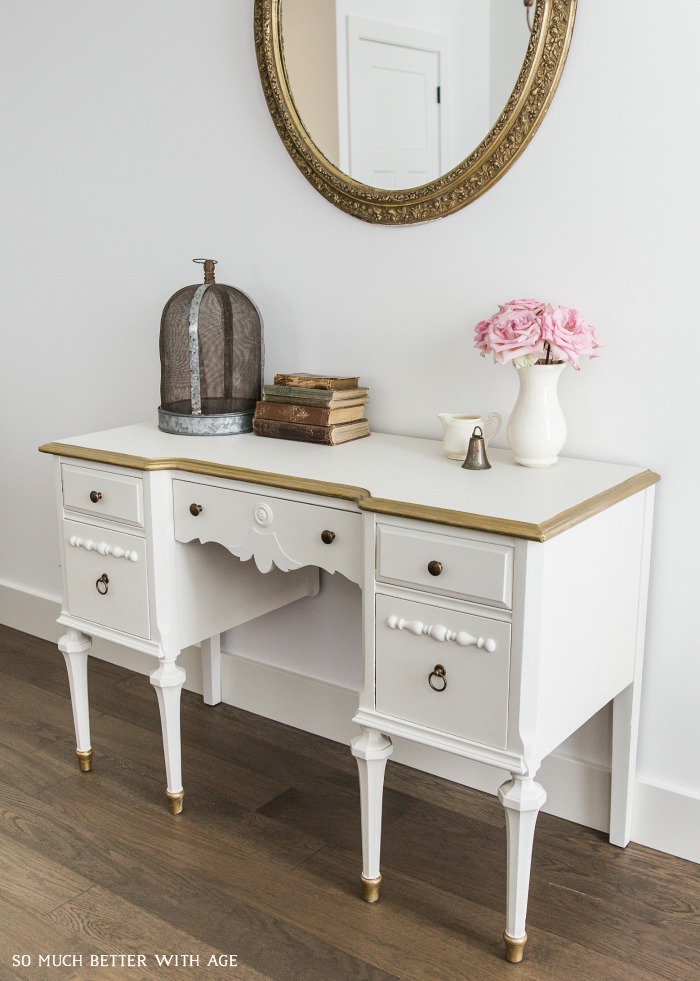
You might remember the white and gold vanity above that I painted as a project for my book, French Vintage Decor.
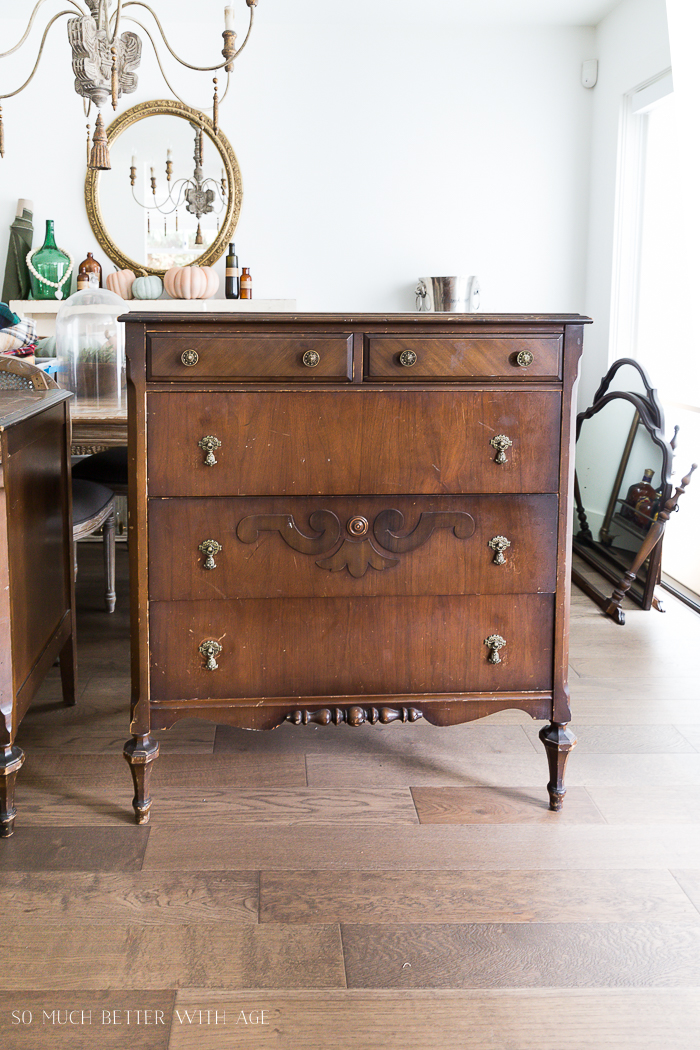
The vanity is part of a larger set that I finally had time to finish and sell recently. I’m keeping the vanity but the two dressers that go with it I don’t need.
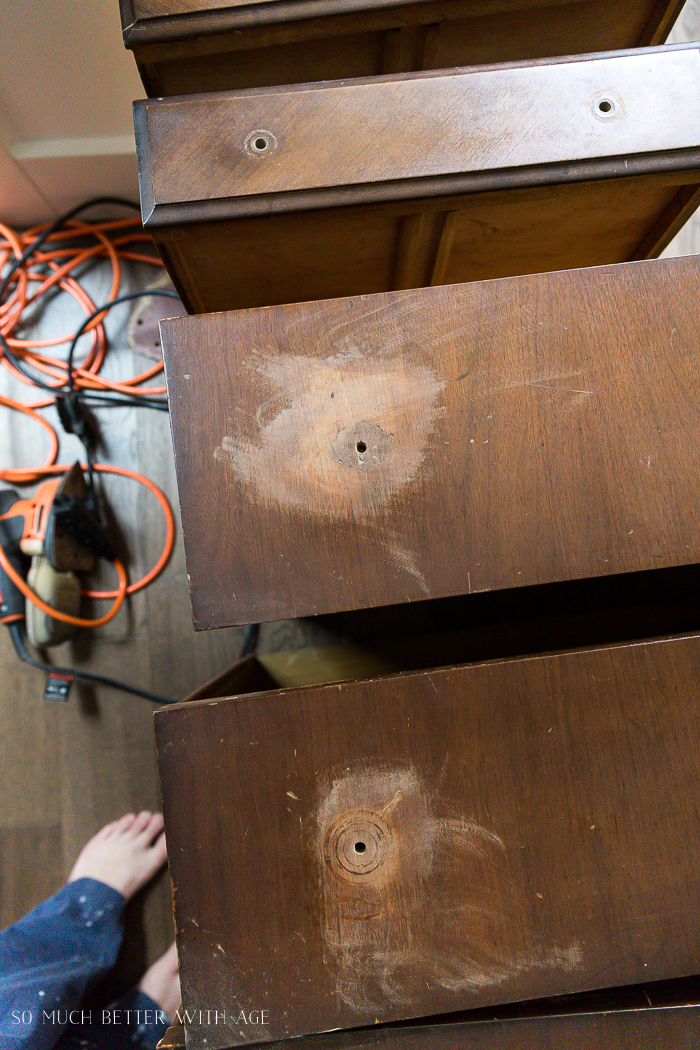
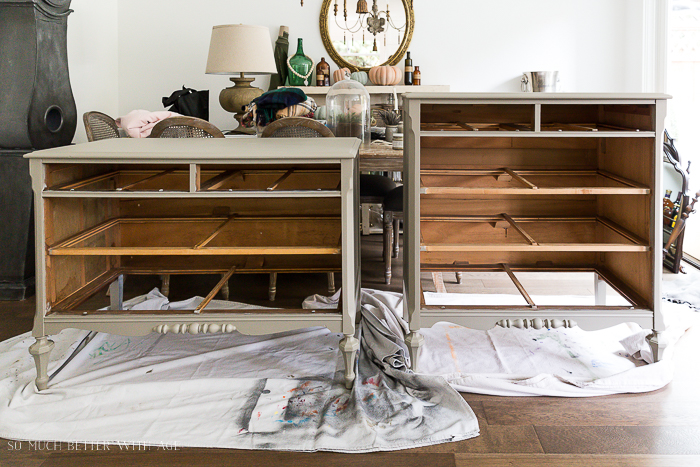
Here is what the dressers looked like before.
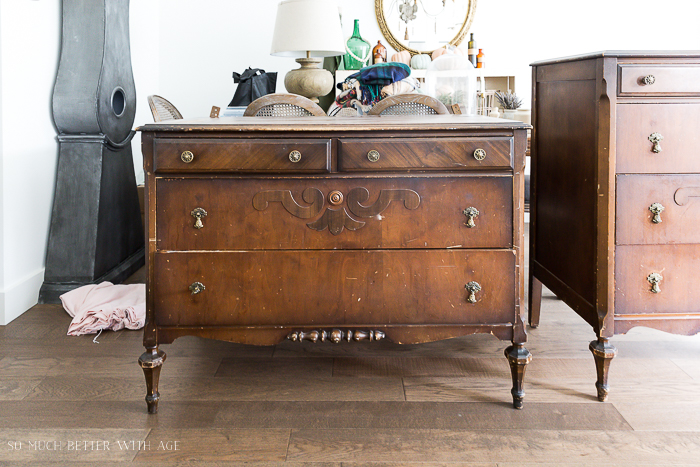
They were in bad shape and had a glossy finish but were completely solid.
If you’re unsure if you should paint your furniture piece, be sure to check out this post!
How to Prep Furniture for Painting
Here are the steps you need to do in order to prep your furniture for painting to get a professional look.
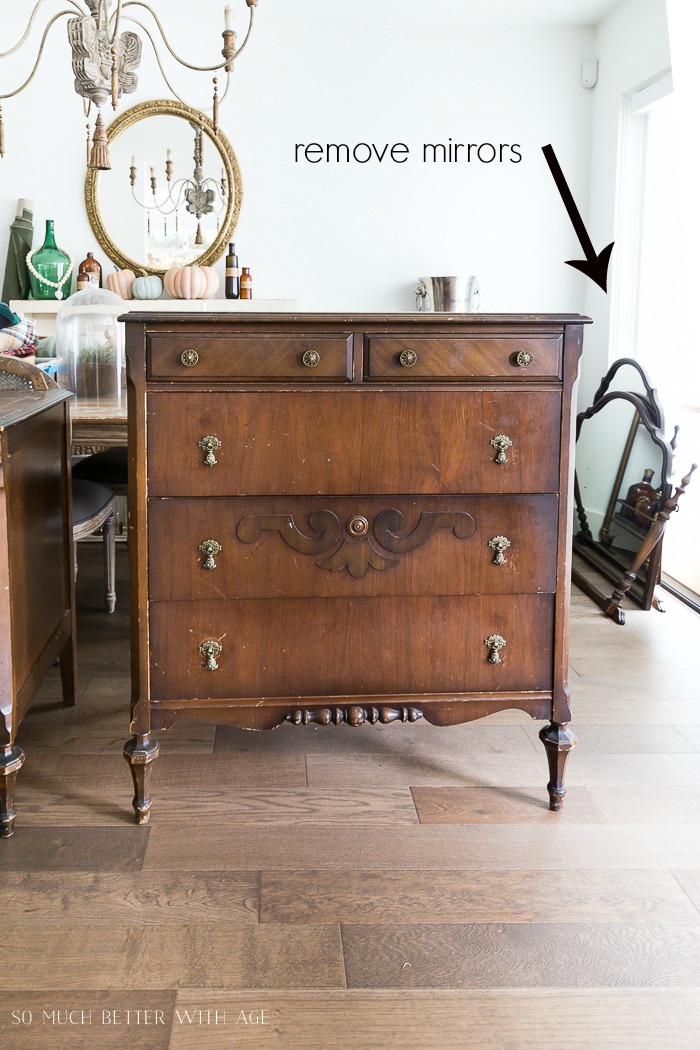
Remove Hardware, Hinges and Mirrors
- Remove all hardware. Don’t skip this step by painting over the hardware even if you want the hardware to be the same color. It just never looks good!
- Remove any hinges too if the furniture has any.

- Clean the hardware. If the hardware is covered in paint, you can set it in an old crock pot filled with water for 24 hours and the paint should just lift off. You can update the furniture by adding new hardware or you can use a polish to change the sheen and color to it.
- At the very least, soak them all in a sink filled with hot, soapy water and rinse and let dry.
- If the dresser comes with a mirror, detach it.

I love when mirrors are hung on the wall above the furniture piece rather than attached to it.
Tip: these mirrors from cabinets make the best French looking mirrors because of their flat bottom!
Wood Putty and Sanding
- Sand down the area where the hardware was to get rid of any griminess. Now you may think that there’s not point to this step because the hardware is going back on but trust me, that grime is years of dirt and gross buildup and you’re already starting fresh so nows your chance to smooth it out.

Tip: I sand outside if I’m using my electric sander just on my patio or garage otherwise it will be very messy in the house.
If you are just using a sanding sponge, I sand inside.
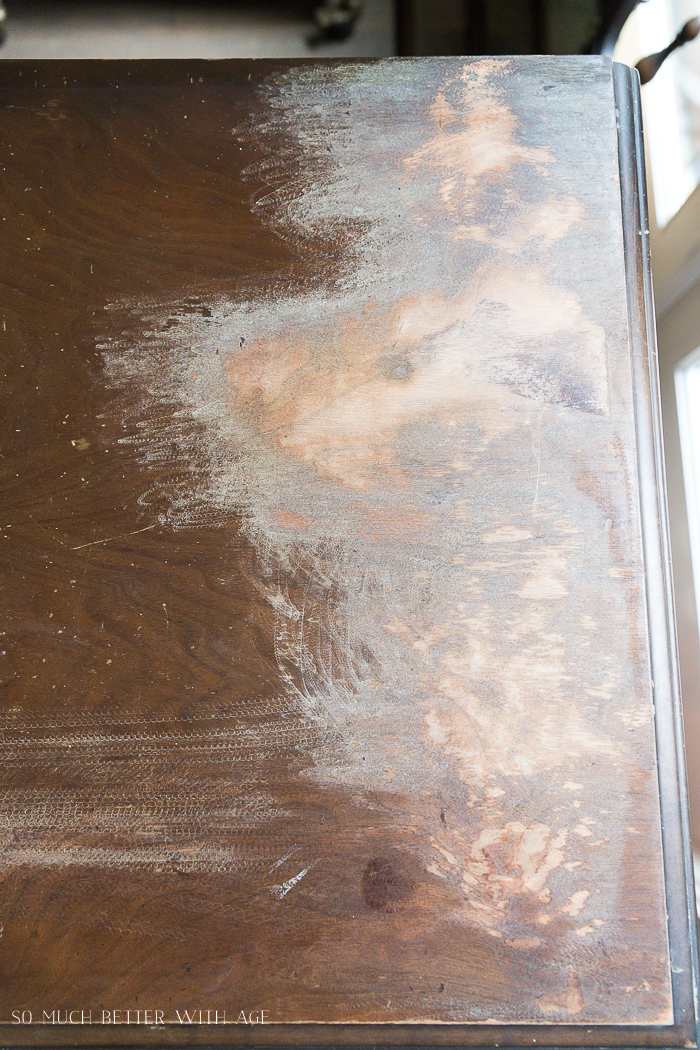
- Sand any chipping varnish or sticky stuff right off.

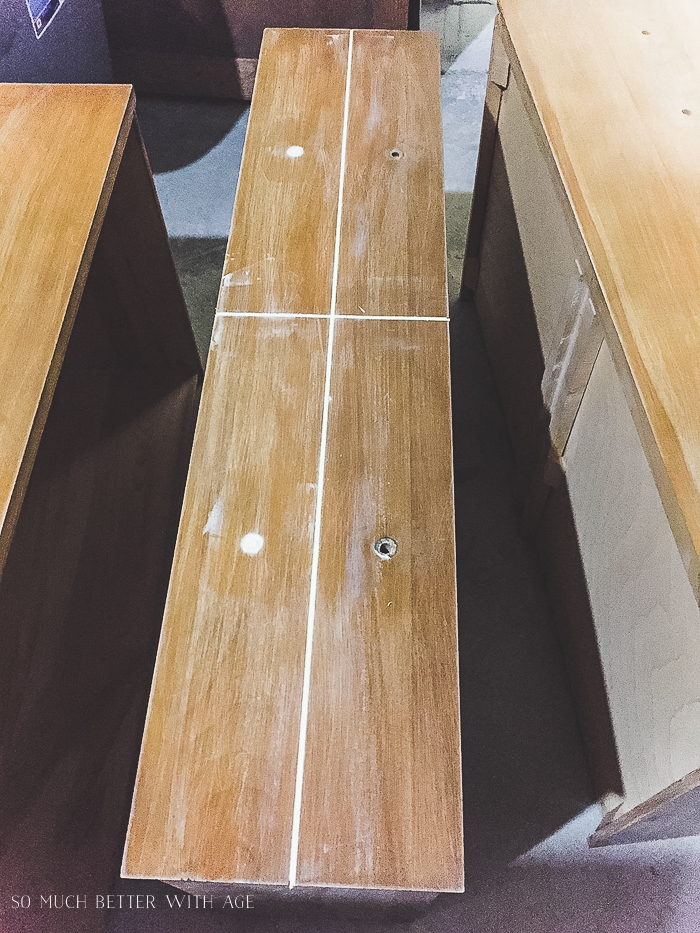
- Fill scratches or dents with wood putty.

- Fill any holes or gaps.

These drawers were made to look like four drawers instead of one.
- Fill the holes where the extra handles were placed and the lines that divided the drawer.
- After the wood putty dries, sand it by hand using a piece of sandpaper in fine grit or a sanding sponge. You may need to repeat the woody putty and sanding step twice.
- Sand the entire furniture piece using a sanding sponge or a piece of sanding paper in fine grit to scuff it up to remove any shine or gloss. This will allow the paint to adhere better to it. It should take no more than five minutes.
Clean Furniture
- Vacuum inside drawers and take all the drawers out and vacuum the inside the furniture piece too (I’m always amazed at how many spider webs I find!).
- Wipe the furniture piece down with a damp cloth or baby wipes to get rid of any fine dust from sanding.

Ready for Painting
Once you have these steps down, you’re ready for painting. All the work is in the prep but I guarantee that if you put effort into prepping your piece of furniture, your piece will look professionally painted.
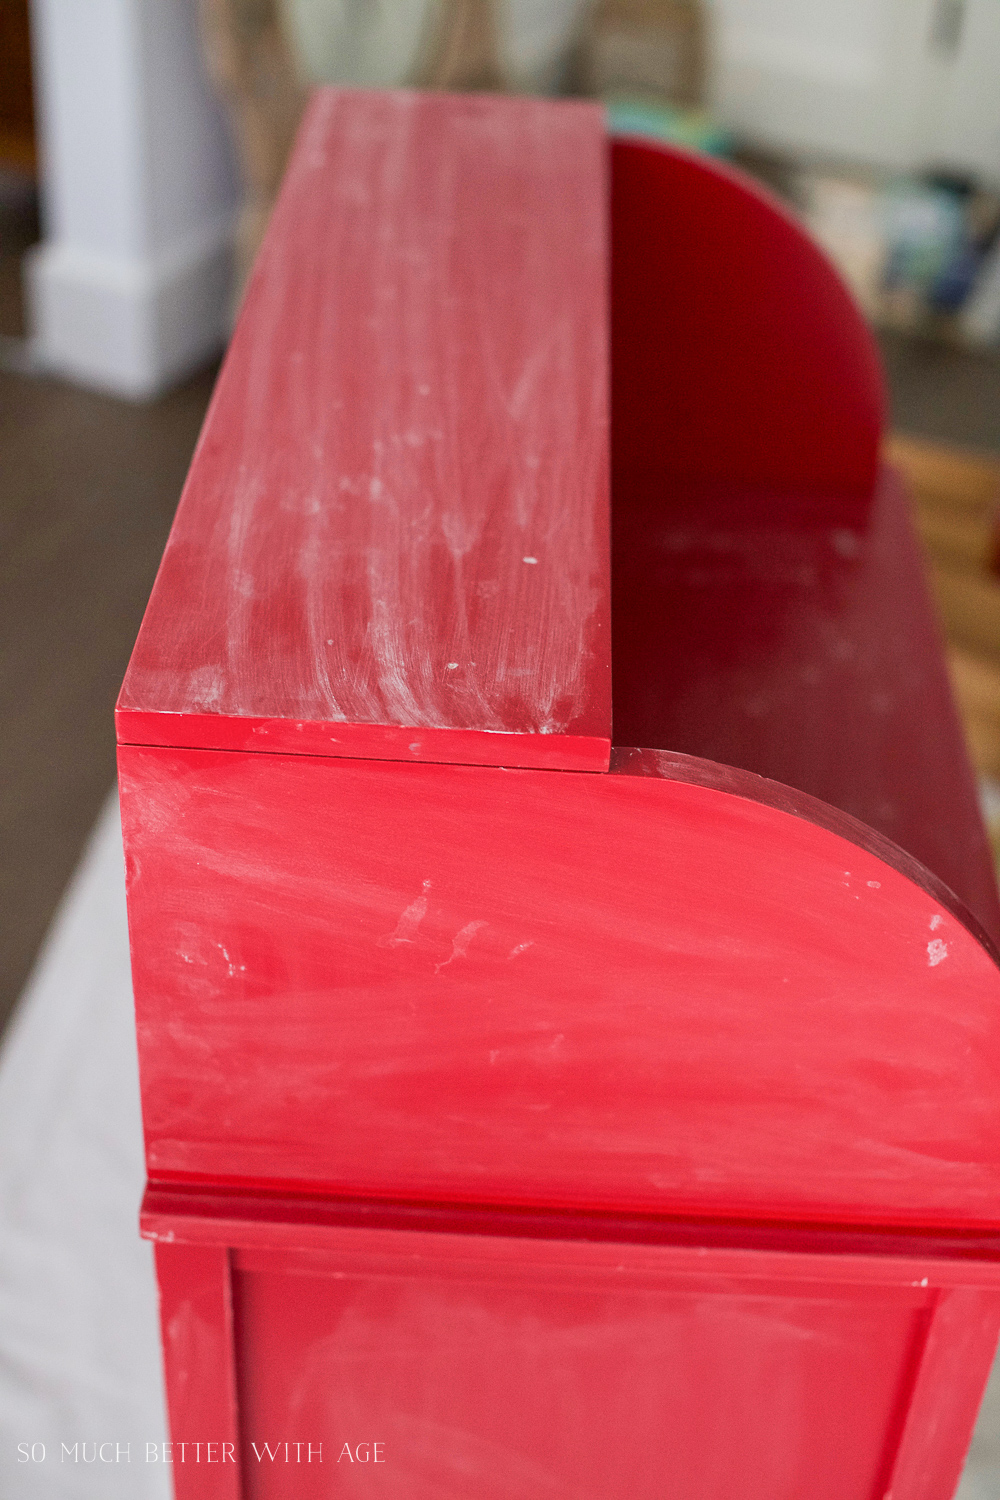
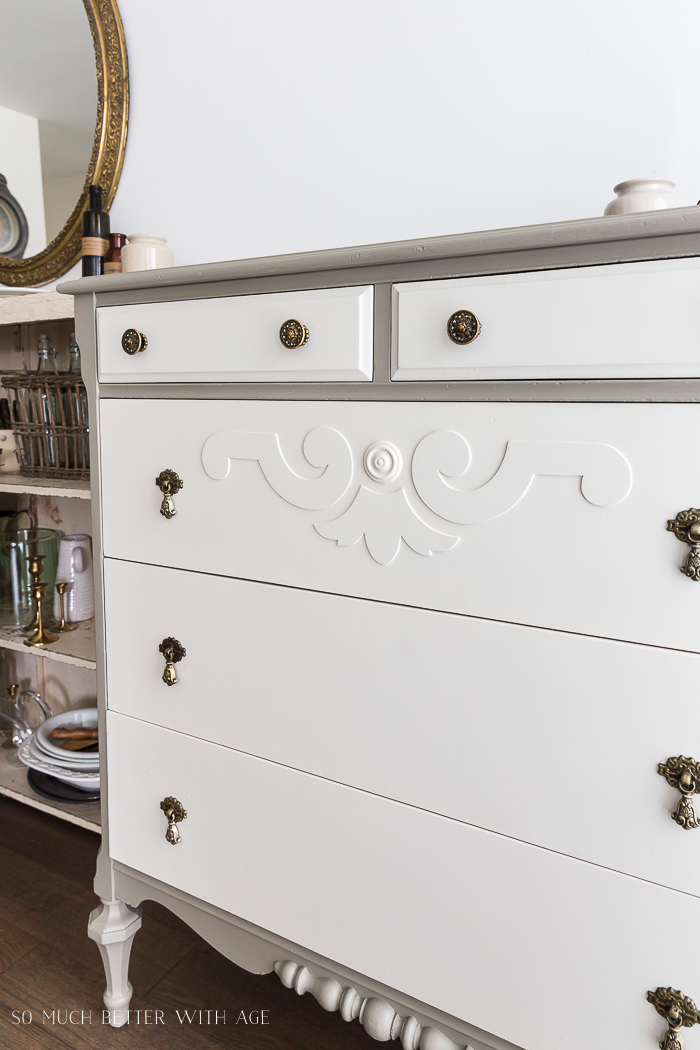
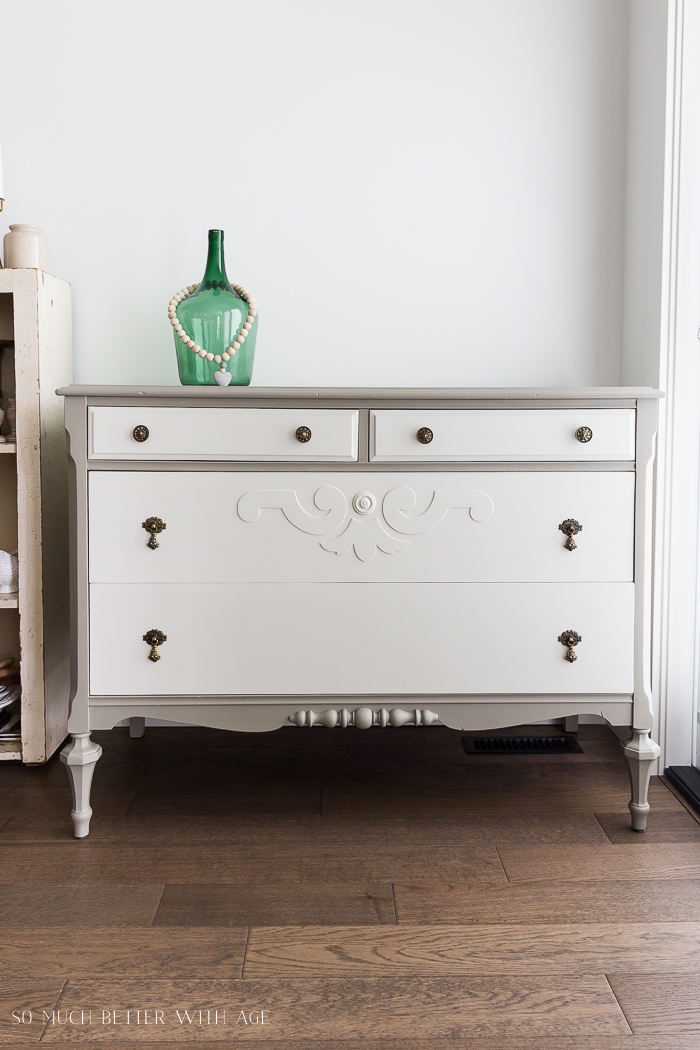
Here are the dressers painted.
I painted them two tone with a darker paint on the outside and the drawers a creamy white. I used the same hardware and just cleaned washed them. 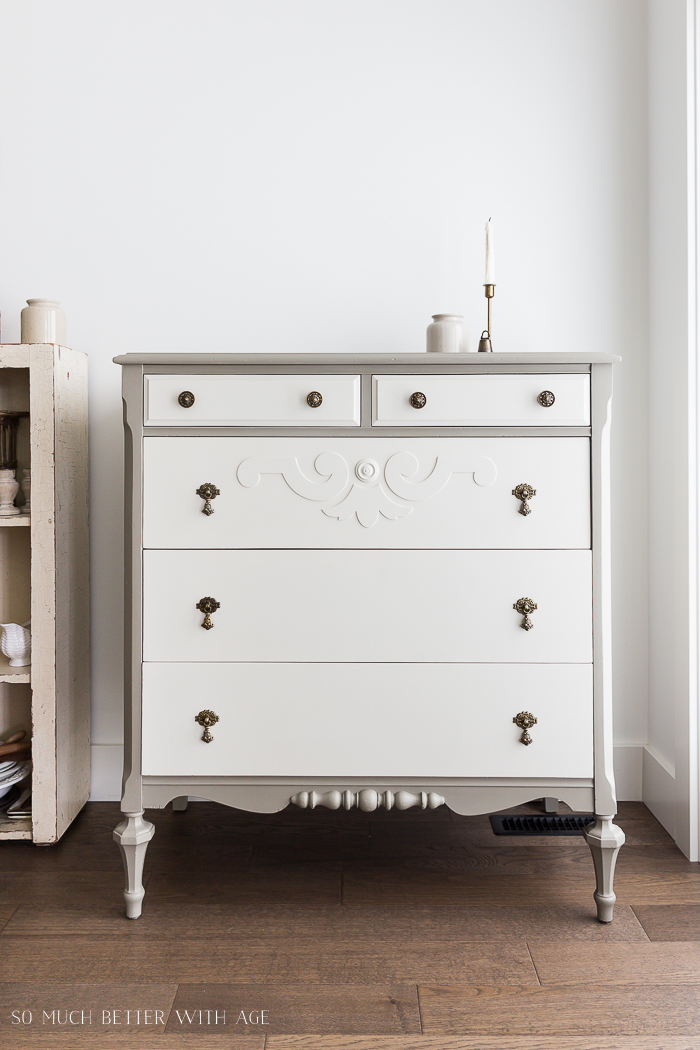
I love how they turned out and I wish I could keep them. I sold them at the Olde Farmhouse Vintage Market and I know they went to a good home (thanks Edda!).
Paint colors: Linen and Champlain from Fusion Mineral Paint.
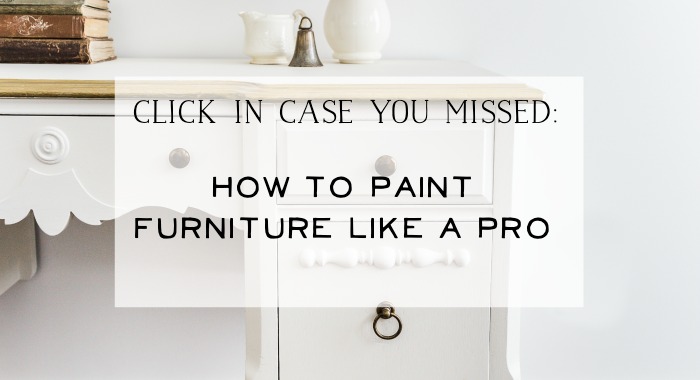
I hope you found this helpful on how to prep furniture for painting. Click here for how to paint your furniture like a pro!

Click in Case You Missed:
8 Steps on How to Fix Badly Damaged Furniture

How to Paint Furniture Like a Pro


I love how you paint furniture and then you don’t go back and sand the edges! This looked beautiful! You do a fantastic job! Yeah you!
Thanks Rebecca! Yes, I’m leaning towards a cleaner look nowadays.
Hugs, Jamie
They were nice old pieces and now even better, they are lovely.
Thanks Marlene!
Hugs, Jamie
Gorgeous!
OK – what colors did you use, please – and also how did you paint it? Spray? Brush? Foam brush?
Roller? How on earth did you get the painting part so smooth cuz I sand my heart out but always still have brush strokes.
Perfect work – I love those colors so much I need Edda’s address so I can go and “borrow” them!
Haha. ♥ VERY well done, Jamie!
Thanks Michele! I’m going to write a post about how to paint furniture next week! I can’t believe it’s taken me this long to write it lol. And I forgot the paint colors! Linen and Champlain from Fusion Mineral Paint.
Hugs, Jamie
Looking forward to your post on how to paint furniture. I am planning on doing my china cab, in the spring when I can get it outside. Agree with Rebecca the dresser looks so nice without any distressing.
Thanks Elayne. I can’t believe I haven’t done a beginner’s painting post yet! I should be able to get it done for next week.
Hugs, Jamie
This furniture is so beautiful! I have some similar pieces and this has convinced me to paint them too. I am curious about how to hang the gorgeous mirrors that were once attached to these pieces. The margin is so narrow on the back. Please let me know how you hang yours.
Hi Vicki,
Thank you! I’m posting my ‘how to paint for beginners’ post later this week! It depends on the mirror but I usually just lean my mirrors on the mantel or sideboard or cabinet. I’ve been lucky enough to still be able to put hardware on the back to hang them up if I need to. I’ll have to think about a good solution for this!
Hugs, Jamie
On the dresser what color gray did you use
It was a great article that describe each & every step to paint the furniture. Thanks for sharing it!!
Hi Anuj,
Thank you! I used Linen and Champlain from Fusion Mineral Paint. The links are just above where it says ‘HUGS, Jamie’