
Square Wreath with Mossy Branches
This square wreath with mossy branches is so easy to make and perfect for summer decor.
I felt like making some ‘art’ for my outdoor area using twigs and moss. Let me show you how I made this woodsy square wreath with mossy branches!
Today I’m participating in Outdoor Extravaganza, the third and last week, hosted by my friend Shauna of Satori Design for Living. This week it’s all about Paint It & Build It Projects and my DIY project is this square wreath with mossy branches. Be sure to catch all the great outdoor inspiration at the end of this post!
I made mossy branches for a project in my book, French Vintage Décor and had them in a planter I painted to look like a cast iron urn. I added moss to these branches first (because of the book project) but it’s best to do it last for this project. So ignore the moss on the branches first when you see the photos 😉
This post contains affiliate links for your shopping convenience. Click to read my full disclosure policy.
Supplies:
- branches
- measuring tape
- gardening shears
- elastic bands
- floral wire
- fabric glove (I used a gardening glove)
- moss from craft store (or backyard)
- hot glue gun & sticks
- twine, optional
Directions:
1.Measure the size wreath you’d like to create. Obviously my wreath isn’t a perfect square.
2. Cut 2 sticks the same for each side.


3. Add elastic bands to the ends of the pairs of sticks a couple of inches from the bottom.

4. Overlap the sticks by a couple of inches and using floral wire, criss-cross the wire all around the 4 sticks of each corner to make secure. The elastic bands on one pair of sticks should overlap the other pair of sticks. If they aren’t overlapping, move the elastic bands up or down so that they are.
5. Turn it over once all four corners are done.
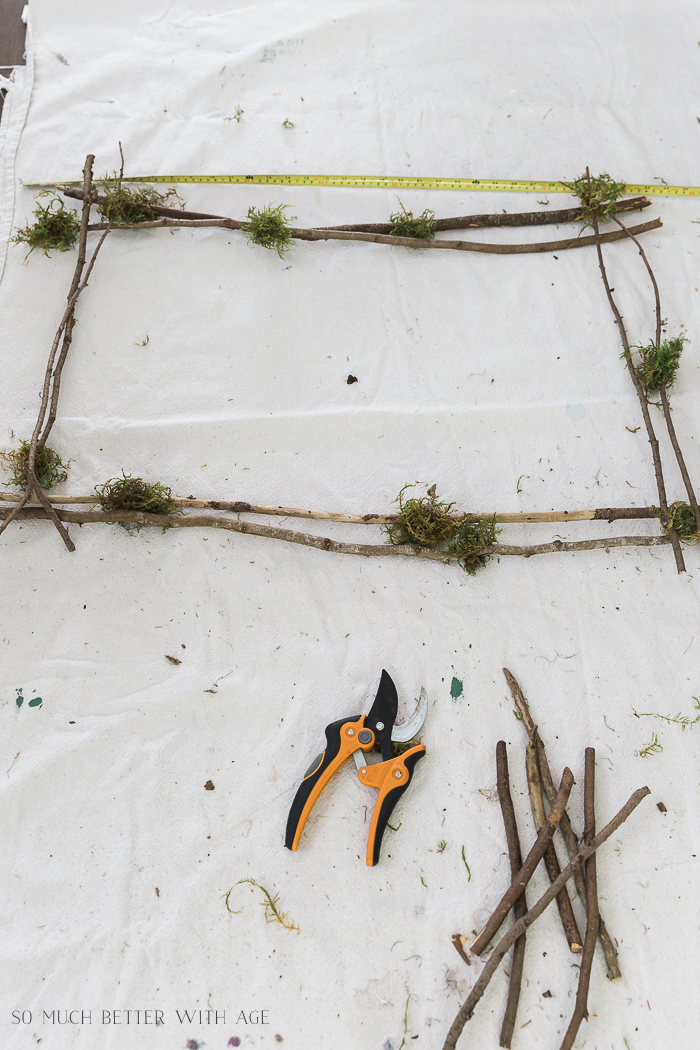
6. Wearing a glove, bunch up a tuft or ball of moss in your hand. With the opposite hand, put some hot glue all over one side. Stick the moss tuft on a part of the stick and hold for a few seconds. The glove will protect your hands as the glue will go through the moss. (Like I mentioned above, I had already made these mossy branches for a project in my book, French Vintage Decor, but it’s easier to add them after for this project).
7. Randomly add moss tufts to the sticks. Glue a moss tuft over each secured corner to cover up the floral wire and elastic bands.

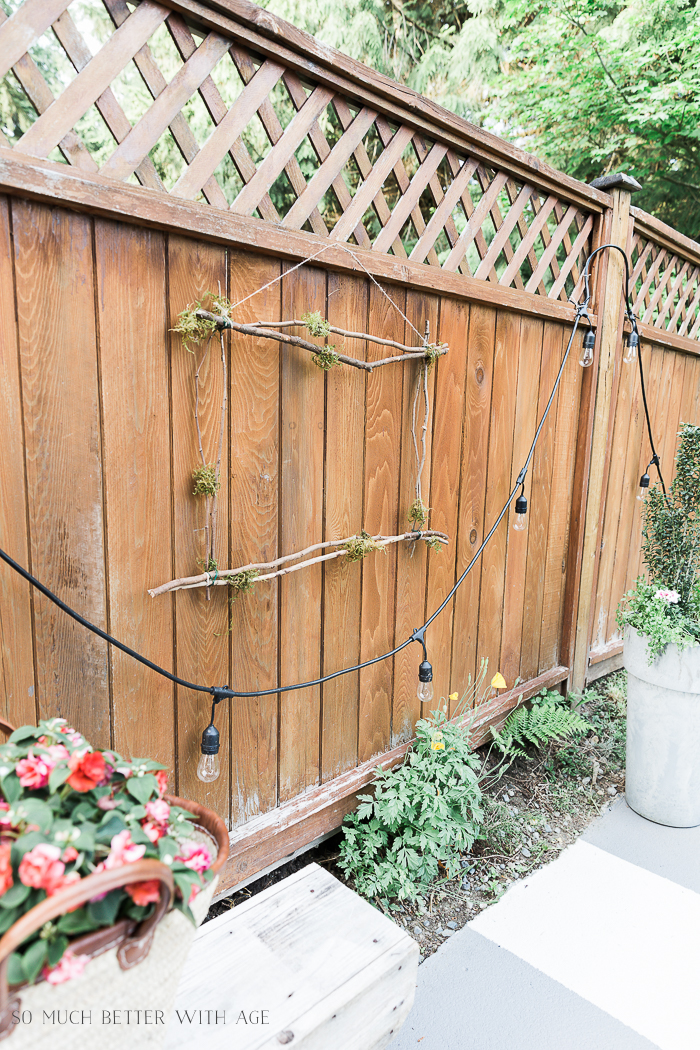
8. Add twine to the outdoor wreath to hang it like a picture frame.
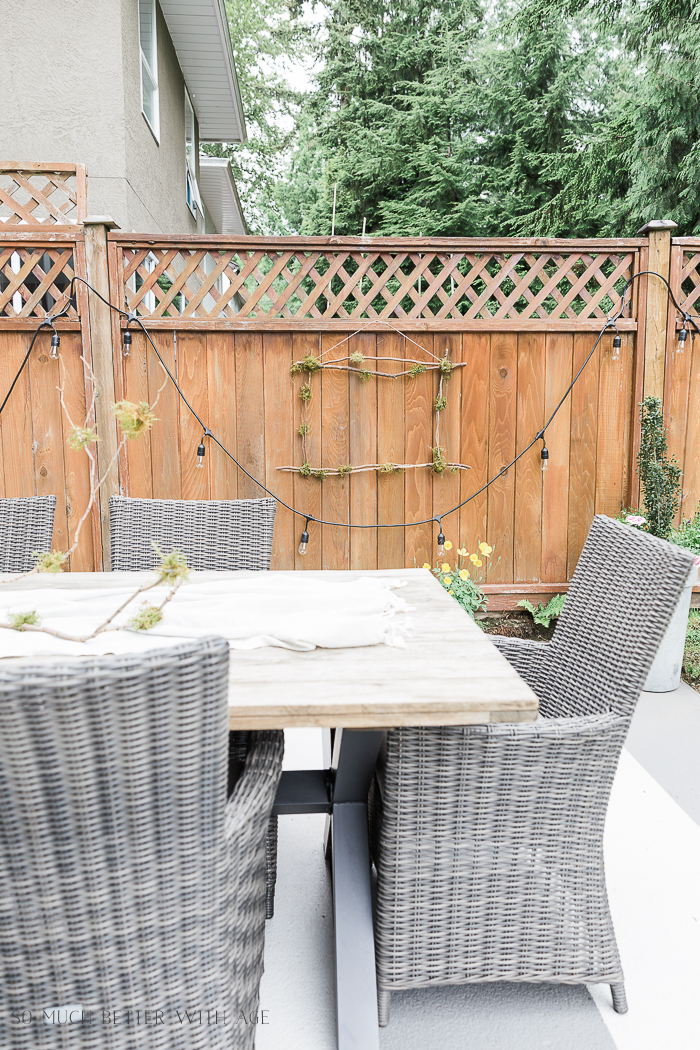
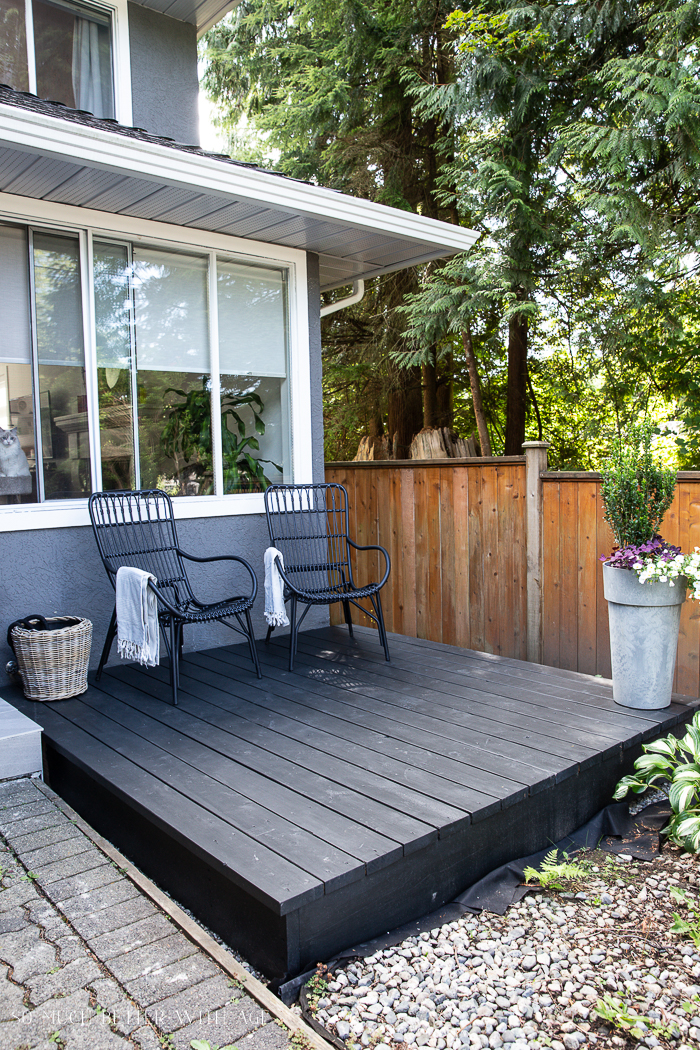
I added a twisty mossy branch to the middle of my outdoor table.

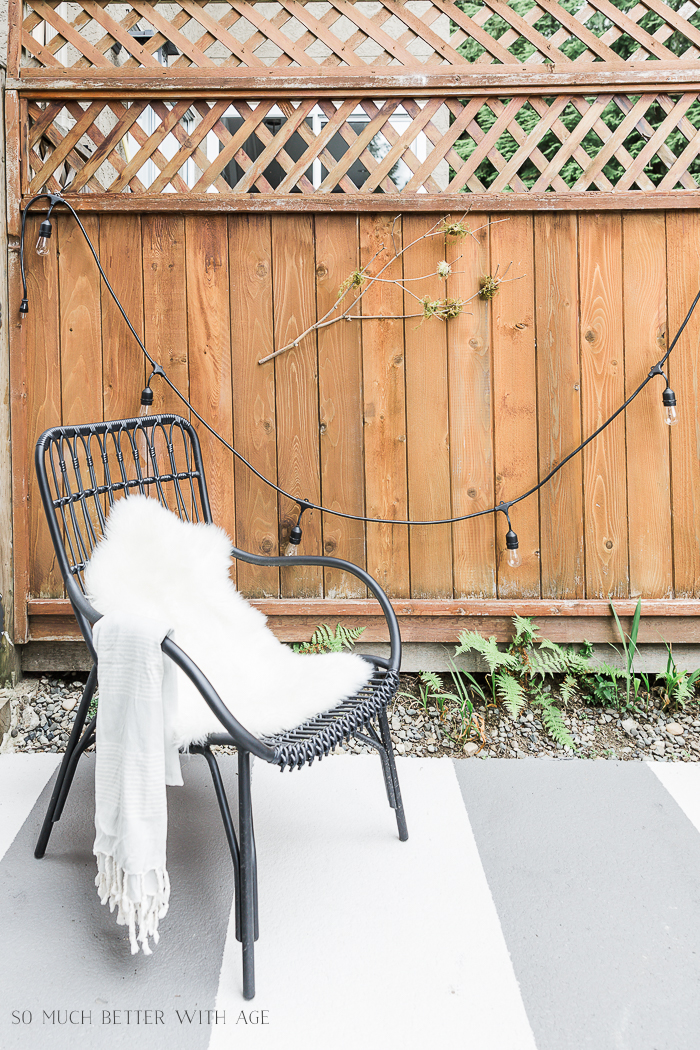
And I also added one twisty mossy branch to the fence too.

I nailed a small brown finishing nail to hang up the wreath and 2 small brown finishing nails and twine to hang up the curvy moss branch.

Then I also added a twisty mossy branch to a demijohn as well! I could just keep going and going!

I hope you enjoyed this article on how to make a square wreath with mossy branches.
It’s so fun, easy and inexpensive when you decorate with natural items!
Make sure to pin it for later!


Click in Case You Missed:

How to Set a Casual Outdoor Table with Vintage Style


Satori Design for Living | Vinyet Etc. | The Happy Housie | The DIY Mommy
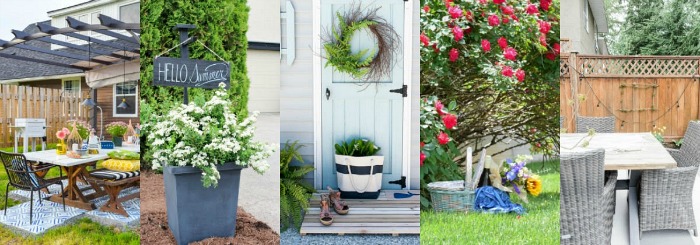
PMQ for Two | Clean and Scentsible | Finding Silver Pennies | Casa Watkins Living | So Much Better with Age
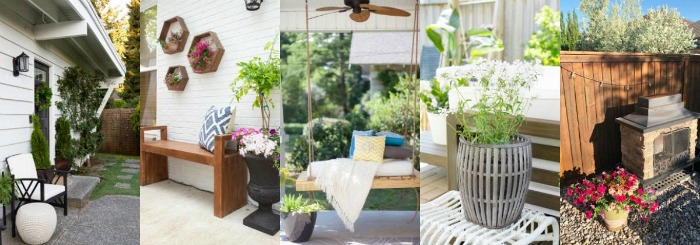
Zevy Joy | Shades of Blue Interiors | Amber Tysl | Craftberry Bush | A Pretty Life
SaveSave


I love your wreath Jamie…rustic and natural are my favourite! And I know what you mean about not caring for the fence…I felt the same way about ours, but I do love it now that I finally stained it! 😉
Your stained fence is beautiful, Jo-Anna. I’m enjoying looking at my wreath for now 😉
Hugs, Jamie
cute! Great idea to glue the moss on.
Thanks Ariel!
Hugs, Jamie
Our fence is getting tackled next month- ugh! Not looking forward to it, but we’re all going to take sections and bust it out. It’s been quite a few years since the last time, so I guess I can’t complain. Your mossy wreath turned out lovely and, I agree, a good distraction. Thanks for joining in this year again 🙂
Thanks Shauna! Yes, my fence is not so ugly to look at now 😉
Hugs, Jamie
Such a cute idea to decorate a fence.
Thanks Danielle! I’m enjoying looking at my fence now 😉
Hugs, Jamie
Such a lovely idea Jamie; it dresses up your fence perfectly! Happy almost summer, friend!
Thanks Krista!
Hugs, Jamie
What a cute idea for summer! The square shape is unique and combined with the mossy branches looks like a great summer diy! Beautiful idea!
Thanks so much, Stephanie!
Hugs, Jamie