
How to Build and Tile a Front Step
Do you want to know how to build a front step and learn how to tile it? This article will show you everything you need to get started.

Last week I shared how our freestanding deck was built. It turned out so great and we now have a place to enjoy a glass of wine and enjoy the evening sunset!
My whole front yard is still a work in progress. Next spring I’m hoping to have all the landscaping completely redone. But this year I wanted to be able to enjoy this area until then.
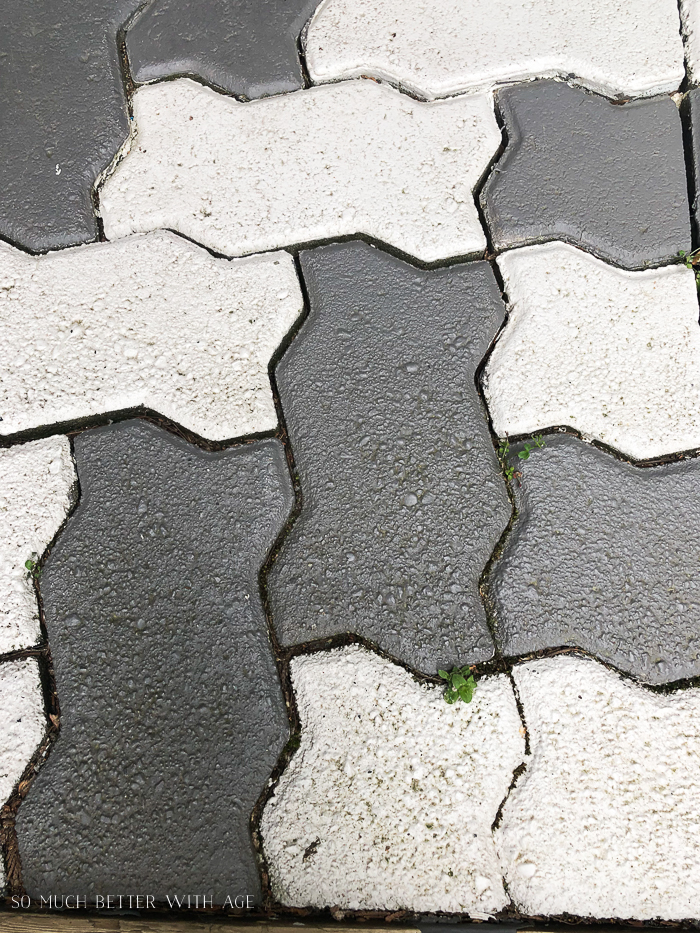
I did my best sprucing up this front step. Three years ago I painted these brick pavers and they’ve held up great!
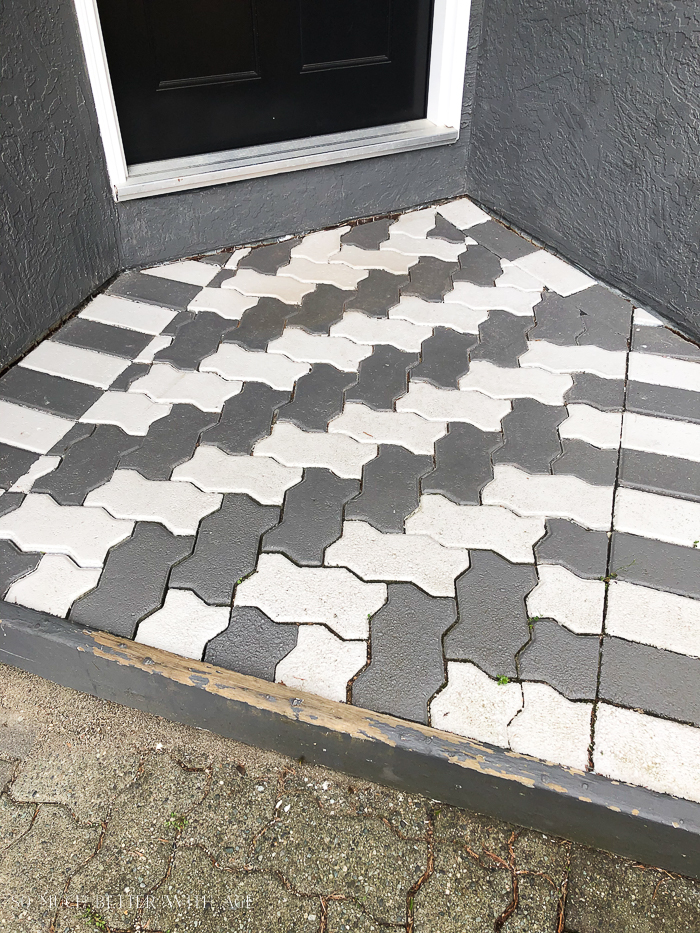
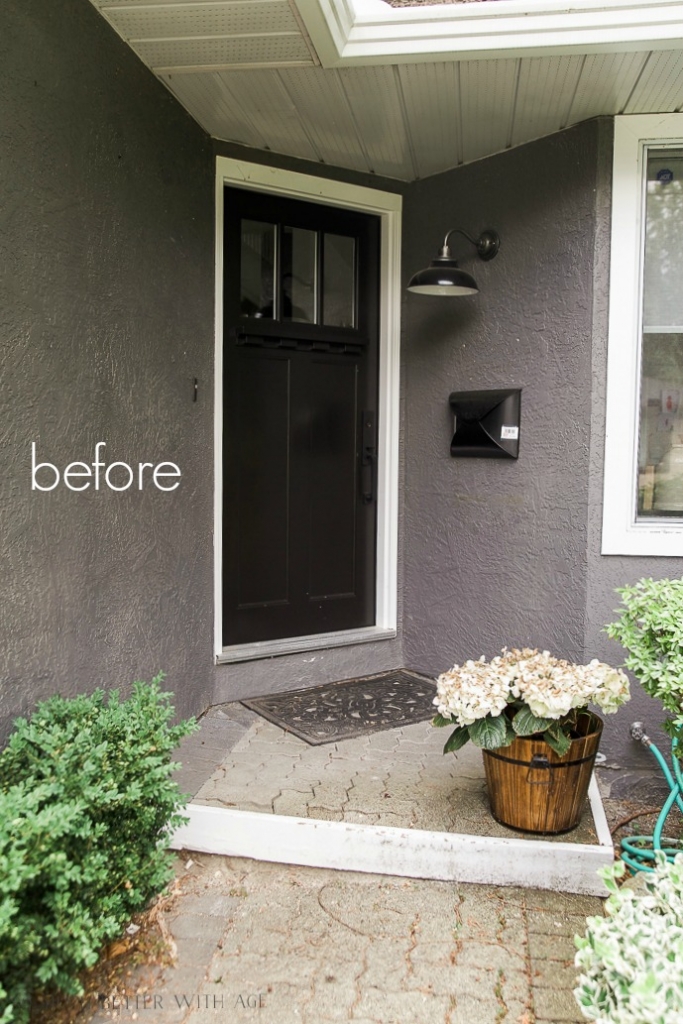
Here is what this step originally looked like.
The pavers have slowly been sinking so obviously painting them was a temporary solution.
Disclosure: This post may contain affiliate links. Please read my disclosure policy.
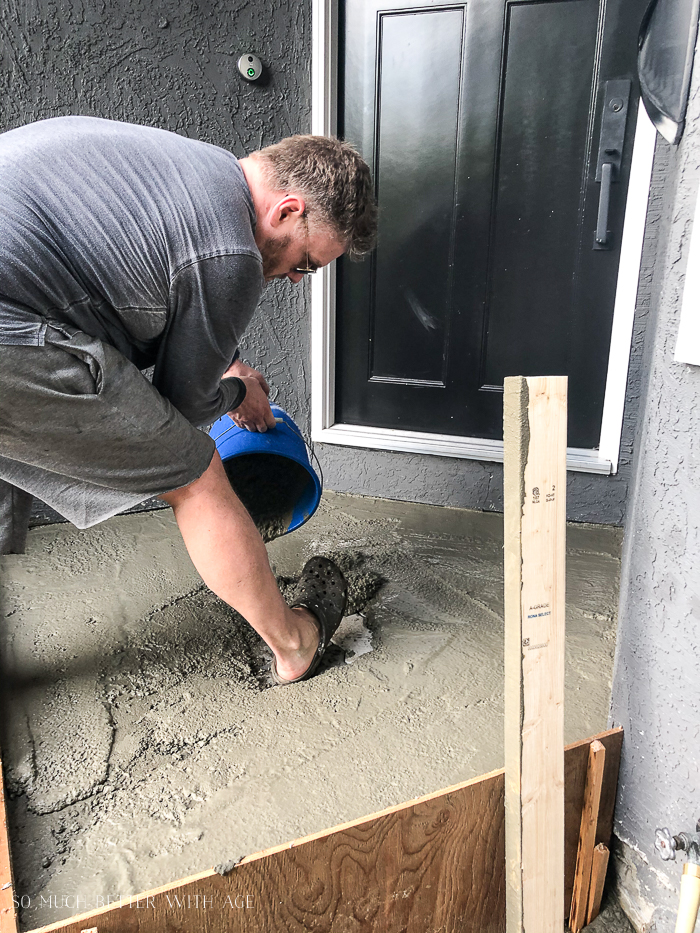
Pouring concrete right over the brick pavers was a way to save costs and use the existing structure. This was how it was done!
set up a concrete form
Set up a form to pour the concrete in.
The existing painted wood was removed and then a form was built about two inches from the brick pavers, basically in the same spot the original painted wood was. This will ensure that the concrete flows down the sides of the brick pavers to make a solid step.
Using some leftover wood, a straight box was created around the pavers and some smaller pieces were cut into stakes to keep the wood in place.

The concrete will flow everywhere so make sure the wood is tightly in place.

I’m sure there’s a method to his madness and you don’t have to pour it all around with only a spot in the middle to pour but you definitely need to start pouring concrete from the farthest point away from you so you don’t get boxed in.
He wanted to ensure that it was smooth and the right height all around the door and house first. He poured it about three inches as this was how much of a gap there was between our house and the brick pavers.
We just bought concrete mix bags from the local hardware store and mixed it in a bucket with water according to the instructions on the bag. A wheelbarrow would be ideal but we don’t have one.
We used about 5-6 bags of concrete for this step.
You need to make sure it’s smoothed out and level. There should be a slight slant moving away from your front door and house to ensure rain runs off and does not puddle.

Normally you would put guides on either side of where you’re pouring concrete then run a guide (or a 2×4) along the concrete to make it even. In this area it was too hard to put guides around the house so we just used a 2×4 to pull over the entire surface to ensure it was even.
We didn’t do this but it would be best if you poured self-levelling cement on top after it has dried for a completely level surface. This will make tiling easier.

It turned out great!


We let the concrete cure for a week before tiling but that’s because we were only working on weekends. You should check instructions to see how long you need to wait if you are looking to do this faster.

prepare for tiling
We went to our local hardware store to find tile on sale that we liked. I purchased a few to take home as samples. Grey is the hardest color to match so I highly recommend taking samples home first before buying.

We rented a tile saw for a day. Make sure that you get the right size tile saw for the size of your tiles.

Lay them out first and you want to make sure that the fronts overhang enough to butt up to the tiles on the front.
Next you’ll want to mortar the tile you’re about to set using a square-notch flooring trowel. You want big spaces between the mortar for big tiles so that size is good.
We used 3/16 inch tile spacers, the width just depends on how much grout you want showing.

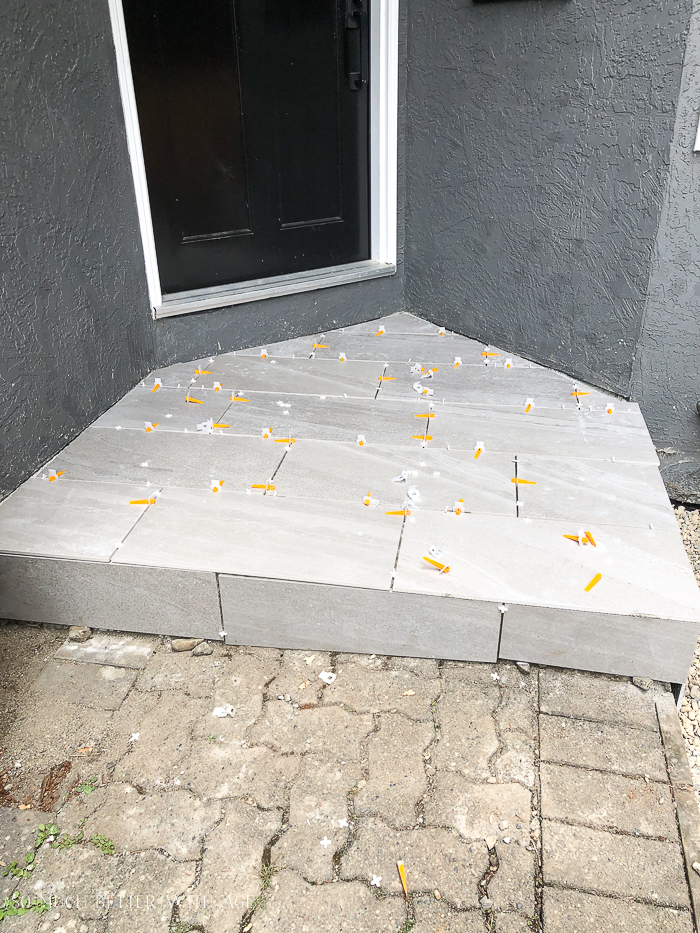
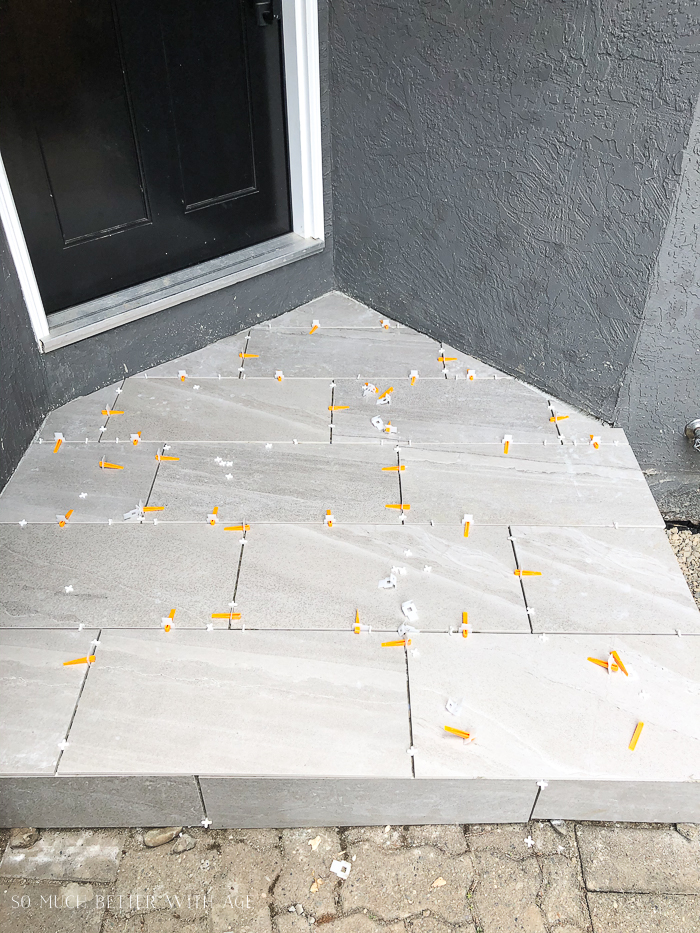
the magic tool
These are the things that saved us: this tile leveling system were amazing! Aaron said every DIY tiler should use them!
You put the tile leveling clips under and along the edges of the tile. Then you put in the tile leveling wedges in like a shim. This will ensure that all your tiles are even!

This is what they look like in place but there are also a bunch of extra ones laying on the tile.
After it has set (follow the instructions on the mortar used), we used premixed grout along with a grout float to push the grout in place. Premixed grout is the BEST!
Use grout sponges to clean the grout off the tile and follow the instructions on the grout package for the timing of when to wipe it off.
We used sealer for the tile and grout. We might be sealing it every year.
We also used concrete caulking around the perimeter where it meets up to the house.


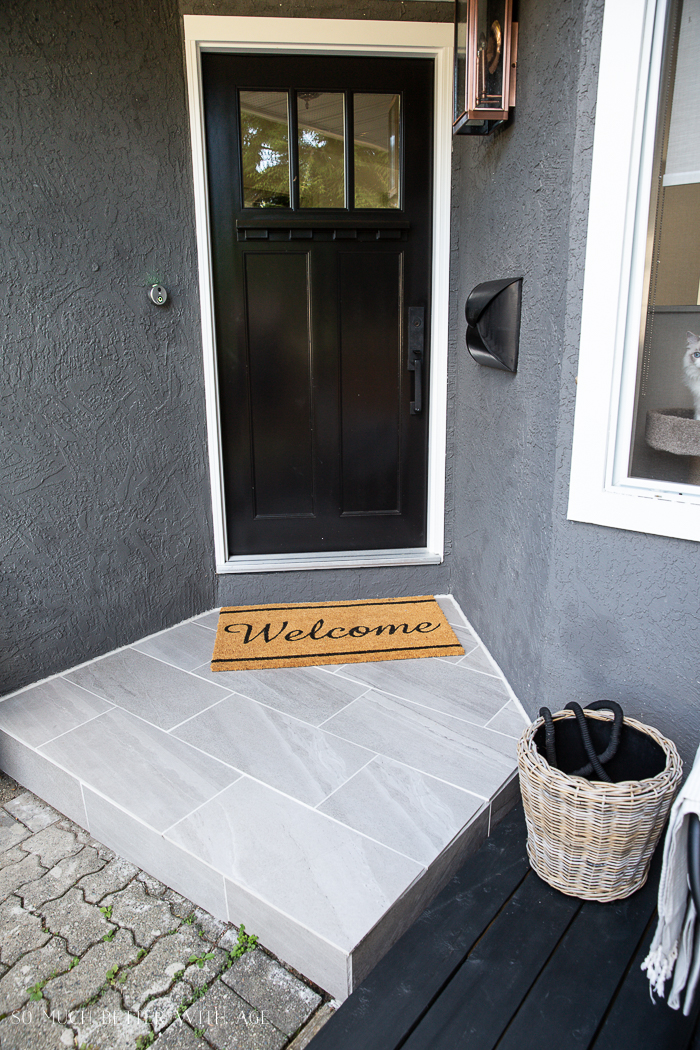
We loved how it turned out!
And do you see who else liked it? She’s looking out the window on the right side 😉
I hope this tutorial helps you to build your own front step and tile it.
Supplies:
- new copper light fixture
- concrete mix bag
- level
- float
- mortar (make sure you buy the correct one for the job, not thinset)
- grouting sponges
- square-notch flooring trowel (1/2 inch good size for these size tiles)
- 3/16 inch tile spacers (or whatever size you want your grout to be)
- Tile leveling system: Part A leveling clips Part B leveling wedges
- grout and tile sealer
- concrete caulk
- caulk gun
Shop The Post

Make sure to pin it for later!


click in case you missed:
How to Build a Freestanding Deck


Classy!
Thanks Heather!
Hugs, Jamie