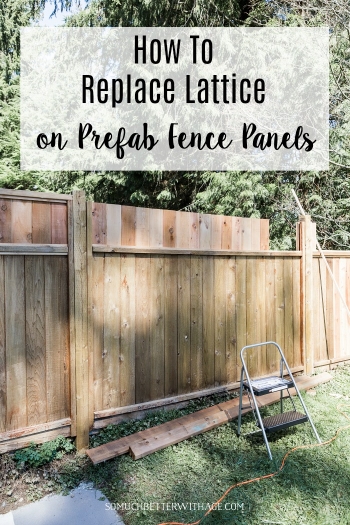
How to Replace Lattice on a Prefab Fence Panel
Most prefab fence panels seem to come with a lattice top. The lattice on our fence was rotting and needed to be replaced and I also never liked it. Let me show you how to replace the lattice on a pre-made fence panel.
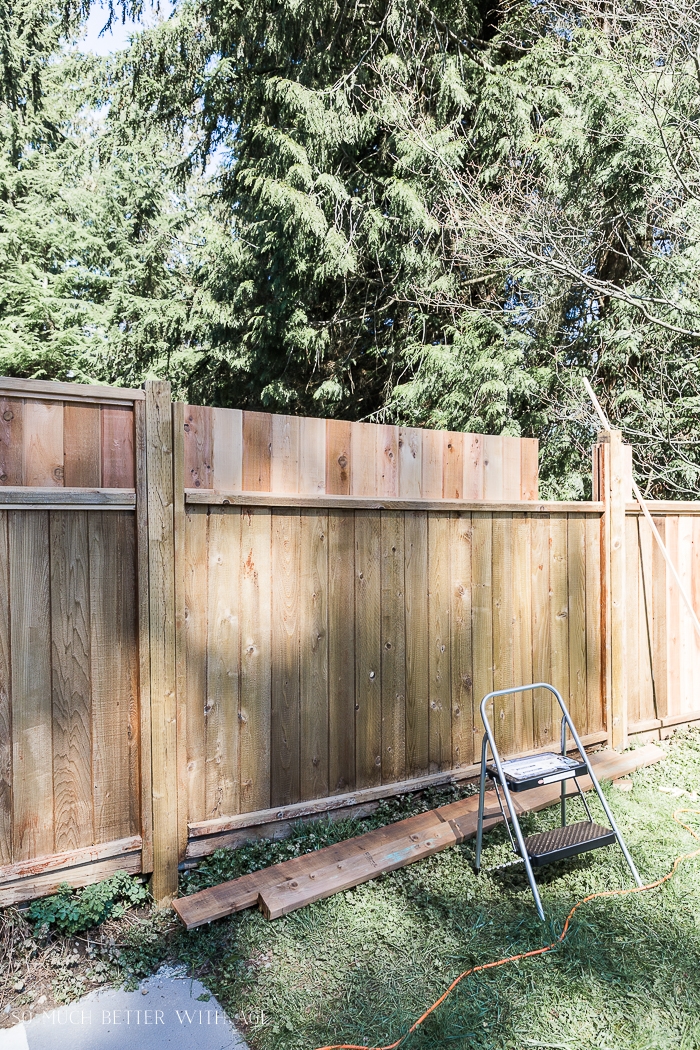
When I moved into this house, it came with this fence probably original with the house from the late 80s and I always tried to avoid taking photos of it, which was difficult. Last year I tried covering it up with a square wreath with mossy branches and some outdoor lights but that didn’t really work.
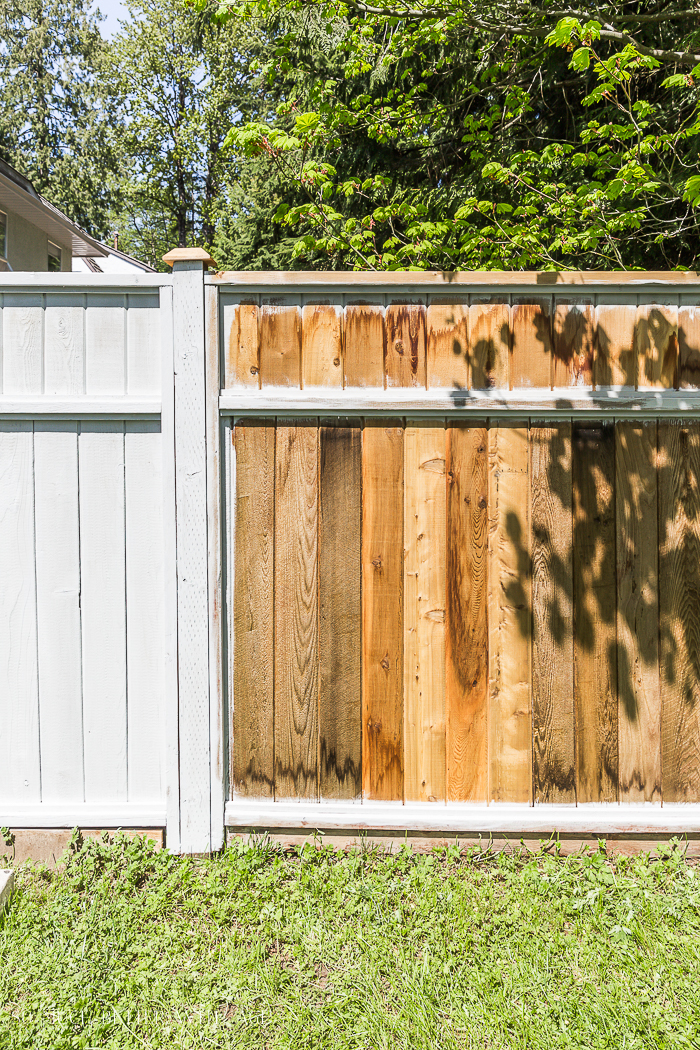
We also got rid of the orange stain which I’ll be showing you in another video soon!

Disclosure: This post may contain affiliate links. Please read my disclosure policy.
So let me show you how I replaced the lattice with new cedar boards!
Supplies:
- tongue and groove ceder fence boards
- ceder nailing strips
- ceder 2×4’s
- 3″ deck/fence screws
- saw – electric miter preferred (could use circular saw or hand saw)
- drill
- hammer or pry bar
- measuring tape and pencil
- nail gun with 1.5″ brads OR 2 inch trim nails
Directions:
1.Before you begin, take measurements to determine the amount of wood you need to purchase for
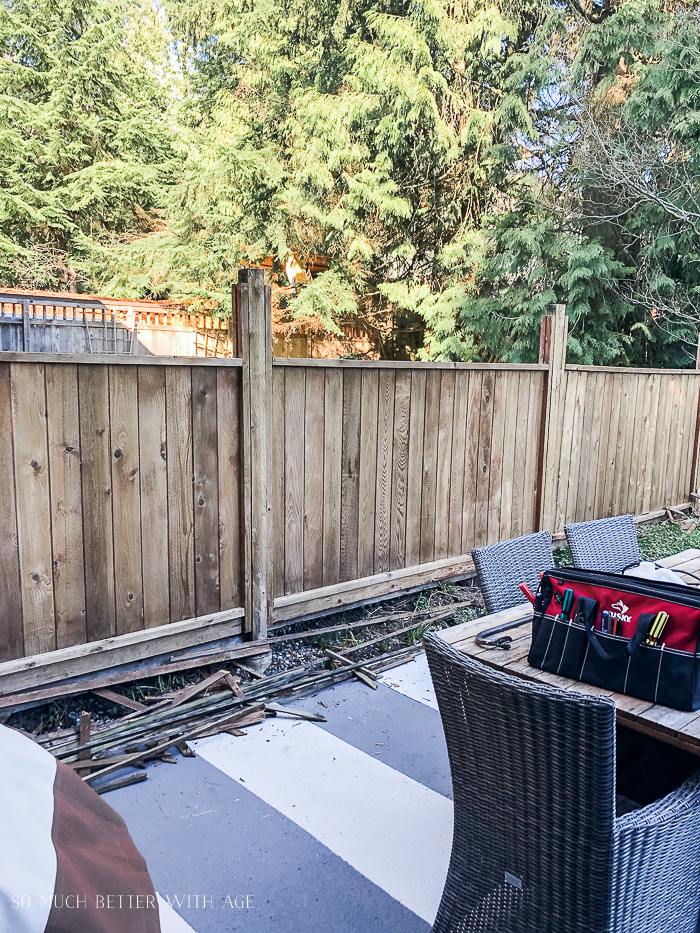
2. Remove the old lattice and framework. Most prefab fences are nailed together (as opposed to screwed) to save costs so you can pry the wood off or swing away with the hammer. You will likely need a hammer or pry bar to get any remaining nails out and/or any wood that is still secure.
3. Measure the distance across for each panel as time (warping, rotting, and previous repairs) has a way of throwing things off. Not one of my “identical” panels had the same measurements across.
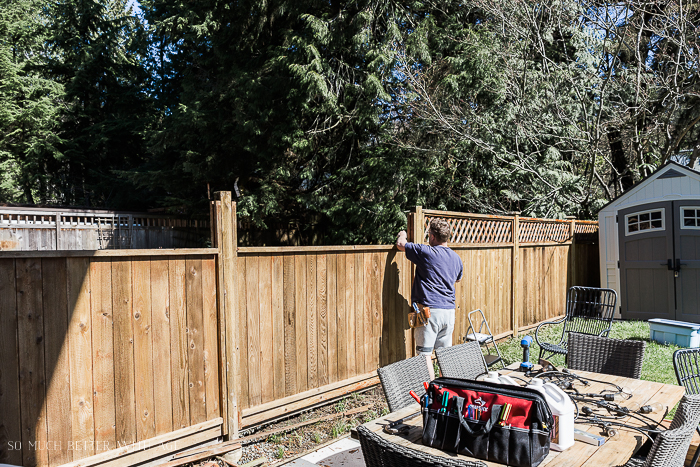
4. The old lattice sat in a frame made by the 2×4’s and nailing strips so you will want to recreate that for the new tongue and groove boards to sit in. Simply measure and cut the nailing strips for the correct width across and nail the strips down along the middle of the fence cap (using the original grooved vertical fence board as a guide) leaving enough space in between for the fence boards. Before you nail down the second nailing strip, grab a fence board and lay it down next to the strip you just put down to use as a guide for the next strip so you leave just the right amount of space for the panels. If you are replacing the fence cap too (the bottom 2×4) then you nail the channels down before you screw the 24 down but you will need to create channels with the nailing strips on the bottom for the main fence panels as well.
5. Once the bottom channels are nailed, measure and cut your new fence boards. Measure the distance from the fence cap (lower 2×4 to the top of the grooved vertical 2×4 for your height.
Note: I was able to cut 5 at a time with my miter saw but if you are doing it by hand I would suggest not cutting more than 2 or 3 at a time. Once those are cut, you can insert them into the channel. You may need to cut a board down its long edge to fit the boards all the way across.

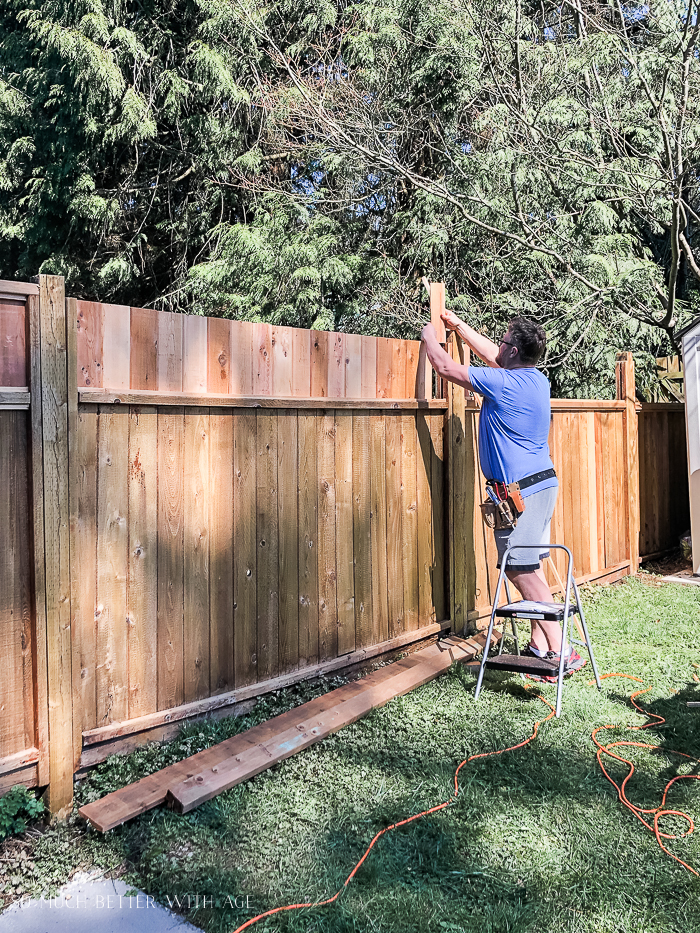
6. For the top board, you simply need to do what you’ve already done on the bottom by taking a 2×4 and nailing down the channels. Once assembled, lay it down on top of your fence boards and starting at one end, work the new fence panels into the channel. Give it a few good taps to set the boards in place and using your screws secure it to the large fence posts. Place your screw straight down and about 2 inches from the edge of the board and once its set in just enough, angle it towards the large fence post. Use two screws on each end of the 2×4.
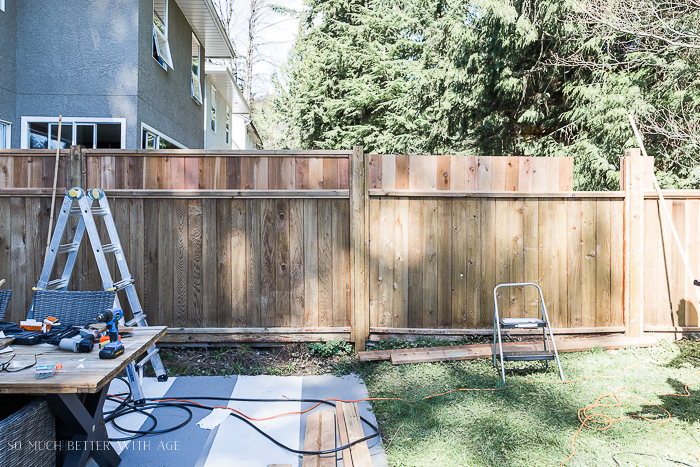
This is what our fence looks like now, freshly stained!
I’ll be sharing a video and post of how we stripped the old stain off and stained it again in a couple of days!

Make sure to pin it for later!

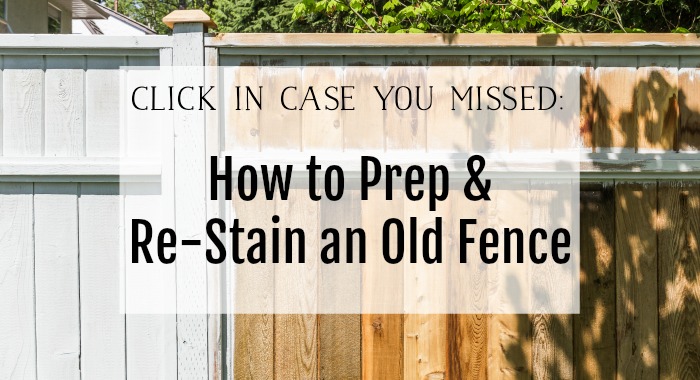
Click in Case You Missed:
How to Prep and Re-Stain an Old Fence
Painted Brick Pavers One Year Later