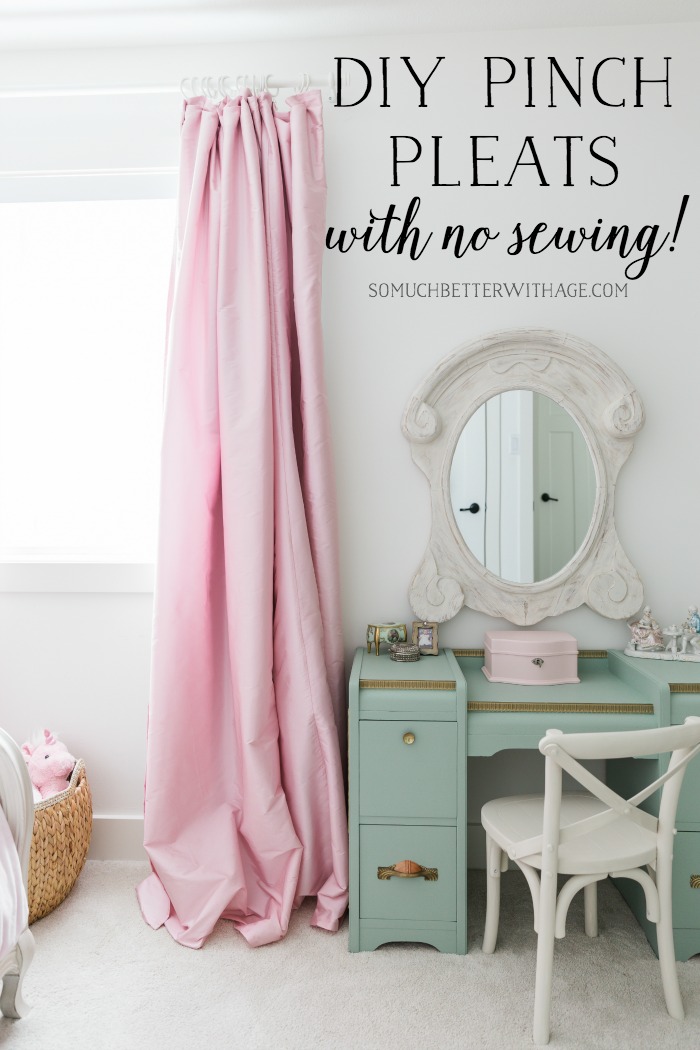
DIY pinch pleats are the easiest way to have the look of pinch pleats without lots of work because there is no sewing involved!
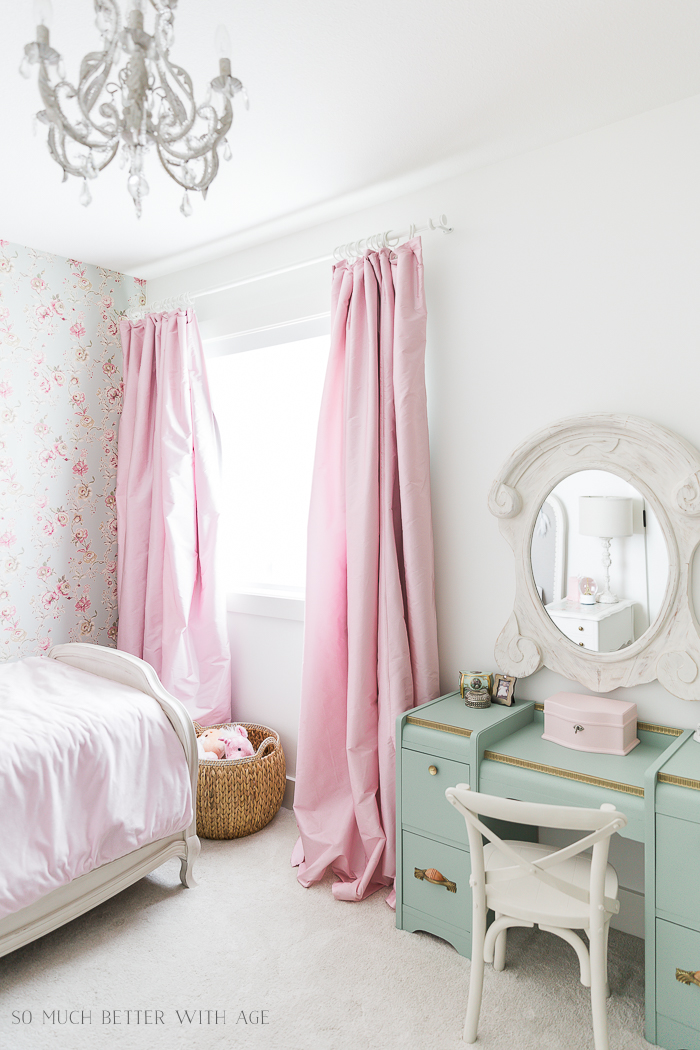
I made these curtains for my daughter’s room using my own blackout curtain tutorial using pink silk fabric. I wanted them to have pinch pleats but I also wanted to cheat and make them the easy way. Using only curtain rings and clips, I’ve made my own easy pinch pleats.
This post contains affiliate links for your shopping convenience. Click here to read my full disclosure policy.
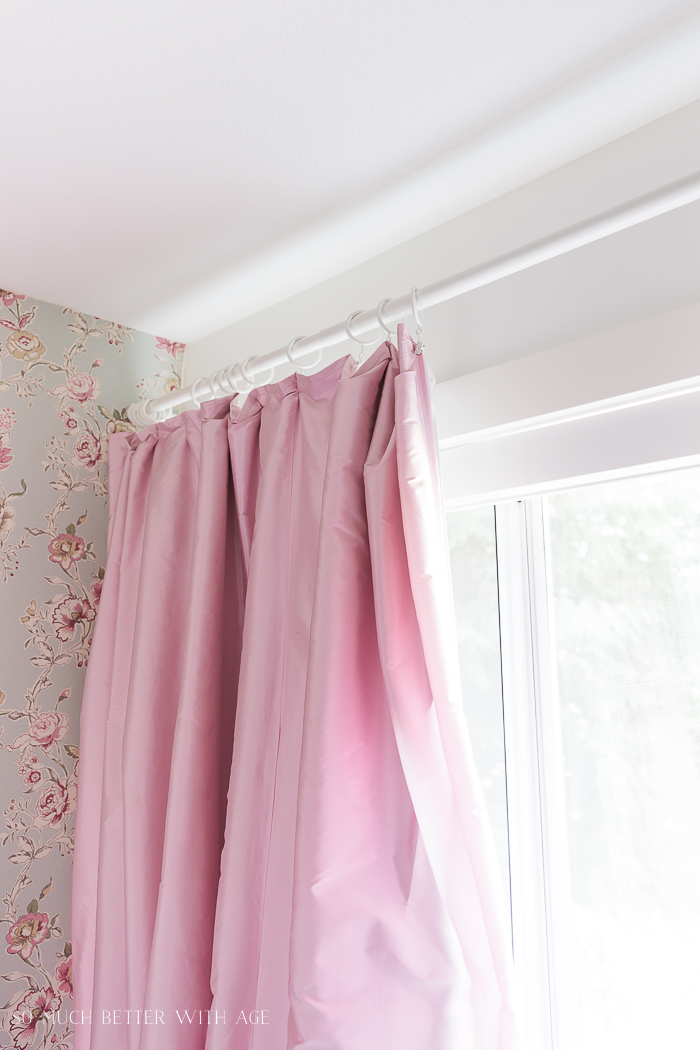
First, I used double the amount of curtain rings/clips that you would normally use. For each panel, I used 15 rings with clips.
(To give you an idea of how many curtains rings you’ll need, the width of the curtain rod was 70″ and I used 30 curtain rings in total.)
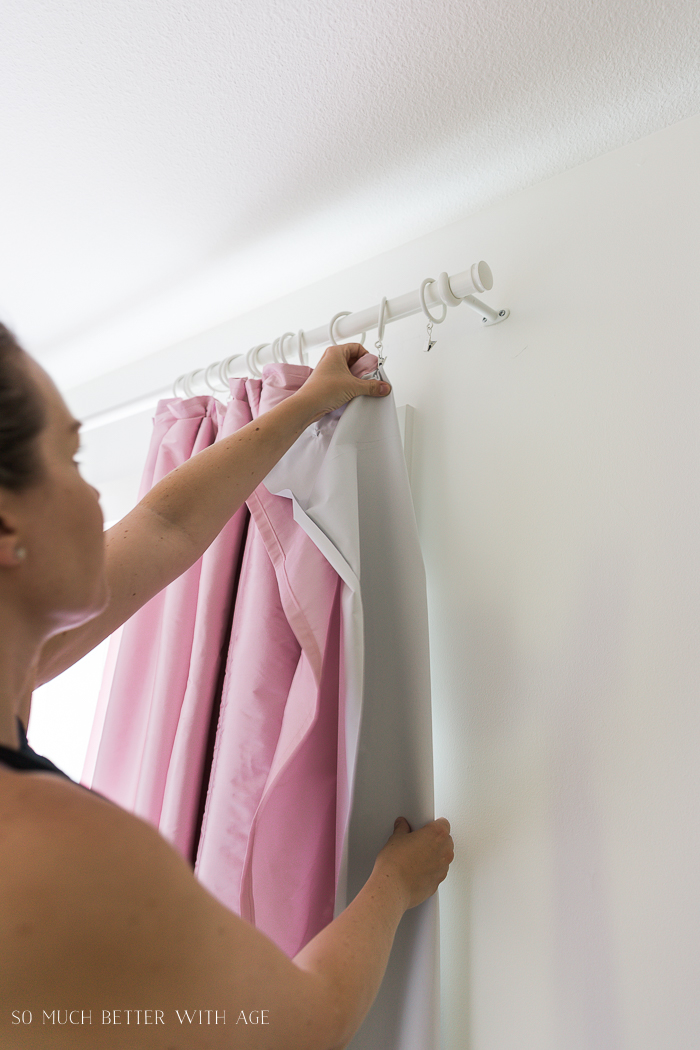
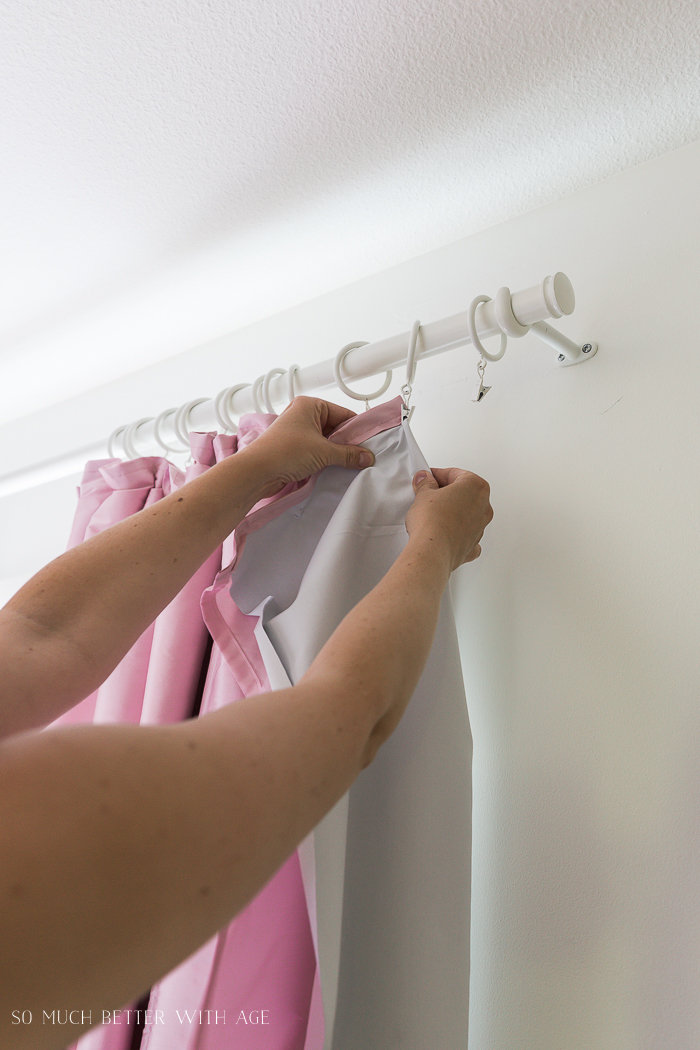
Starting at one end, I would pinch the fabric together and clip it from the back then leaving a few inches of space between clips, I would grab some more fabric together and pinch it with the clip.
Because you are working from the back, it’s a bit difficult to describe, but once you start, you’ll get the hang of it.
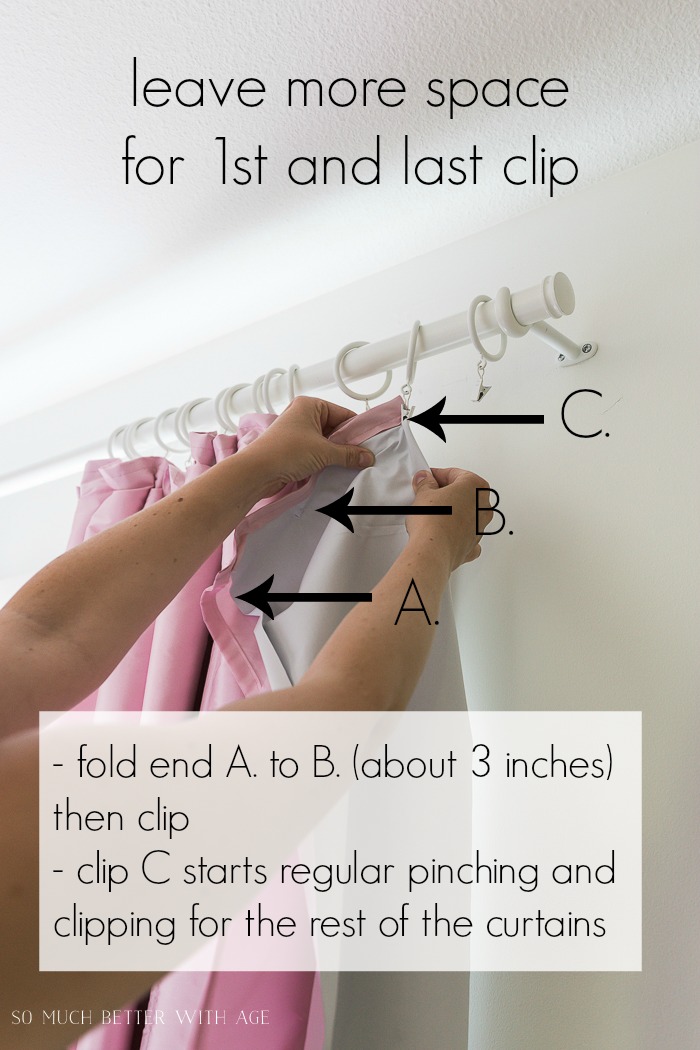
In this photo below, I’ve clipped the second to last clip on and you can see how much fabric is left for the last clip.
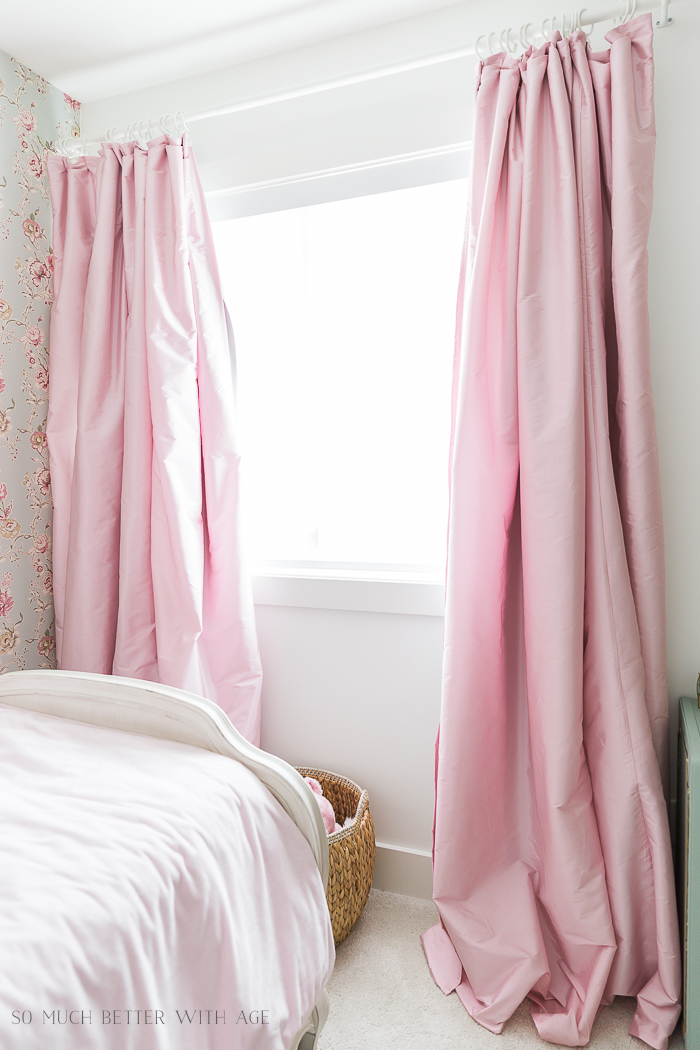
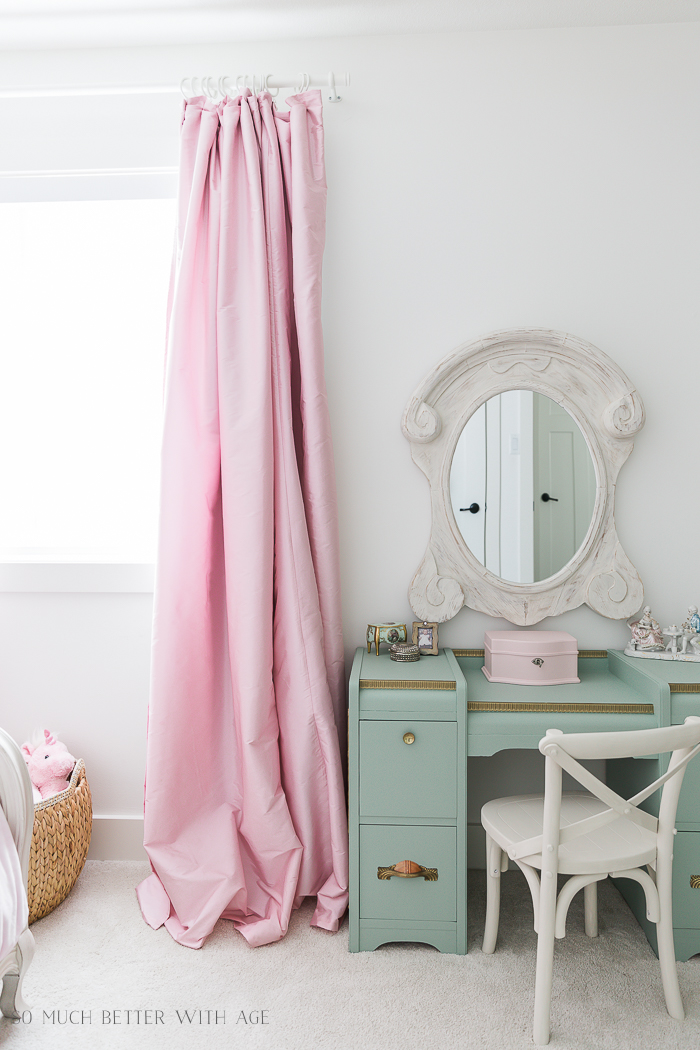
I love how they turned out! They are not perfect but I love them even more that they are a bit bunchy and cost hardly anything except the clips to put in!
This is the first time I’ve sewn with silk and I wasn’t sure how they would fair with the blackout lining but I’m impressed that they turned out so well.
It’s on my To Do list to create a PDF sewing download of my blackout curtain tutorial soon.
I hope you try making your own pinch pleat curtains now that you know they are super easy and don’t require any sewing!
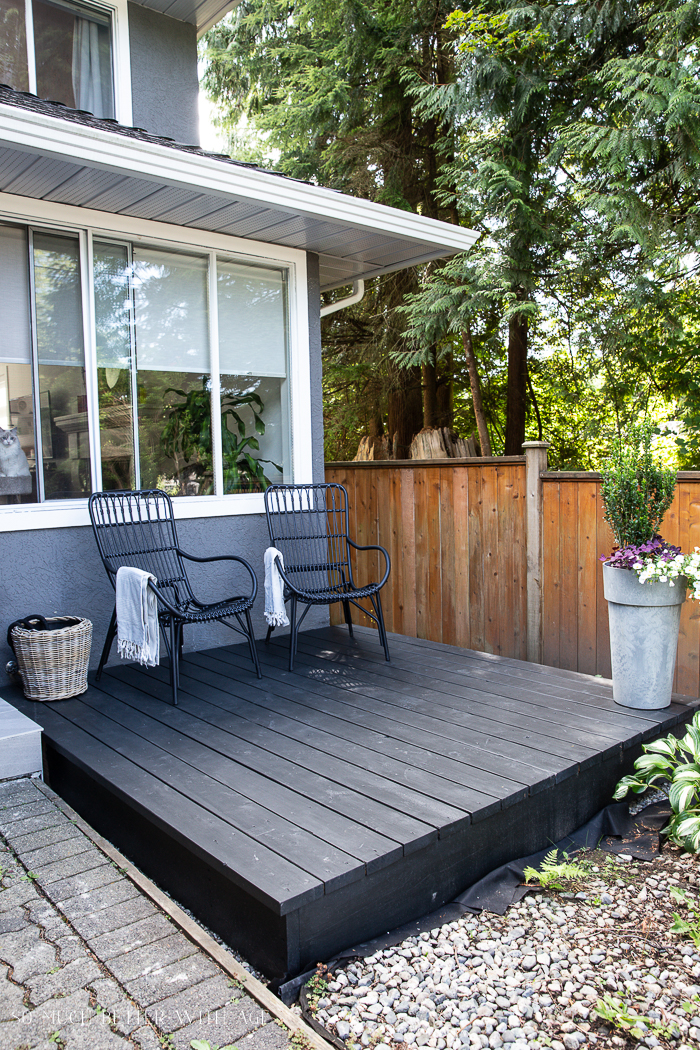
If you’ve wondered how hard it is to build a small freestanding deck, this post is for you! See how we transformed a small area in our front yard for a sitting deck. I can’t wait to show you how we made a freestanding deck in our front yard. The sun disappears from my backyard…
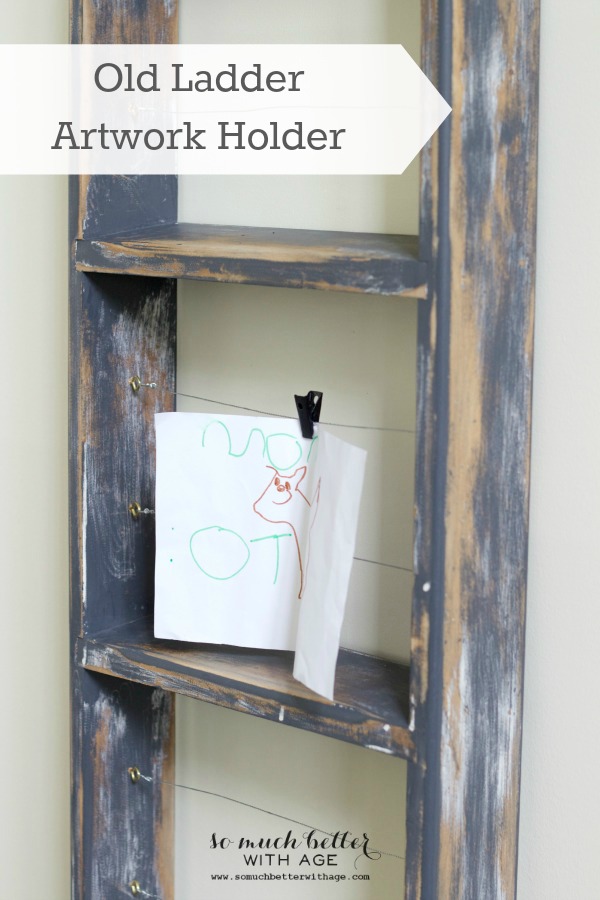
How to turn an old ladder into an artwork holder, also check out my decorating style! Do you have kids? I always have a problem of where to display my kids’ artwork and I also had the dilemma of what to do with this old ladder that I posted about quite awhile ago. My BBFF Jenna gave me…
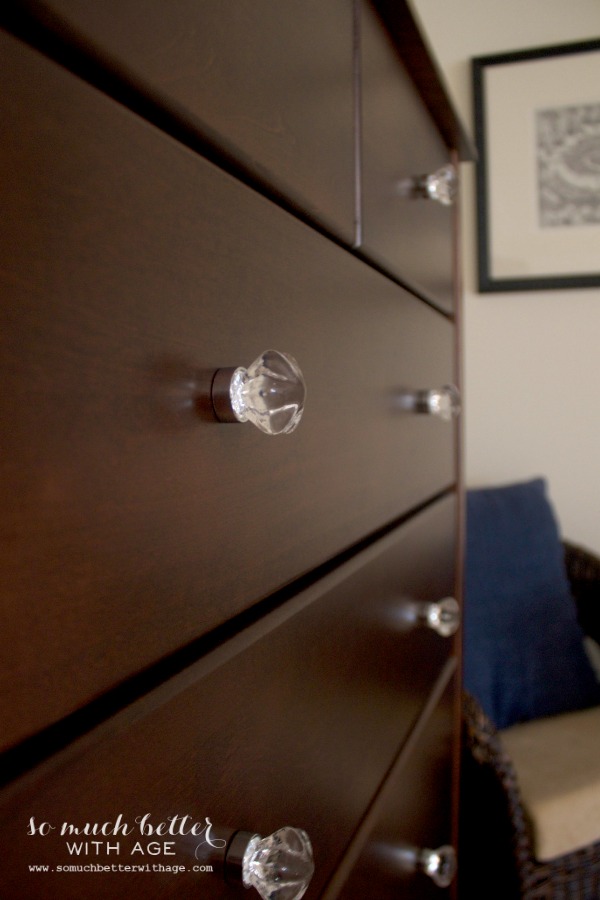
I will show you how to update your furniture without using paint. Recently I shared with you my master bedroom. I’m not crazy about my bedroom furniture. I love my new bed but not too crazy about the wooden dressers. Does that happen to you? You get tired of furniture? I often think of painting…
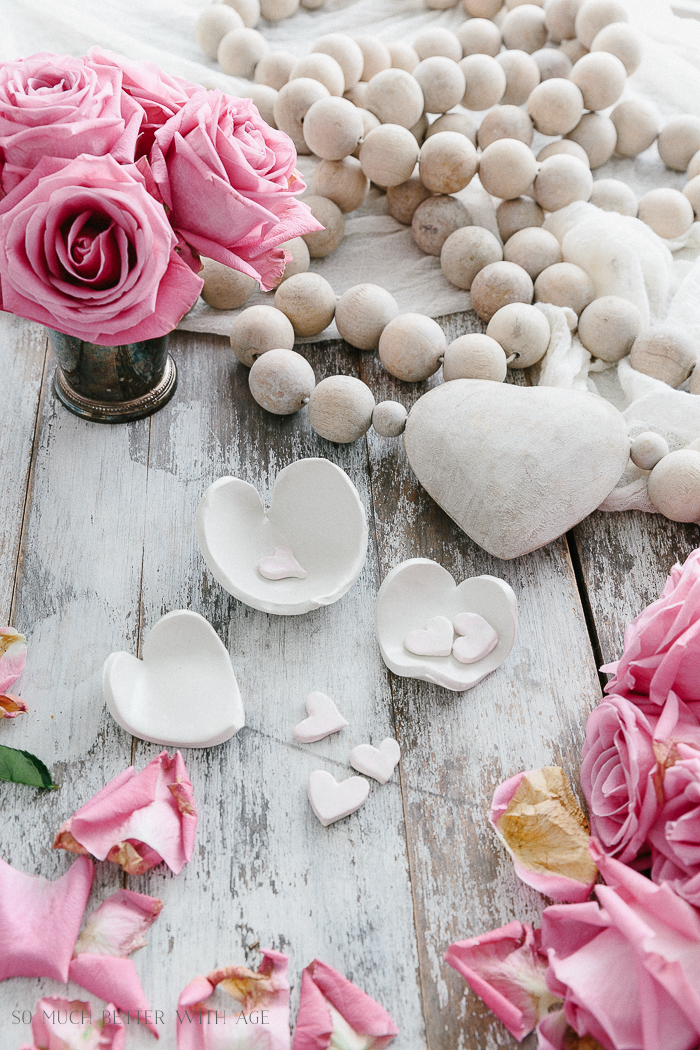
Give your Valentine an adorable clay heart dish for Valentine’s Day this year and they’ll be able to keep it forever. Making some memorable items with clay is fun. Making them into something practical is even better! I love these clay heart dishes for keeping rings in or change. Add some Valentine’s candy to them…
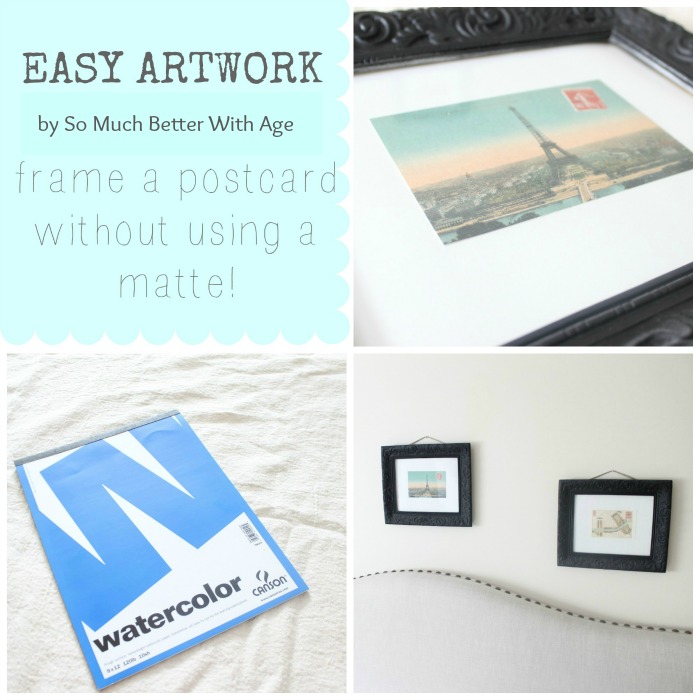
I will show you how you can frame your art without using a matte in this easy simple tutorial. I’m always looking for an easy way to frame artwork especially without using a matte. I also have many beautiful postcards that I’ve collected over the years from some of my travels and never know what…
Today I’m sharing 14 French beautiful wood and upholstered beds that are similar to mine. Every year I update this post because I still get questions as to where I got my French upholstered bed from. I bought it just before I moved in this house 10 years ago now from Restoration Hardware and unfortunately…
11 Comments
Once you see it it’s so easy! Thanks for the smart idea.
Thanks so much for this tip – it’s a great way to “help” my draperies hang in a much more uniform and stylish “pleat” using the drapery clips. My draperies are unhemmed upholstry fabric that I really love and I didn’t have to add lining. The edges of the widths of the fabric was already fringed, so they look “finished” with something special. The look after doing your diy is just what they needed to look more polished.
VERY INFORMATIVE!! Thanks for showing how you made these pinch pleat drapes. They are beautiful! Pinned to my Pinterest Boards also. Thursday Favorite Things Hostess, Linda @Crafts a la mode
Hey there!
Would you hem the fabric or sew any of the fabric first if you were making without blackout material? Is silk taffeta an expensive fabric? I love the crinkly look. The bedroom is adorable. Thanks! Gia
We use cookies to ensure that we give you the best experience on our website. If you continue to use this site we will assume that you are happy with it.


Once you see it it’s so easy! Thanks for the smart idea.
Yes! Thanks Mary 😉
Hugs, Jamie
Thanks so much for this tip – it’s a great way to “help” my draperies hang in a much more uniform and stylish “pleat” using the drapery clips. My draperies are unhemmed upholstry fabric that I really love and I didn’t have to add lining. The edges of the widths of the fabric was already fringed, so they look “finished” with something special. The look after doing your diy is just what they needed to look more polished.
Thanks again!
Cathryn
Cathryn,
I love your creativity with your curtains, they sound lovely! I’m sure this trick is just what they need.
Hugs, Jamie
VERY INFORMATIVE!! Thanks for showing how you made these pinch pleat drapes. They are beautiful! Pinned to my Pinterest Boards also. Thursday Favorite Things Hostess, Linda @Crafts a la mode
Thank you so much, Linda!
Hugs, Jamie
We love your creativity! This post is a Feature at the Merry Monday party! Sharing on our channels.
Wow, thank you so much, Shirley! I truly appreciate it.
Hugs, Jamie
Pretty pink silk drapes. Happy Fall, Kippi
Thanks so much, Kippi.
Hugs, Jamie
Hey there!
Would you hem the fabric or sew any of the fabric first if you were making without blackout material? Is silk taffeta an expensive fabric? I love the crinkly look. The bedroom is adorable. Thanks! Gia