
Designing a Kitchen With Ikea Cabinets and How Much It Costs
I designed this kitchen using Ikea’s Kitchen Planner and Ikea cabinets. I’m sharing all the details along with the price!
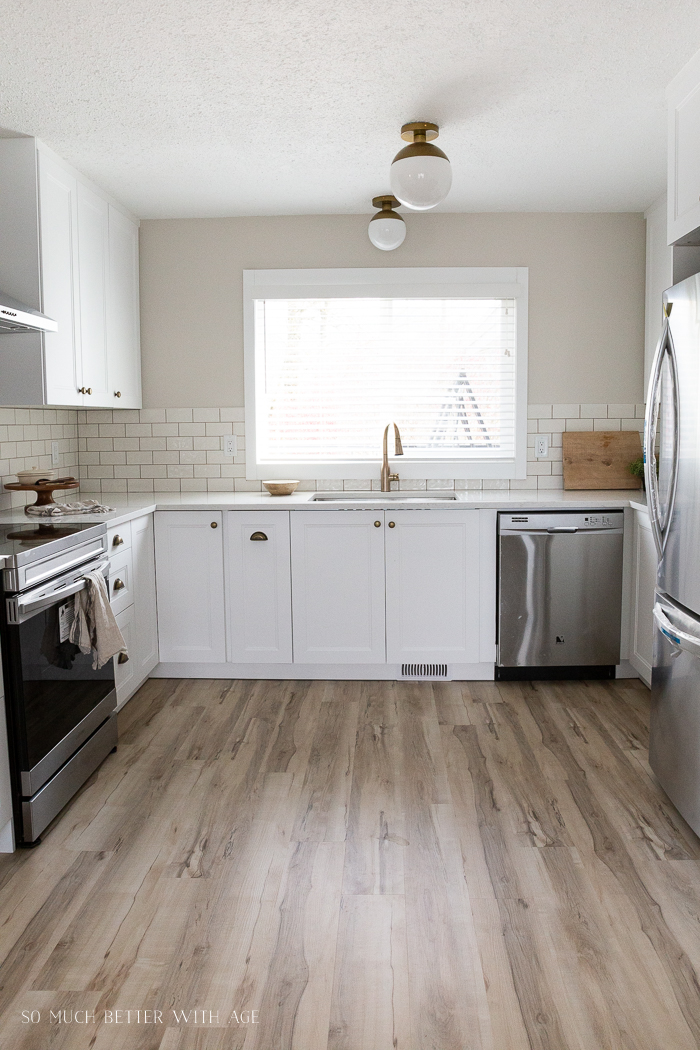
My parents have a rental and they are now in the process of selling. They were going to sell it as is but to get top dollar we decided to renovate and fix it up. I helped them design a kitchen from Ikea and we couldn’t be happier with the results.
I kept the floor plan essentially the same but took out a peninsula of cabinets that jutted out in the middle of the room. There wasn’t enough room for an island but the room is long enough to add a coffee bar to one corner of it.
I’m sharing all the details on how I planned this kitchen design using Ikea’s Kitchen Planner and how much the cabinets cost!
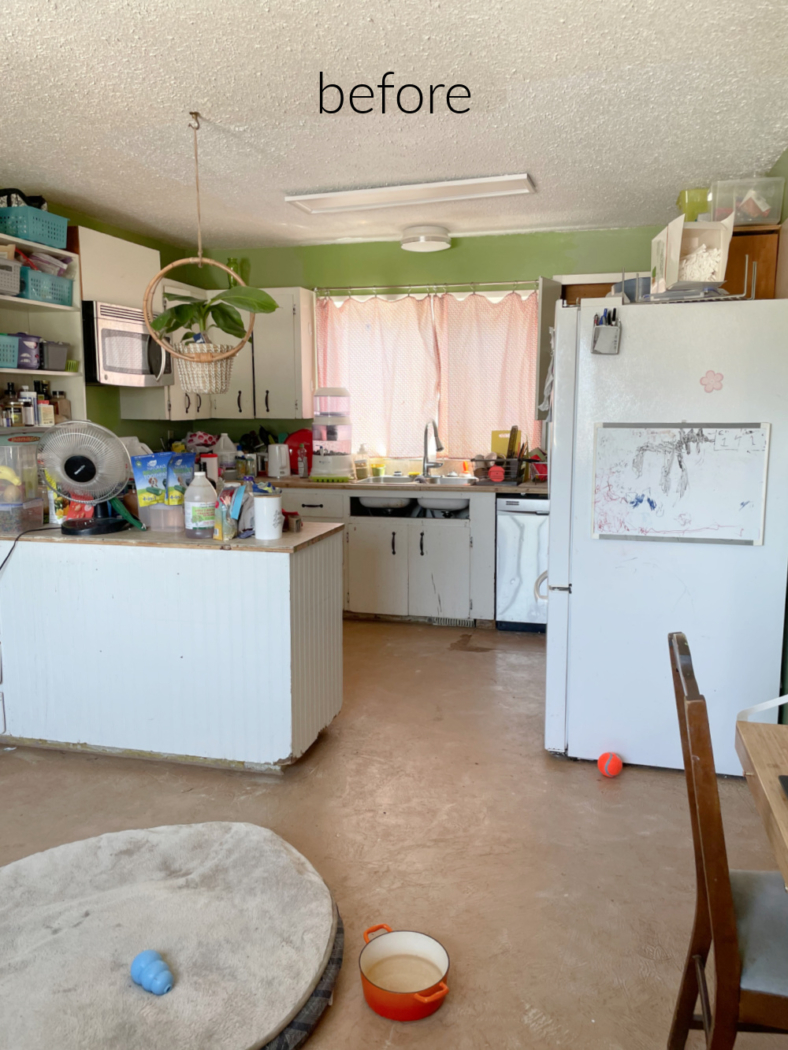
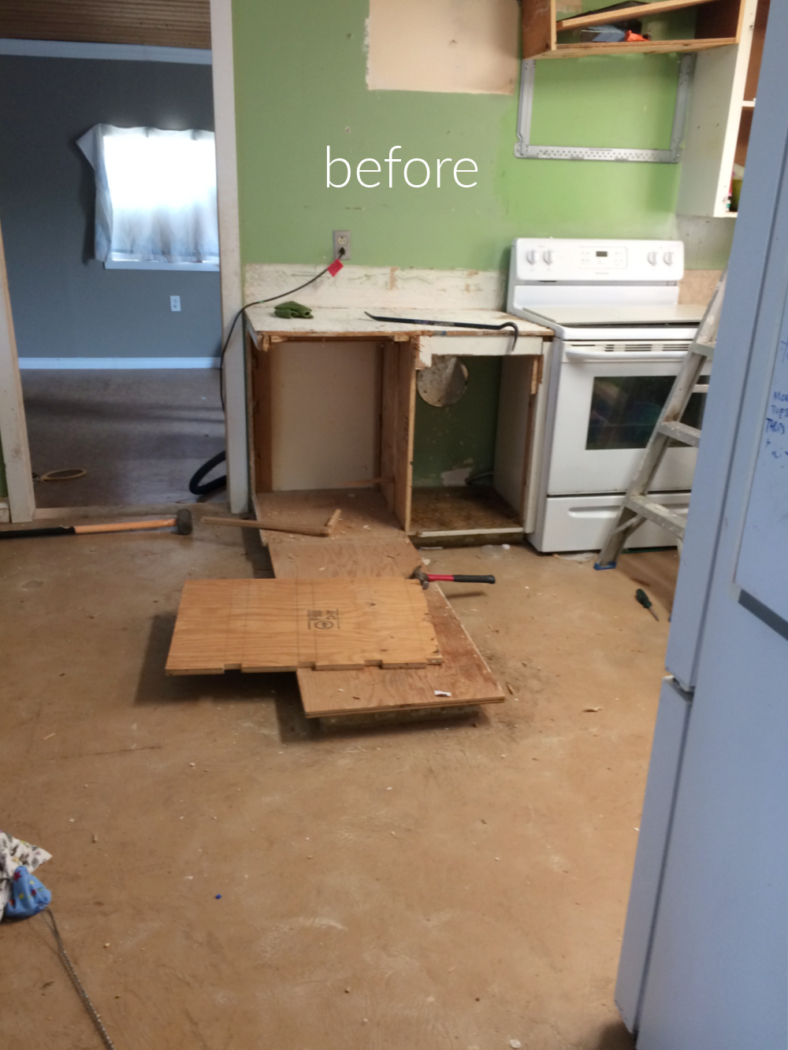
First, let’s take a look at some bad before photos.
This was in the middle of the renovation but you can see the awful floors and bad shape of the cabinets.

This kitchen has seen better days and was in bad shape for way too long.


Using Ikea’s Kitchen Planner
If you are not familiar with doing any kind of CAD software, do not fear! Ikea’s Kitchen Planner program is really easy to use.
(I’m sharing the Canada version, other countries might look different)
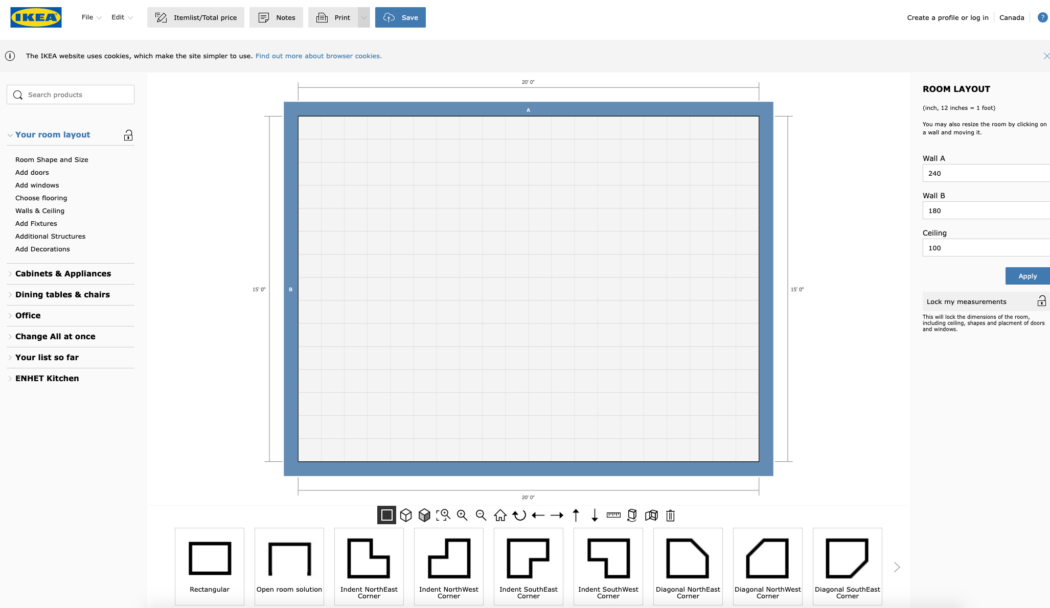
You simply put in the dimensions of your walls and ceiling height on the right and on the left sidebar shows where to add your doors/doorways and windows.
The left sidebar is always where you can find all the different types of cabinets and add them to your place. My recommendation would be to know exactly what type of cabinets you are going to use (like Sektion) and then play around with the different sizes to see what fits.
If you know the appliances need to be in a certain spot, I would use the Ikea appliances to pop in the Kitchen Planner and drop your cabinets beside them and go from there.
I didn’t end up buying Ikea appliances but they were a perfect placeholder for adding into the floor plan and then seeing how much space you had left for cabinets.
You can switch between a 3D view and a 2D view which is great to see how the cabinets look.

The layout of this kitchen was very awkward before of two doors that cut right in the middle of the kitchen.
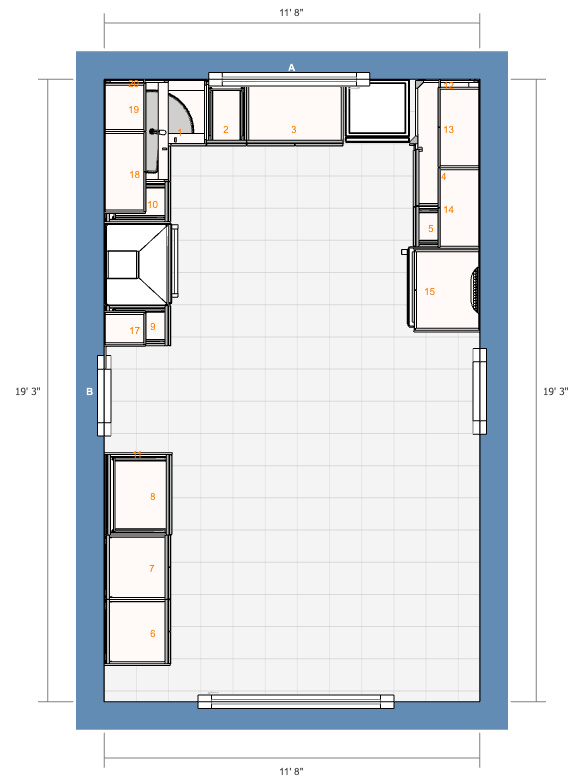
The greatest part about the Ikea Kitchen Planner is that you can spend all the time in the world figuring out the best layout without the pressure of being in the store.
Also, you can’t change the size of the cabinets which is helpful so you will know exactly how much space there is for everything.
Ikea also has space fillers so you can fill in the gaps if you have a few inches of space left empty.
Big Tip
Once you feel you have your cabinets selected, make an appointment with one of the Ikea Kitchen Planner experts at the store so they can tweak your cabinets and add in all the necessary elements you didn’t think of (like toe kicks and special brackets for drop in sinks).
I can’t stress this enough! Even if you are good at CAD floor plans, making an appointment with an Ikea expert will save you so much time and energy. They add panels and accessories for items you wouldn’t know you need.
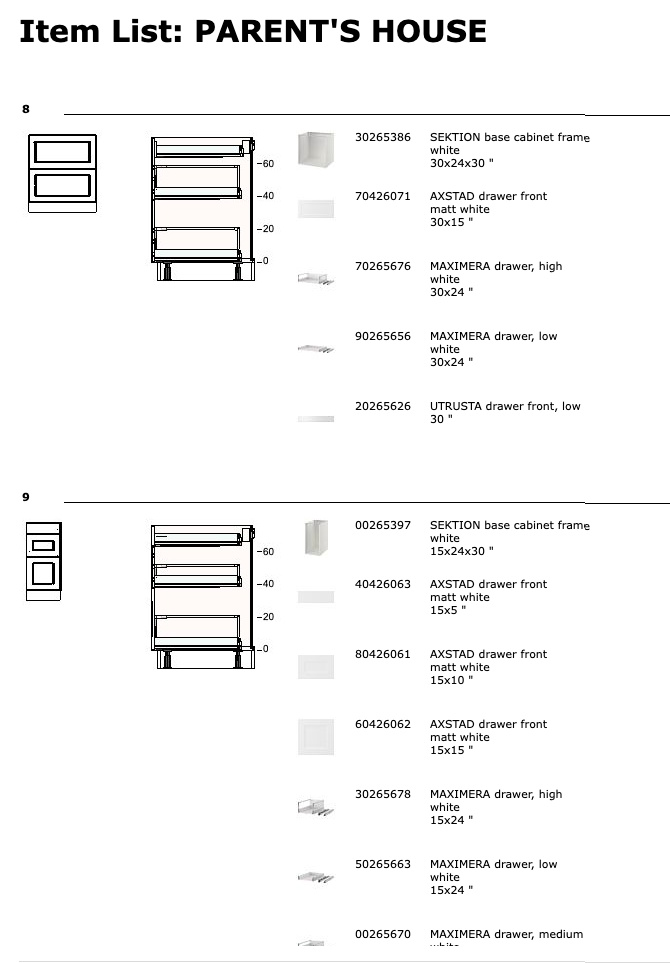
After you have done your floor plan, the Ikea Kitchen Planner website will allow you to print off a full list of every item you need so you can easily purchase it.
If you look at one kitchen cabinet listed below, you will see all the different components there are for just one kitchen cabinet.
Another Big Tip
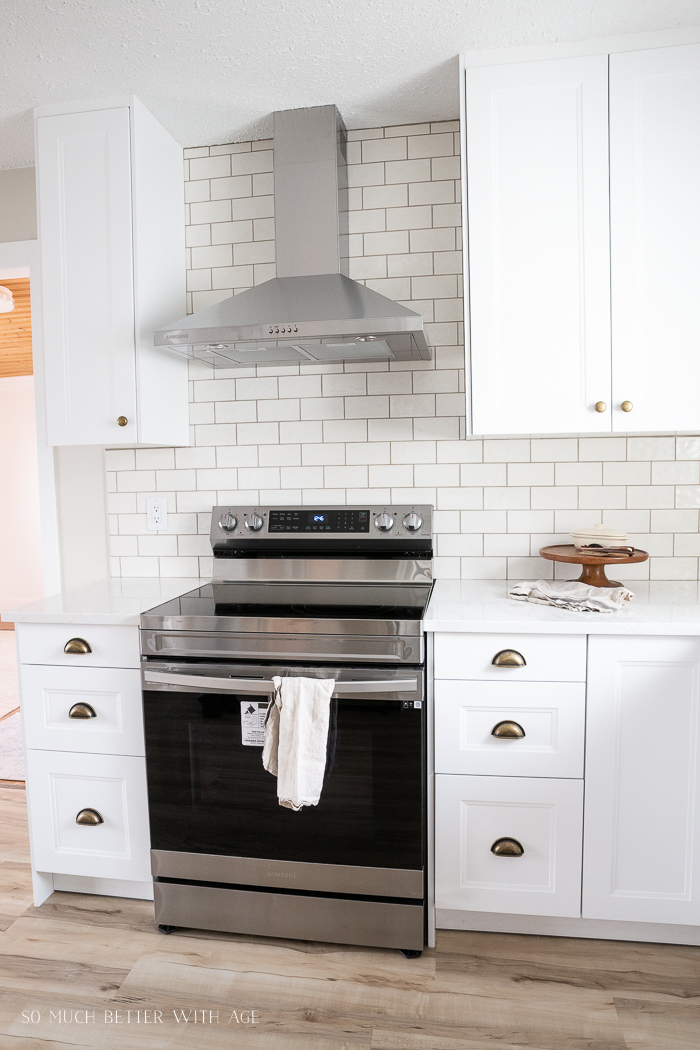
Here is a great tip for putting cabinets around a floating hood vent. Choose cabinets a bit smaller in width than the base cabinets so that there are a few inches of open space surrounding the hood vent. There is nothing worse than if the cabinets are touching a floating vent, in my opinion.

Types of Cabinets and Doors
There are a lot of parts that make up one Ikea cabinet. We used Sektion cabinets for the entire kitchen. They have the most variety of cabinets available and I would highly recommend going with Sektion.

The Sektion corner cabinets are great for filling awkward corners like in the photo below.

Sektion base corner cabinet with base cabinet carousel is what I put in on the other corner of the kitchen.


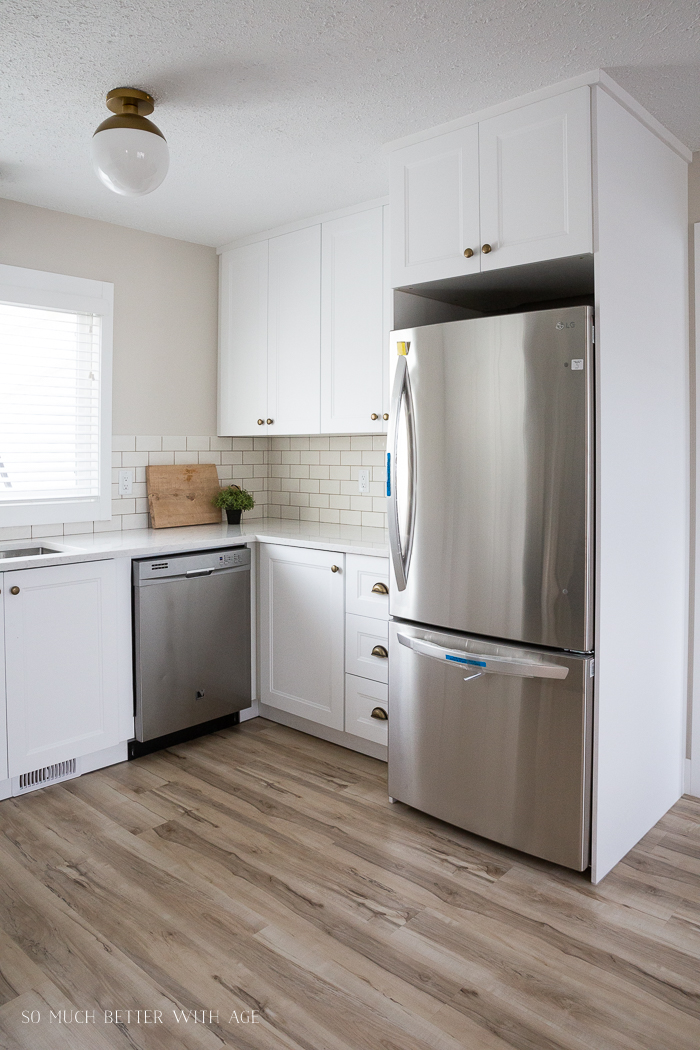
For the fridge we used the Sektion top cabinet fridge/freezer. We then filled the sides with the Forbattra panels to make the fridge look completely custom.

The Forbattra panels come in all different sizes and can be cut down to fill any space.

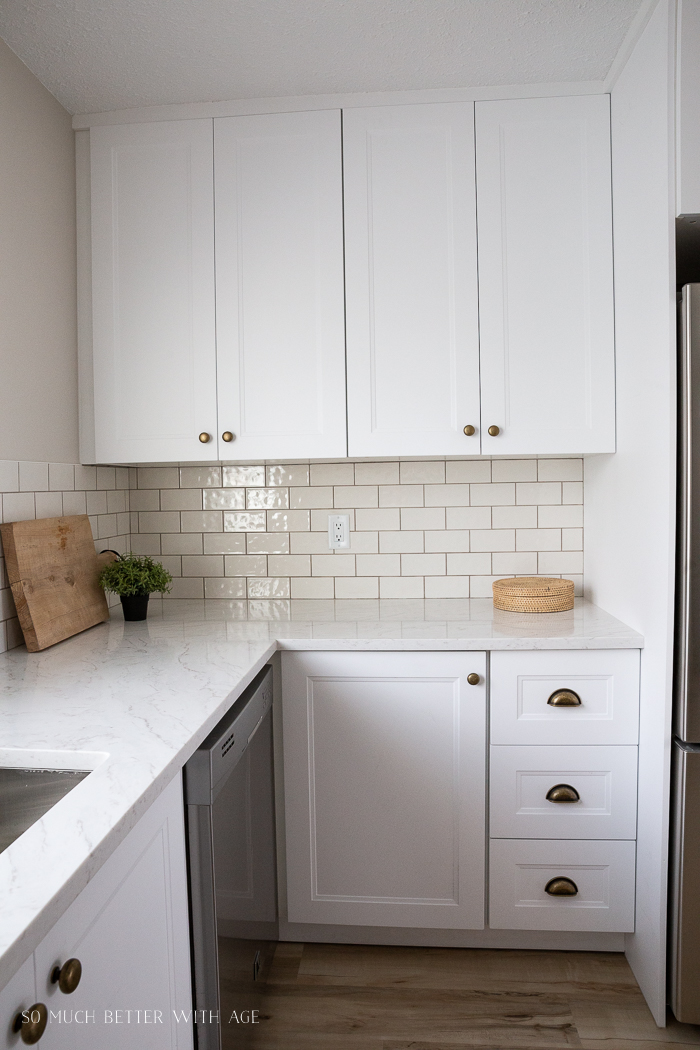
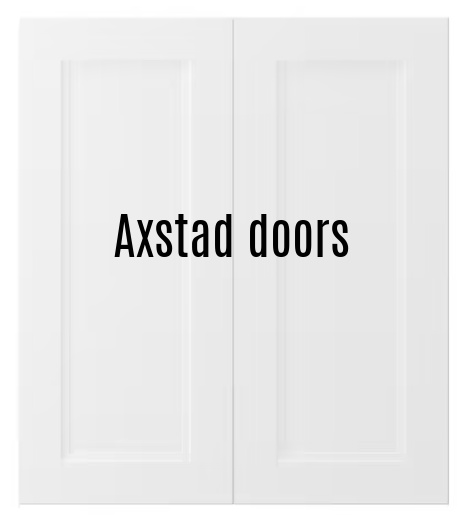
We choose Axstad door fronts in white so we could easily add any white trim necessary to fit around the uneven ceiling etc
Something to keep in mind if you want to choose a color, you may have to color match for any pieces of trim that you or your contractor needs to fill any gaps from the top of the cabinets to the ceiling.
drawers
There are a ton of different drawer options you can get for your base cabinets.
I opted for banks of drawers on either side of the stove and one beside the fridge. These are simple and perfect for a variety of kitchen items.
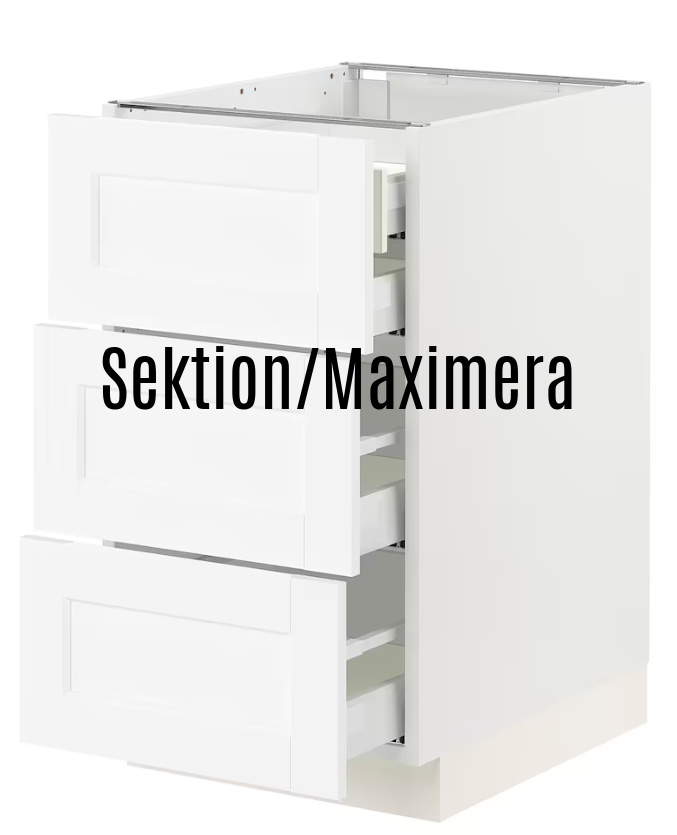
Other Options for Base Cabinets
But there are options that are like the ones I’m sharing below that look like a plain door front and open up to different options of drawers.
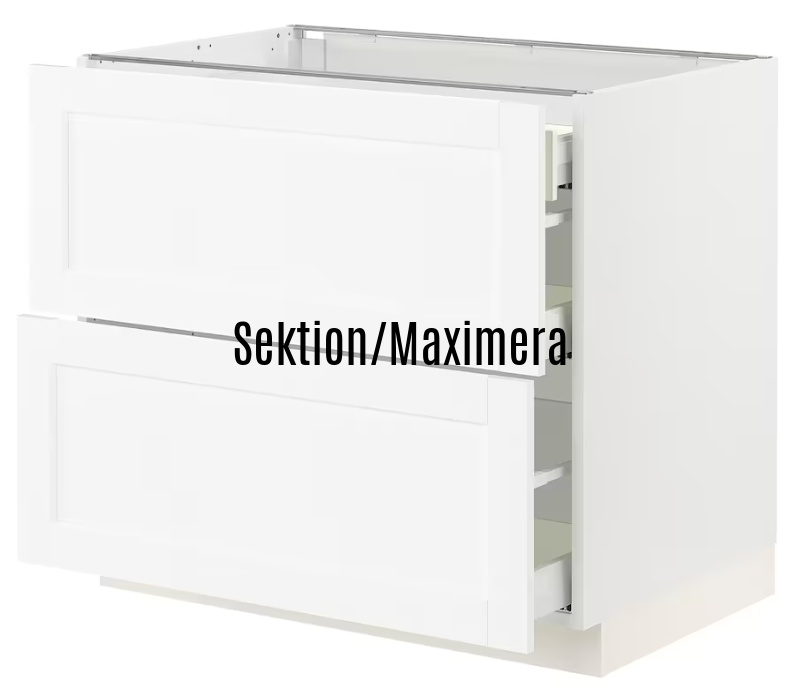
Sektion and Maximera pull-out section

There are also wire baskets that you can add to Sektion base cabinets.

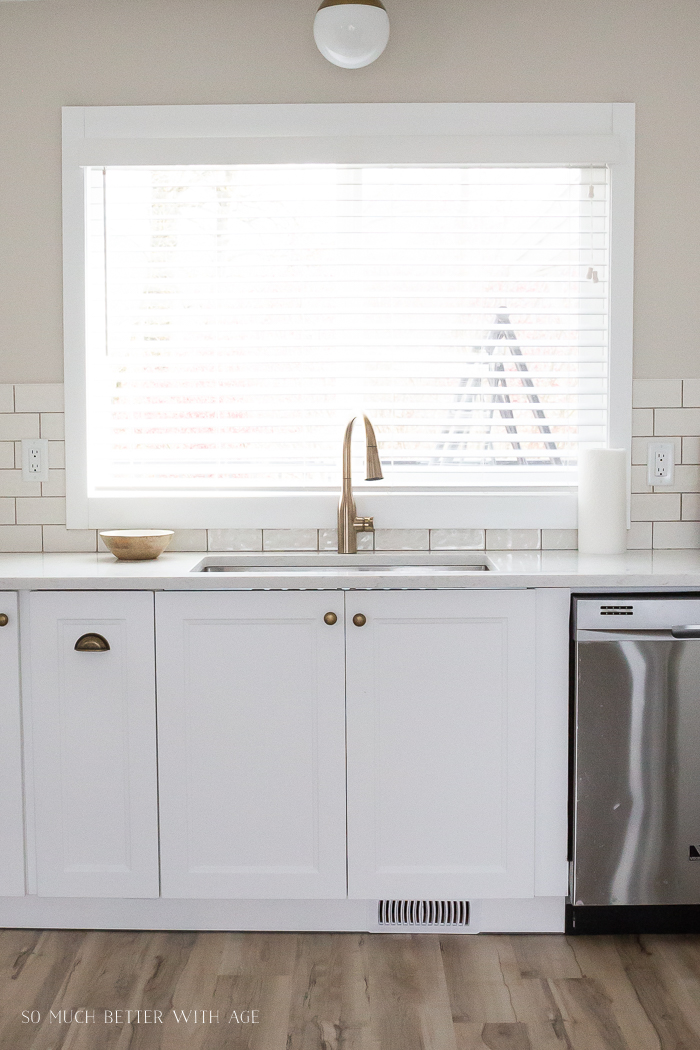
There are also a lot of different options for what you want your sink cabinet to look like. Why not a pull out drawer instead of doors?

There are even Sektion cabinets with Maximera spice drawers for the cook in the house.

For the coffee bar area in the kitchen, I added two large drawers for pots as there wasn’t enough room right by the stove.


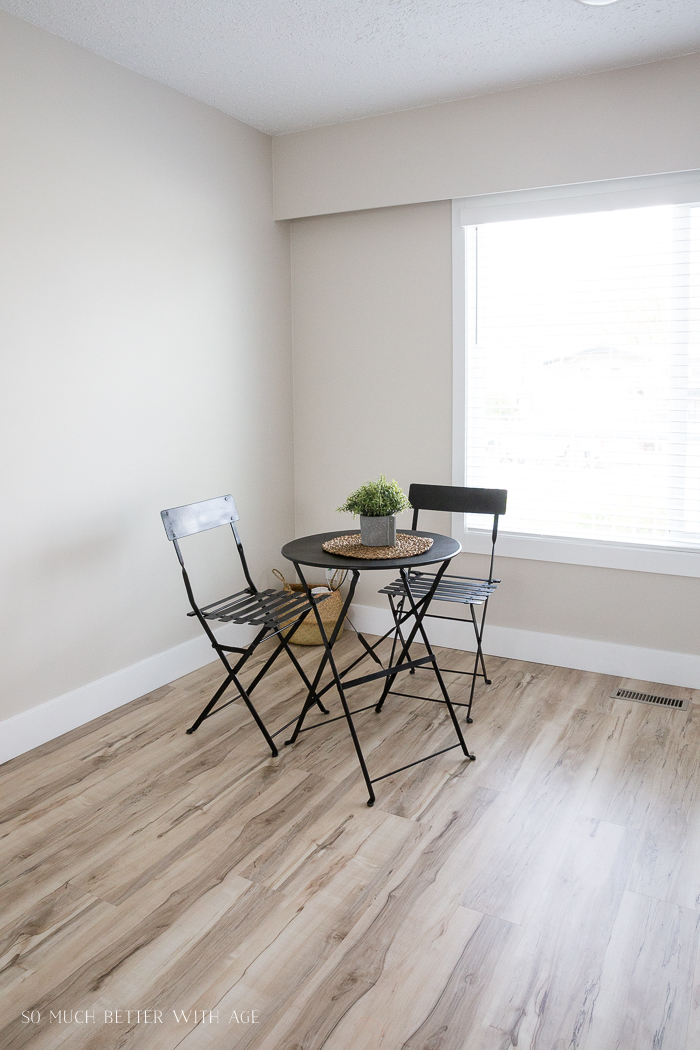
This kitchen is large and I styled it with a simple bistro table but the new family could add a large table and chairs here.
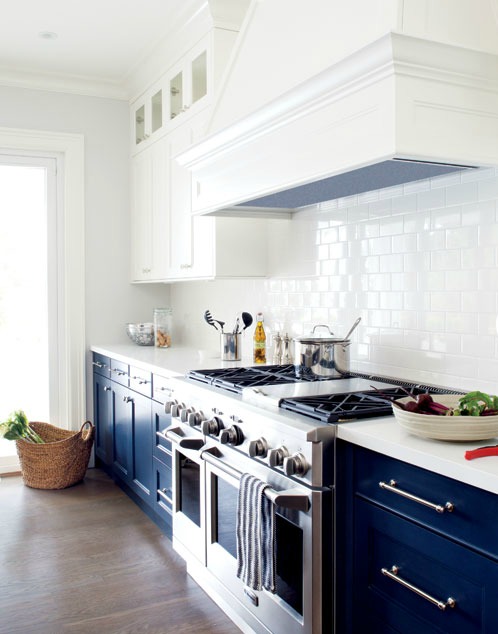
I love this tile I found and the countertops are gorgeous. I’ll leave the source links below. The tiles have a crackle finish to them and have a bumpy/handmade look to them so the light bounces off them in a pretty way.

cost of ikea cabinets
And now the price! How much did all these Ikea kitchen cabinets cost?
Now keep in mind that you have to put together all of these cabinets yourself, they come flat packed. And that was my job! I put together everyone of those cabinets myself. But it will literally save you thousands of dollars.
It’s also worth mentioning that after I built the cabinets, that we had a contractor install them. So the price that I’m sharing with you is just for the Ikea kitchen cabinets and all the pieces and accessories that go along with it, not the contractor or the price it could cost if you wanted someone to put the cabinets together.
The grand total of these Ikea kitchen cabinets, doors and accessories amounts to:
$5317.00 CDN

So what do you think? I think it’s totally worth it to use Ikea kitchen cabinets to save money. Their boxes (Sektion) are no different than many other manufacturers for inexpensive kitchen cabinets. Let me know what you think in the comments below.
Sources:
- Paint color – trim – Chantilly Lace Benjamin Moore
- Paint color – wall – Pale Oak Benjamin Moore
- backsplash tile – Dal Tile Structured Effects glazed ceramic tile 3×6 inch – Crackled Pearl
- quartz countertops – Vicostone 3 cm Volakano color
- hardware – Lee Valley Hardware – cup pull Milan antique brass
- hardware – Lee Valley Hardware – knob Milan antique brass
- faucet – Delta Marca pull down sprayer faucet in Champagne Bronze
- sink – Kraus 30″ undermount stainless steel sink
- hood vent – Samsung 30″ wall mount range hood
- wooden shelf – WAS Salvage
Make sure to pin it for later!


click in case you missed:
Kitchen Cupboard and Drawer Organization

Kitchen Renovation and Planning

This looks incredible, and what a great post! I would imagine that this kitchen increased the value of the house exponentially. I am amazed that you put all those kitchen cabinets together yourself. Daughter of the year award goes to you:)!
Thanks so much, Jeanine! haha yes I do win an award, that was a lot of work! I know this kitchen will definitely increase the value of their home.
Big hugs,
Jamie
This before and after is almost hard to believe! So attractive afterward.
Thank you so much, Teddee! The before and after is incredible, isn’t it?
Hugs, Jamie
This is really impressive! I admire all your work and skill. You go Girl.!!!!!
You deserve a metal for sure! Love your blog. I look forward to all your creative ideas. Keep them coming! Your in laws are blessed to have you in their family!
Love the outcome! And who would have known that they were Ikea cabinets? Awesome job! Love this!
The kitchen looks fabulous, and your description and details, above, are equally fabulous.
Thank you!
Thank you!
Hugs, Jamie
Great post! Really appreciate all the info. Curious, did you hire a contractor through ikea or a private one? Are you able to share an approx cost for the install?
Hi Erica,
We did it ourselves! I remember putting together every one of those boxes. Actually, if you wanted to hire someone to do the installation, just putting together the cabinet boxes would save a lot of time and money!
Jamie