
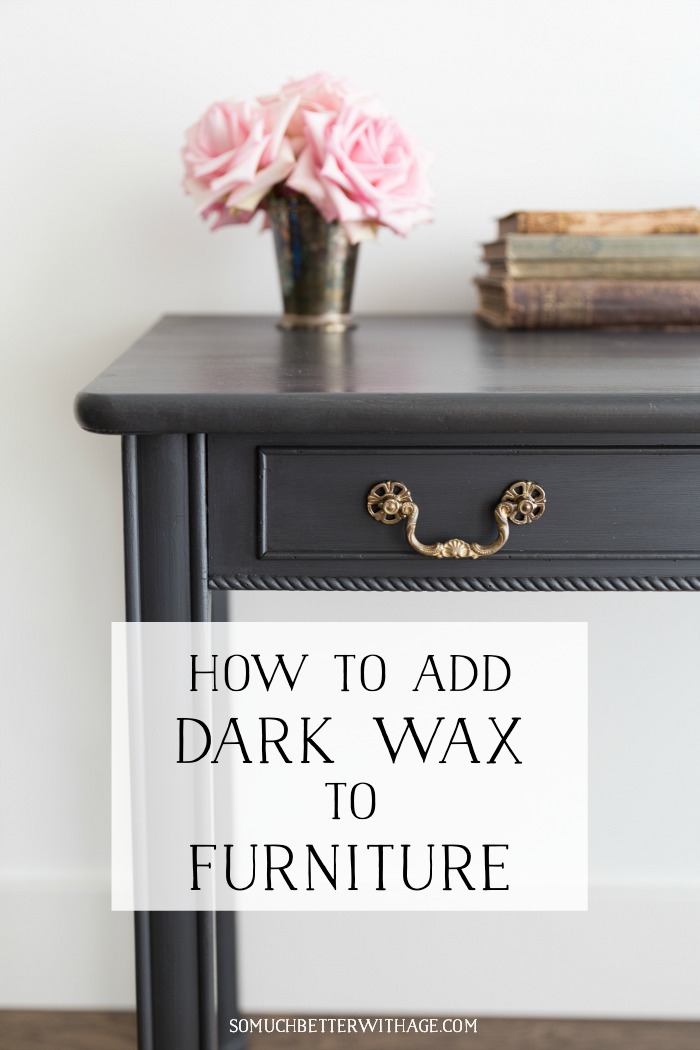
How to Use Dark Wax on Furniture + Videos
Have you ever wanted to know how to use dark wax on furniture but don’t know where to begin? It’s easier than you think with these helpful tips!
Adding dark furniture wax adds such great depth to a painted piece of furniture. Here is a step-by-step guide on how to add clear wax and dark wax to a piece of furniture.
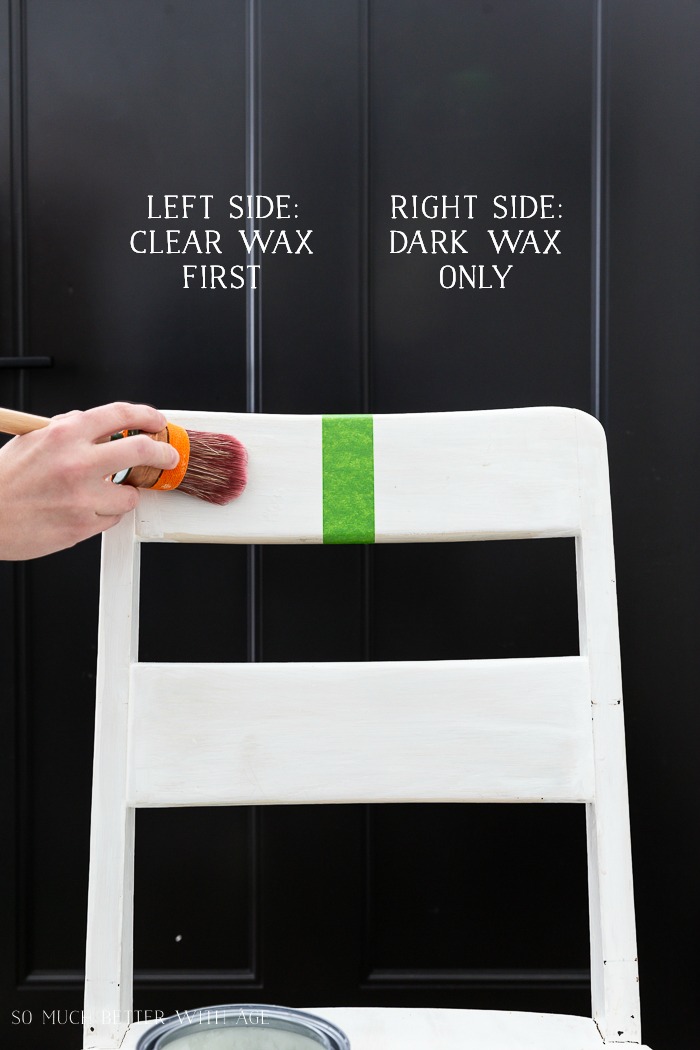
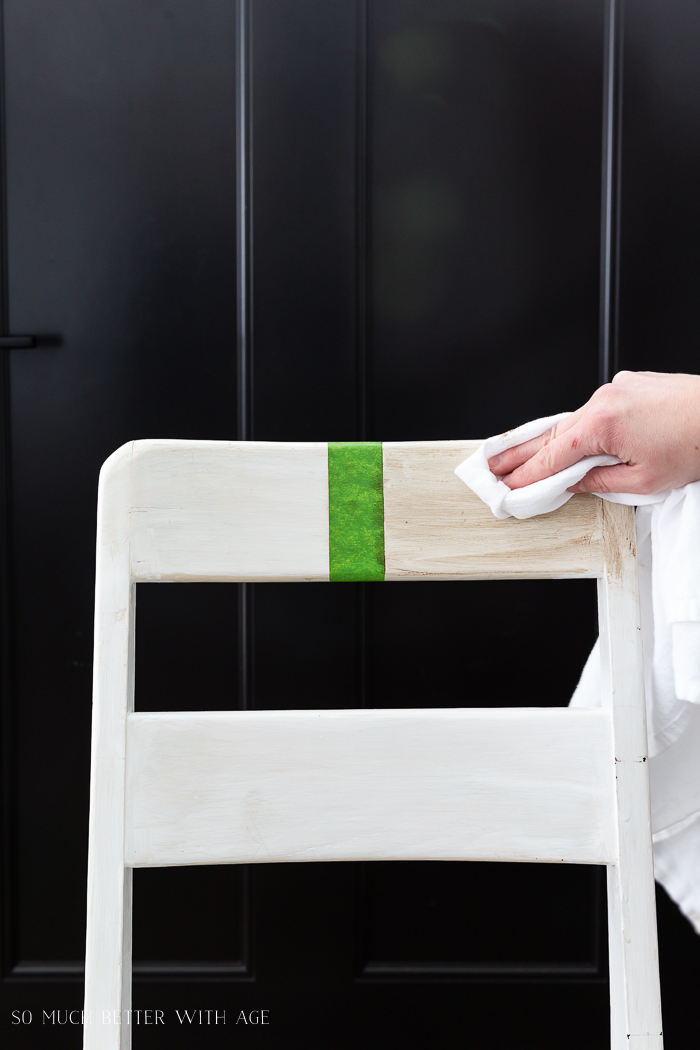
I have a white chair that I’m using to demonstrate on how to add furniture wax.
On the left side, I’m going to be applying clear furniture wax to the chair first. On the right side, just dark wax.
You can apply wax with a waxing brush or with a soft cloth (make sure that it’s lint free).
Be sure to check out my two waxing videos at the end of this post!
Favorite Brush and Waxes
This post contains affiliate links for your shopping convenience. Click to read my full disclosure policy.
Here are my favorite waxes to use:
Fusion Mineral Paint Clear Furniture Wax / Fusion Mineral Paint Ageing or Espresso Furniture Wax
Annie Sloan Clear Wax / Annie Sloan Dark Wax
The Staalmeester oval brush is my favorite brush to use for waxing.
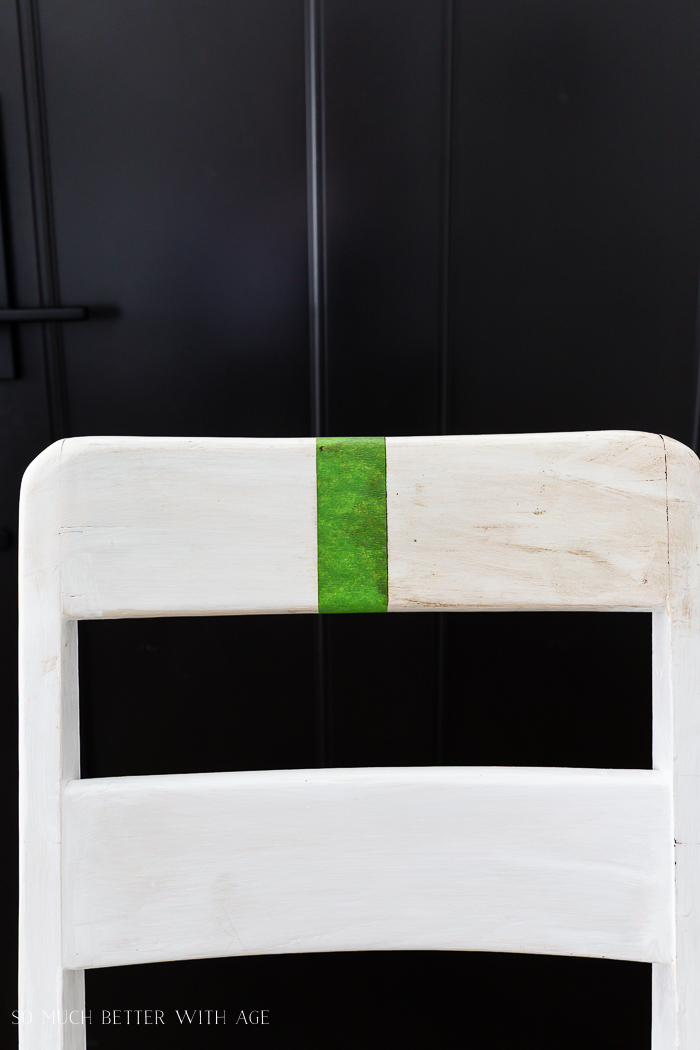
Left side: Apply some dark furniture wax over the clear wax. You only need to add a tiny amount. Dip your brush into the pot and brush on over the clear wax.
Right side: Dip your brush or rag into the dark wax pot and rub on.
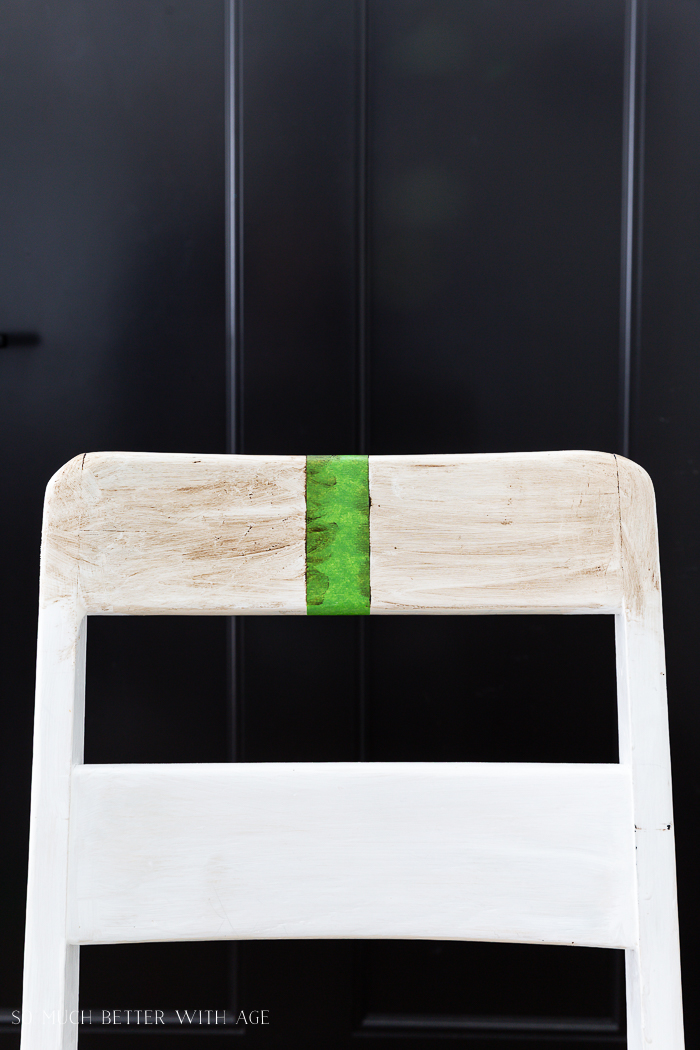
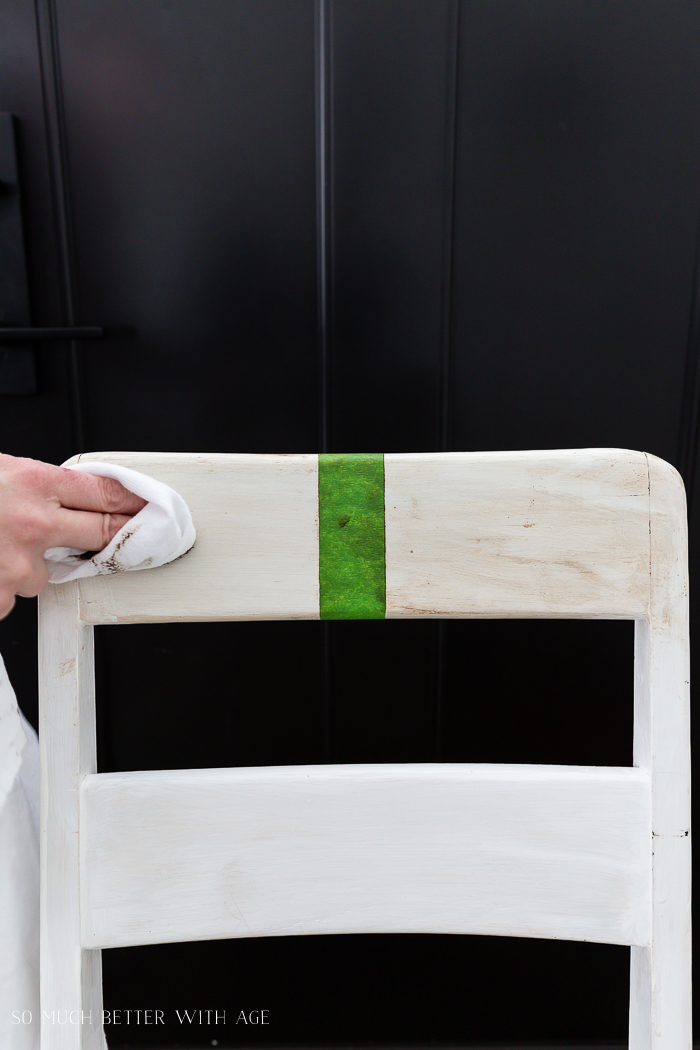
Now you’ll need to wipe off the dark wax.
Left side: if you wait a couple of minutes to allow the dark wax to dry, you’ll have more dark wax that stays on. If you wipe it off right away, less dark wax will stay. But you can always go back and add more wax later.
Right side: you’ll need to wipe the wax off immediately or it will dry exactly like you put it on.
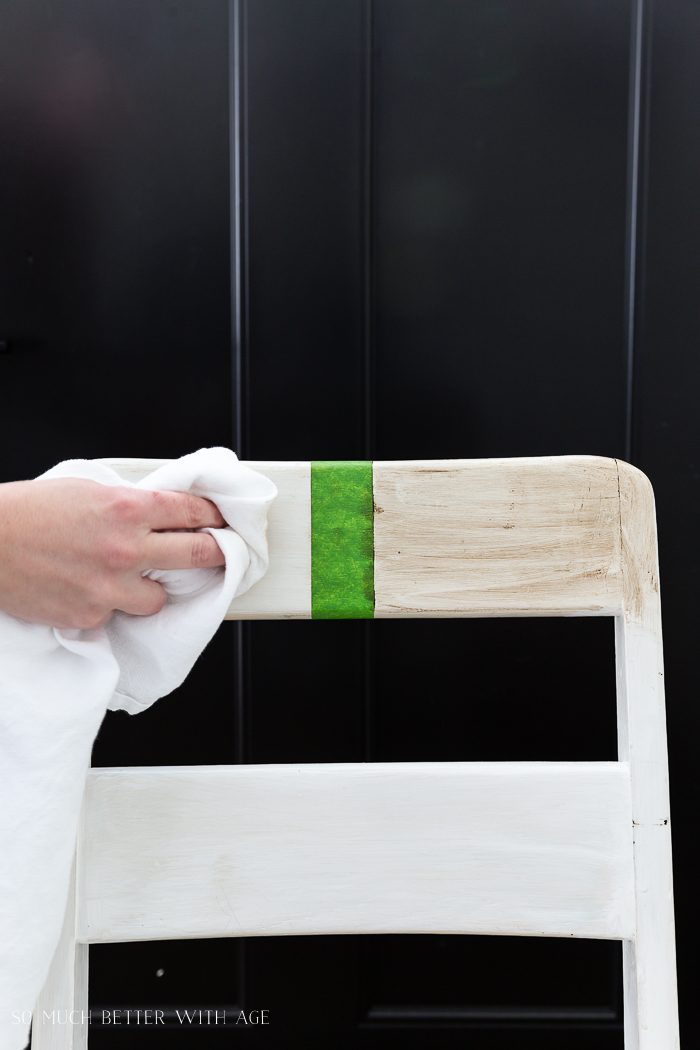
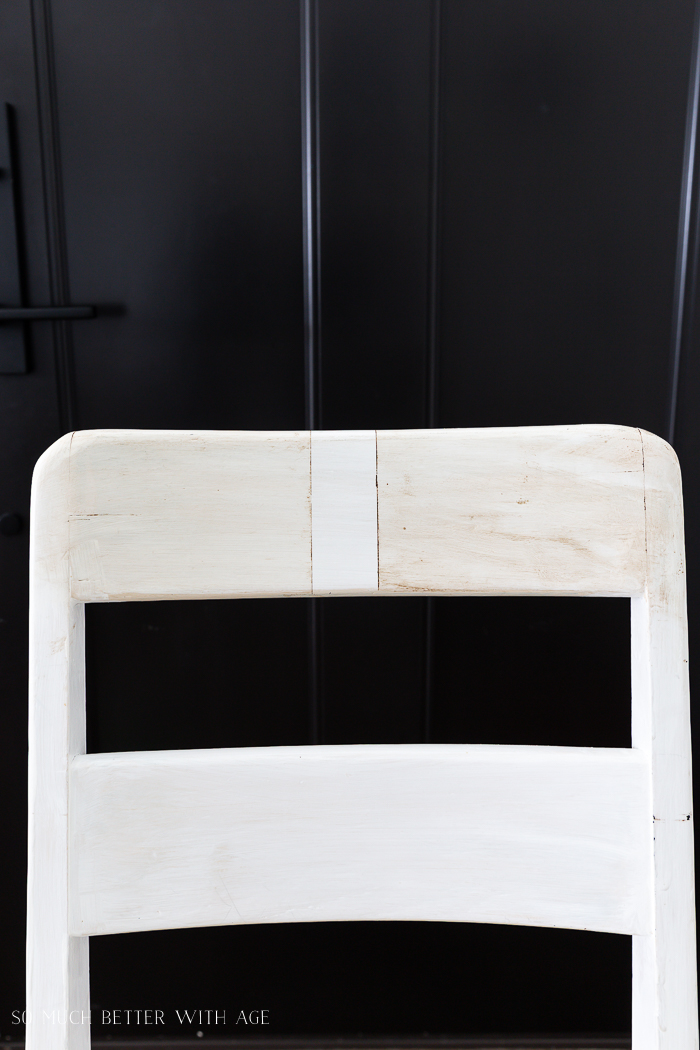
Left side: you can see that the left side is even and most of the wax came right off.
Right side: I had to scrub hard for any wax to come off. In fact, I had to add some clear wax to my rag and went over it again just to get any of the dark wax to come off at all.
This is what the white chair looks like after wiping both waxes off immediately.
Left side: I went back and added more dark wax. I worked it in and buffed at the same time to get my desired look.
Right side: there’s nothing much I can do with the right side now.
You can see that it’s easier to work with dark wax after you apply clear wax to your furniture first.
It’s an extra step but completely worth it!
After spending so much time painting your piece of furniture, you want the wax to go on like you want and not have to struggle to achieve your desired look.
Also, the clear wax allows time to ‘play around’ with the effect you want and it allows you to take more off or add more on smoothly and easily.
Without adding clear wax as the first step, you’ll be rushing to get the dark wax off and will be left with splotchy marks (unless that’s the look you are going for).
In my book, French Vintage Decor, I shared the best antique finish with this small cabinet. After painting this little cabinet shelf white, I went over it with clear wax then a black wax.
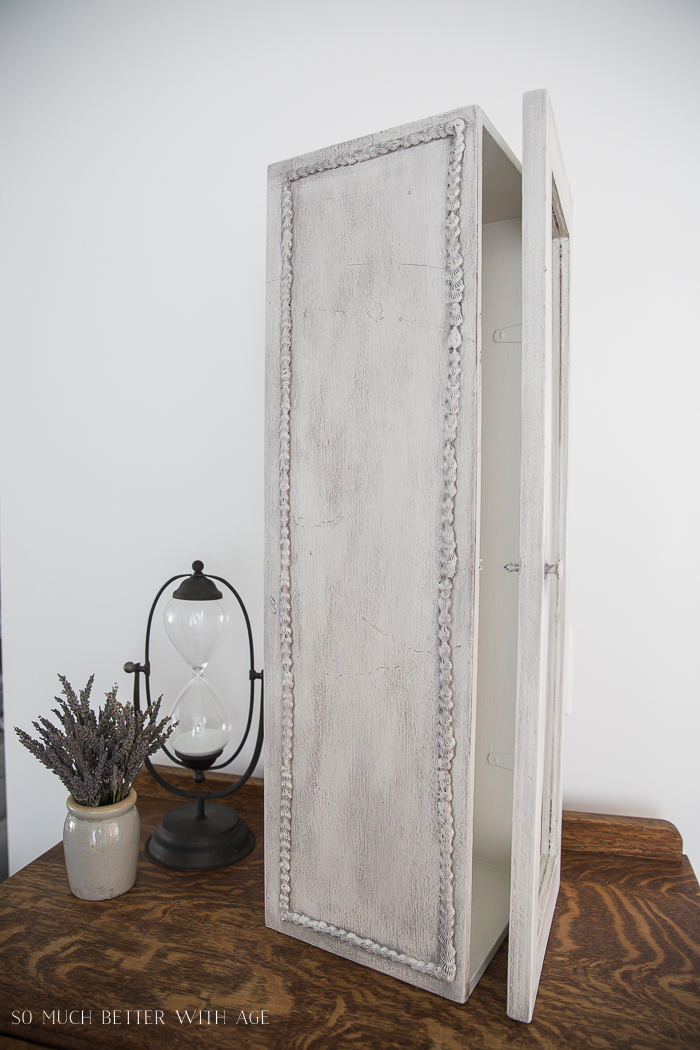
It leaves such a cool antique effect when the wax gets into all the grooves and dents.
Again, you can wipe off as much or as little wax as you’d like and can go back and add more as long as you started with clear wax first.

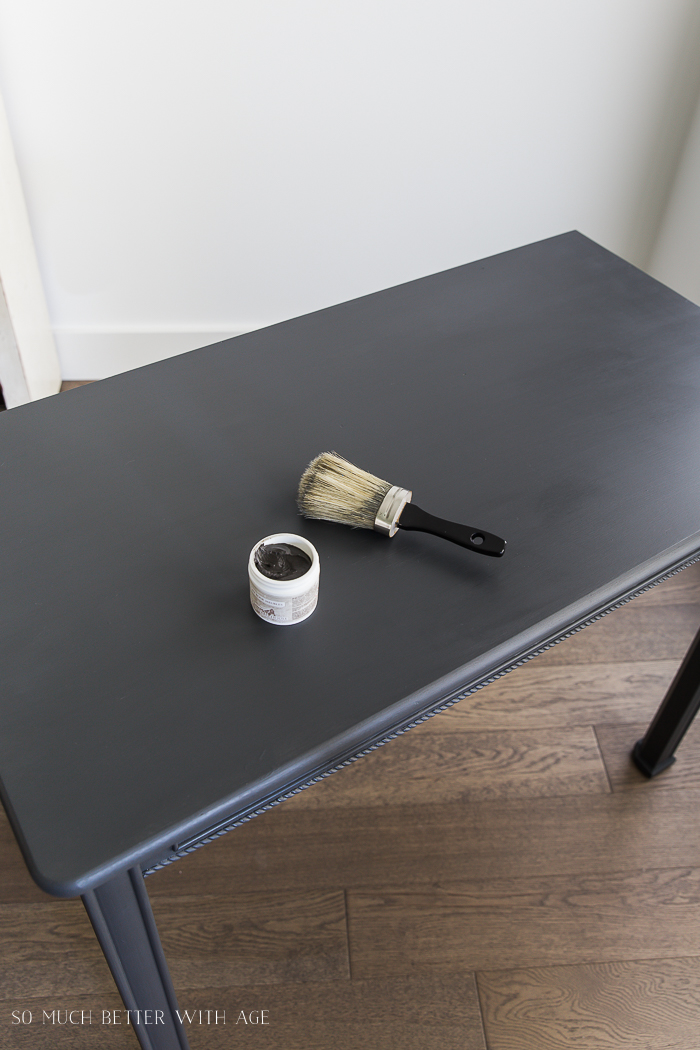
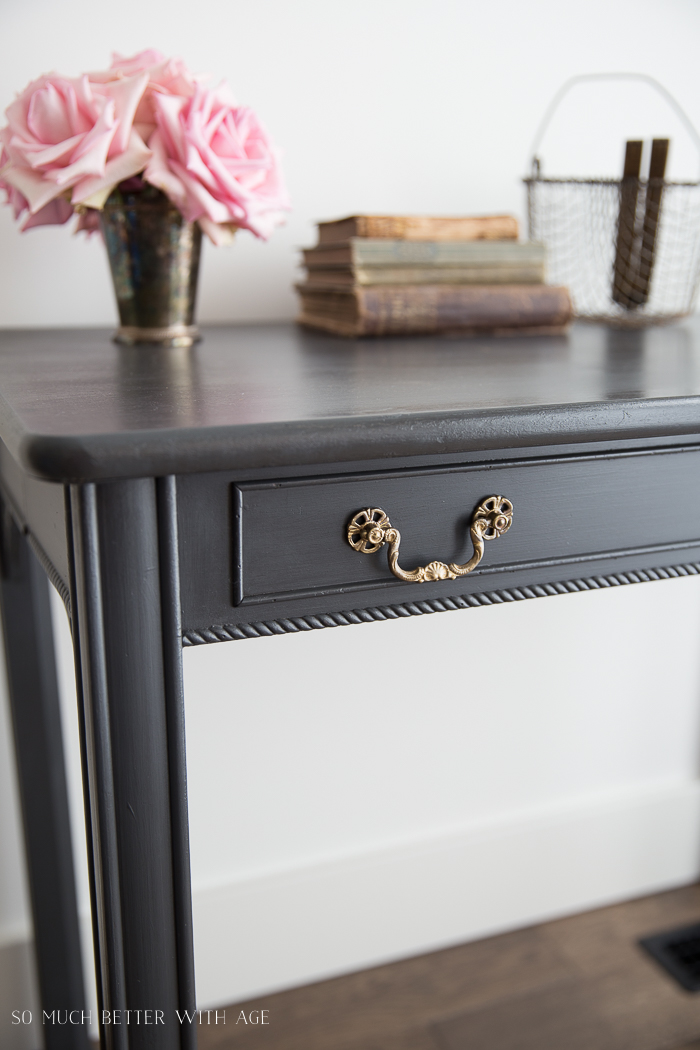
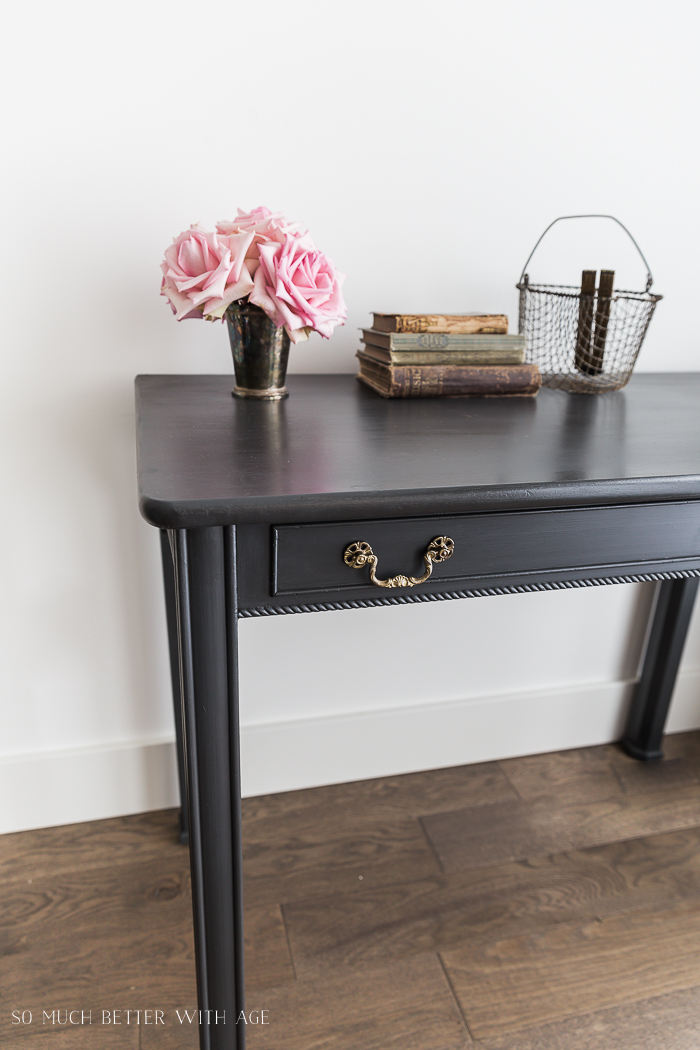
When I waxed this charcoal desk, you can see how dark the paint gets by just applying the clear wax. It adds a beautiful sheen to furniture without making it look glossy.
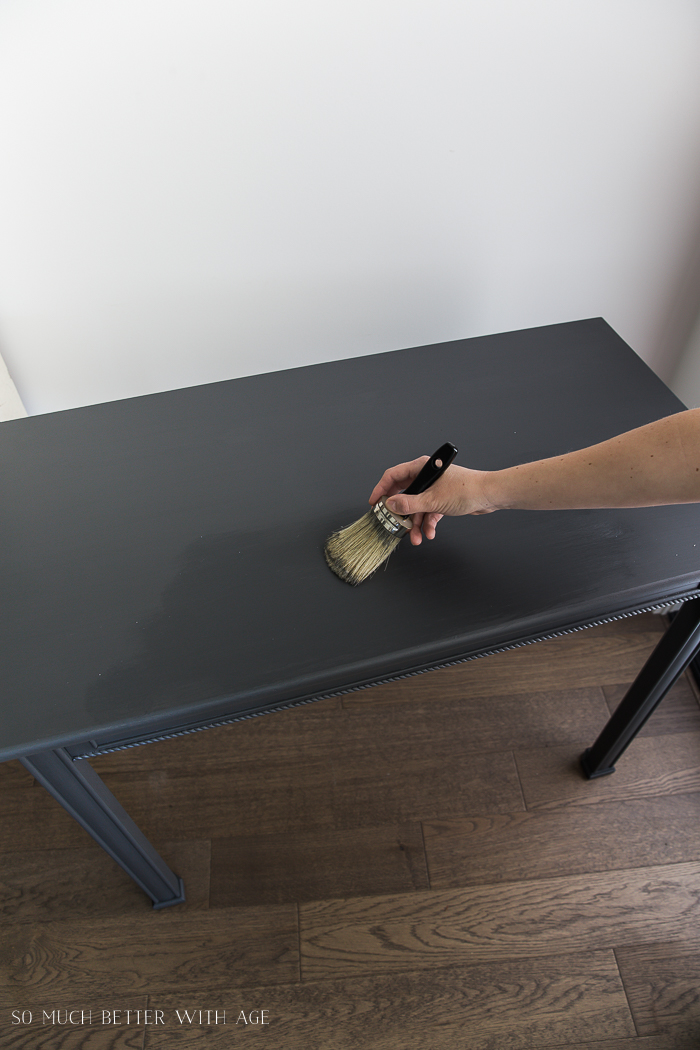
Again, once the clear wax is applied, you can apply dark wax right away.
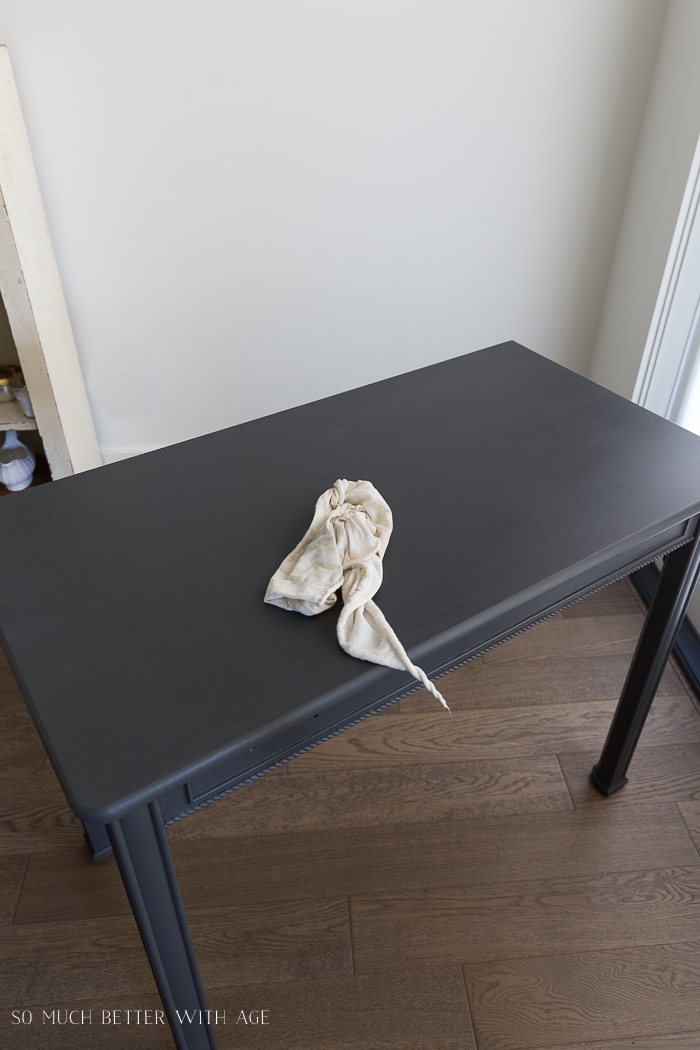
Buff the entire furniture piece with a lint-free soft cloth to take off any excess but to also work into the paint.
This will add a layer of protection to your furniture and prevent and any scuffs or nicks.
Tips:
- work in sections at a time when waxing. Make sure to buff that section first before moving on to another section (example: wax the top of the desk first then buff before moving on to the legs).
- wax and buff the wax in the same direction as the grain of wood just as you would with paint. Some circular motions when buffing are fine too.
- make sure you can wax the entire piece in one go rather than doing half, letting it dry, then coming back to it. It will be blotchy and be hard to match up.
- you can do as many wax layers as you’d like playing with different colours of waxes just as long as you add the clear wax first.
- if you ever need to repaint the furniture piece again, you’ll need to take the wax off first with a solvent (like paint thinner) or the paint won’t adhere.
- the longer the wax stays on, the harder the wax gets. If I’m selling a piece of furniture, I make sure to not move it/transport it for a good week so the wax has time to really set and harden
- wax is like paint, it cures and hardens with more time.
- wax will make your furniture piece a bit darker in color but will leave a smooth buttery finish. If you don’t want this look, then don’t wax but it will be prone to scuffs and chips.
- waxing replaces having to use a polyurethane coat and is typically used over chalk-type paints or Fusion Mineral Paint (FMP is an acrylic but goes on like a chalk type paint).
- polyurethane top coat is typically used over acrylic paints as a protective layer and not wax. You can still wax over acrylic, you just won’t achieve the same results as you do with a chalk-type paint or Fusion Mineral Paint.
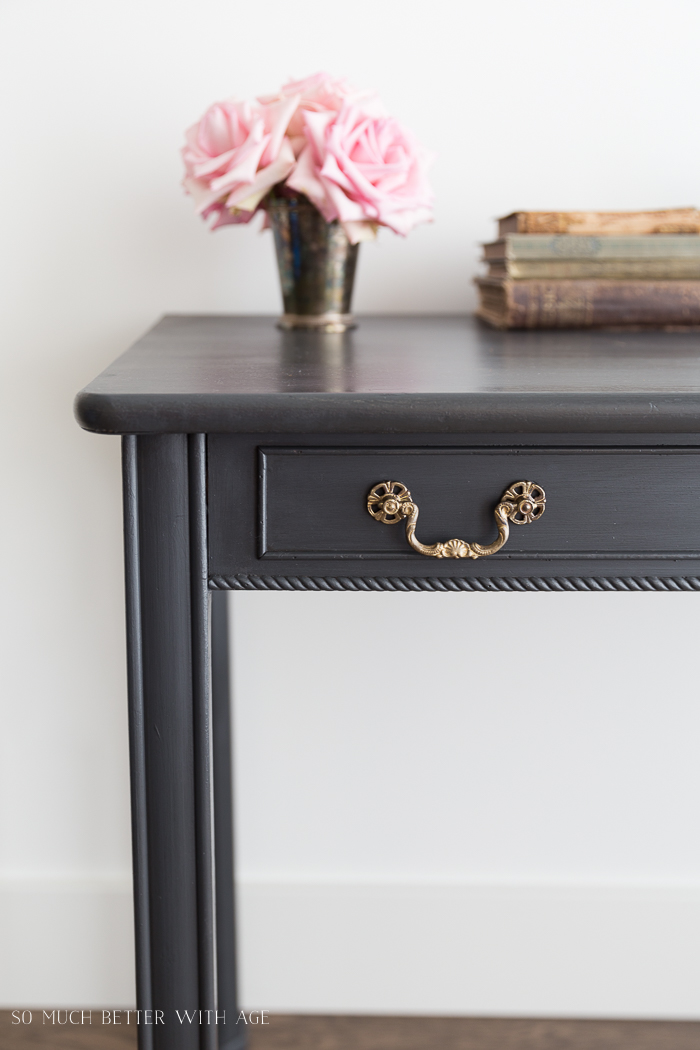
I love the depth the wax adds to painted furniture, don’t you?
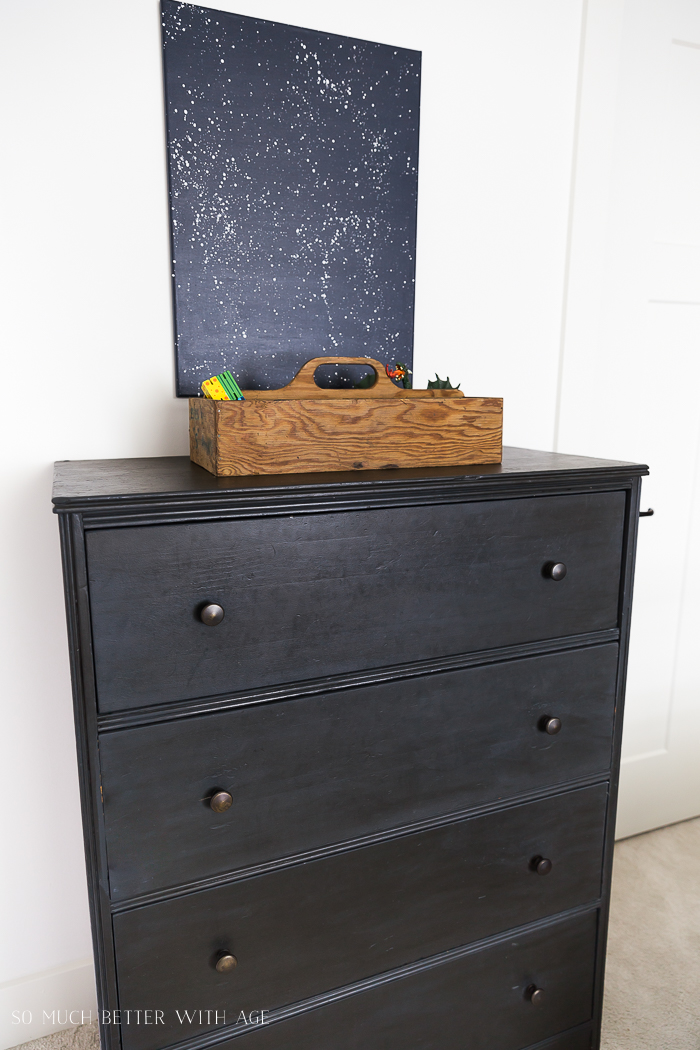
This dresser is in my son’s room. You can read more about his Industrial Space Room here.
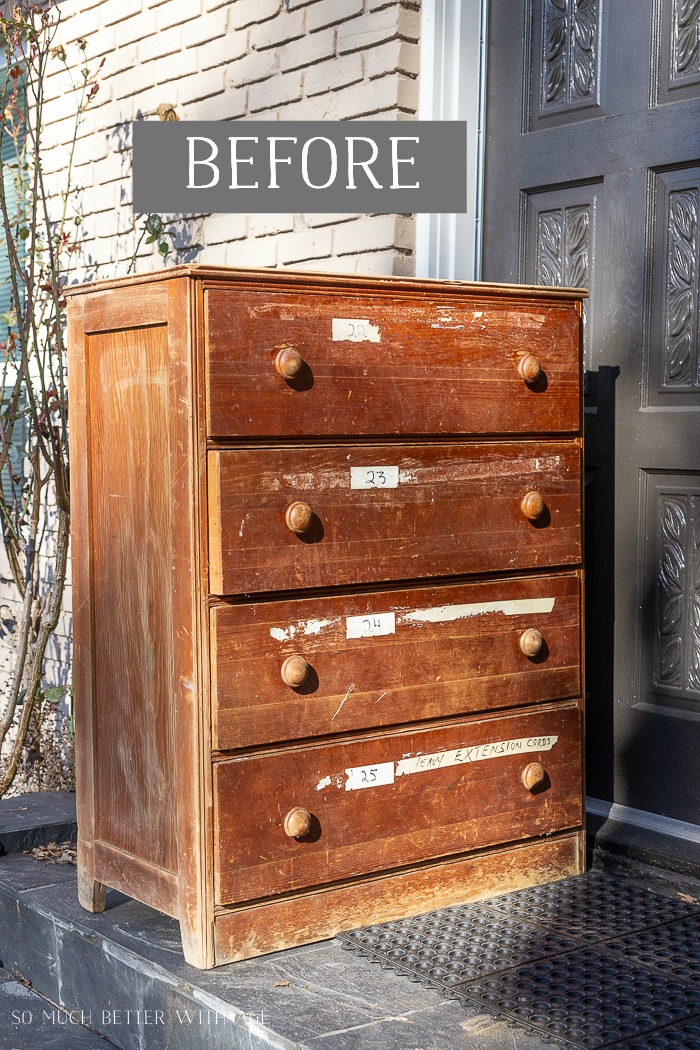
This was the dresser before. What a difference, right?
I found this dresser curbside and couldn’t wait to work my magic on it. The dark wax really shows off the grain of the wood.
I hope this guide on how to use dark wax on furniture has helped you to feel confident to try it yourself!
Follow these steps and I know you’ll be able to create something beautiful and one of a kind.
videos:
Be sure to watch my YouTube videos on how to wax and how to use dark wax!
Make sure to pin it for later!

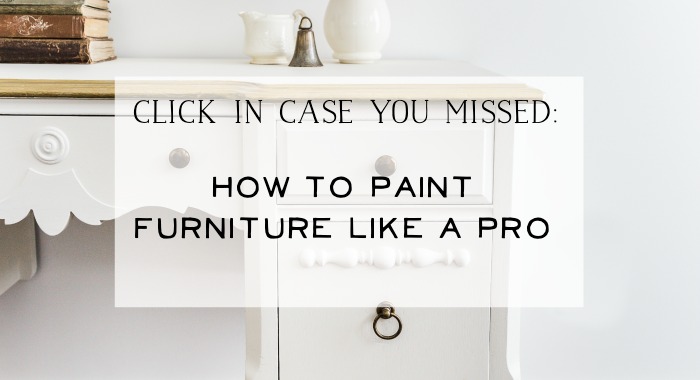
Click in Case You Missed:
How to Prep Furniture for Painting

How to Paint Furniture for a Professional Look

Thank you this will be very helpful, love using dark wax.
Thanks Marlene! I’m glad you love using it as much as I do!
Hugs, Jamie
Ahh! I see how this works now. Thanks
I’m glad it was helpful, Shelley!
Hugs, Jamie
Great tutorial and tips. We are going to be doing some furniture soon and I’ve wondered about what wax to use. Thanks for sharing at Merry Monday!
Thanks Jenny! I’m glad it’s inspired you.
Hugs, Jamie
I am trying to upcyle my bed and bedside cabinets I’ve painted old white chalk paint (2 coats) on both and a clear wax I bought some dark wax with the intention of adding more clear wax then the dark wax in places to make it look older to match my french antique wardrobes. It all looked nice then I added the dark wax and am so upset I hate it! It just looks like I’ve thrown mud all over it. Luckily I’ve only done the back of one cabinet but I don’t know what I’ve done wrong did exactly as instructed. Also need a decent non lint cloth to put it on and take it off with but so far everything I’ve used leaves bits/fluff etc on it. Now I’m not sure what to do I just spent £12 on a tin of dark wax that at the moment want to chuck in the bin. Any suggestions welcome! Thank you. pS it was meant to come out like the pics of your furniture! Which is lovely by the way x
Hi Kerry,
I’m sorry for the delay, I missed getting your message. I’m also sorry you’re having a trouble with dark wax. I’ve been there and it’s frustrating! You can take off the wax altogether with mineral spirits (paint thinner) and then add the clear wax again. If you want to try the dark wax again, you need quite a bit of the clear wax on the furniture first. The dark wax can be really finicky without it. Sometimes I even dab my cloth in the clear wax before putting it in the dark wax. If you do a search for lint free cloths, you can find different brands (like hospital brand) online. I tend to use cloths I have at home that have been washed a million times so they don’t seem to shed anymore. Hang in there!
Hugs, Jamie
How would you suggest I prep furniture for waxing if it appears to have some kind of finish (varnish or laquer?) on it? I’d like it to have a darker wax finish.
Hi Deborah,
It sounds like that finish is the actual stain and finish. It probably needs to be sanded first but I’m not 100% sure. You were wanting it darker using dark wax?
Jamie
Do you let the clear wax layer dry completely before applying the dark wax?
Hi Lea,
No I don’t wait for the dark wax to dry, I use the clear wax right on top of the dark wax so it can move together.
Hugs, Jamie
my black wax has dried & hardened. Is there a way to reconstitute?
Do I apply clear wax, buff it in first and then apply the dark? Or do I apply clear, no buffing, apply dark and then buff?
You apply the clear wax and buff it in a bit then apply the dark wax right on top of it. The clear wax together with the dark wax makes the dark wax easier to apply and you can take some of the dark wax off right away if you’ve added too much.
Hope that helps!
Jamie